
- Make sure your website has the Notifly Google Tag Manager template or the Notifly JavaScript SDK installed.
- Run the web push integration test.
1. Set when to send
Web push supports scheduled, event-triggered, and API-triggered sends. See Campaign send timing for details. For users who visit your site on multiple devices or browsers, where the notification goes depends on how the send is triggered.- For scheduled sends, Notifly sends to all browsers where the user has an active push subscription.
- For API-triggered sends, set each recipient’s
typetouser-idand pass their user ID inuserId. Notifly sends to the browsers where each user has an active push subscription. - For event-triggered sends, Notifly sends only to the browser where the user triggered the event.
2. Set the audience
To select recipients for web push, set up a user group or upload a CSV. See Set up a user group.3. Set the notification content and action
3-1. Basic notification settings
Set the title, body, image, and what happens when a user clicks the notification.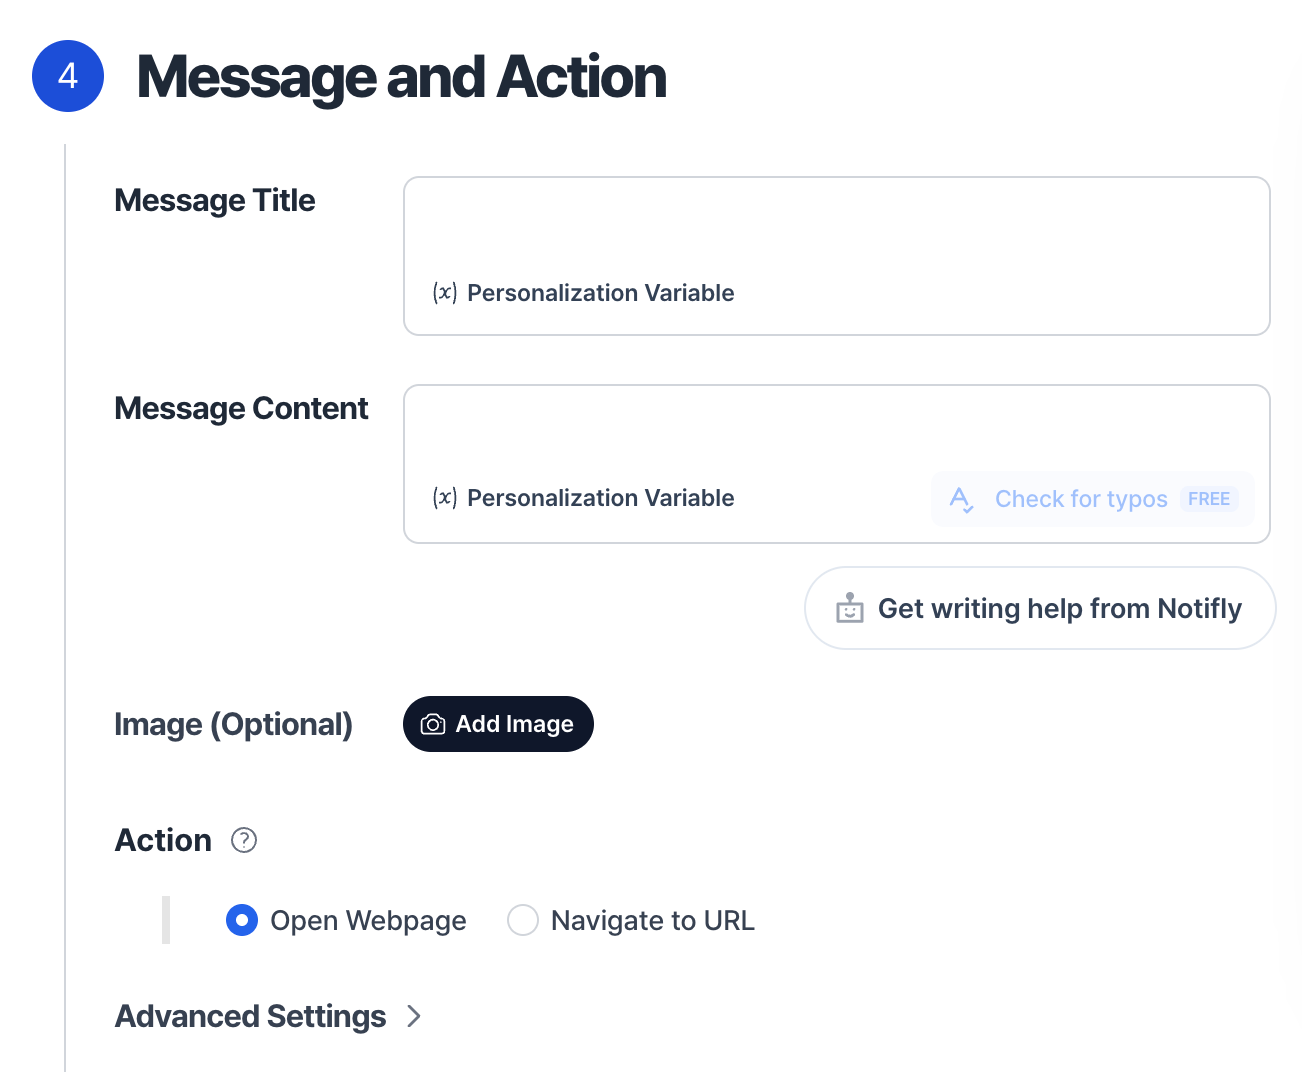
3-1-1. Set the title and body
Enter the title and body to preview the notification.- The number of characters shown varies by browser and device. Aim for up to 75 characters in the title and 225 in the body.
- You can include emoji.
3-1-2. Add an image (optional)
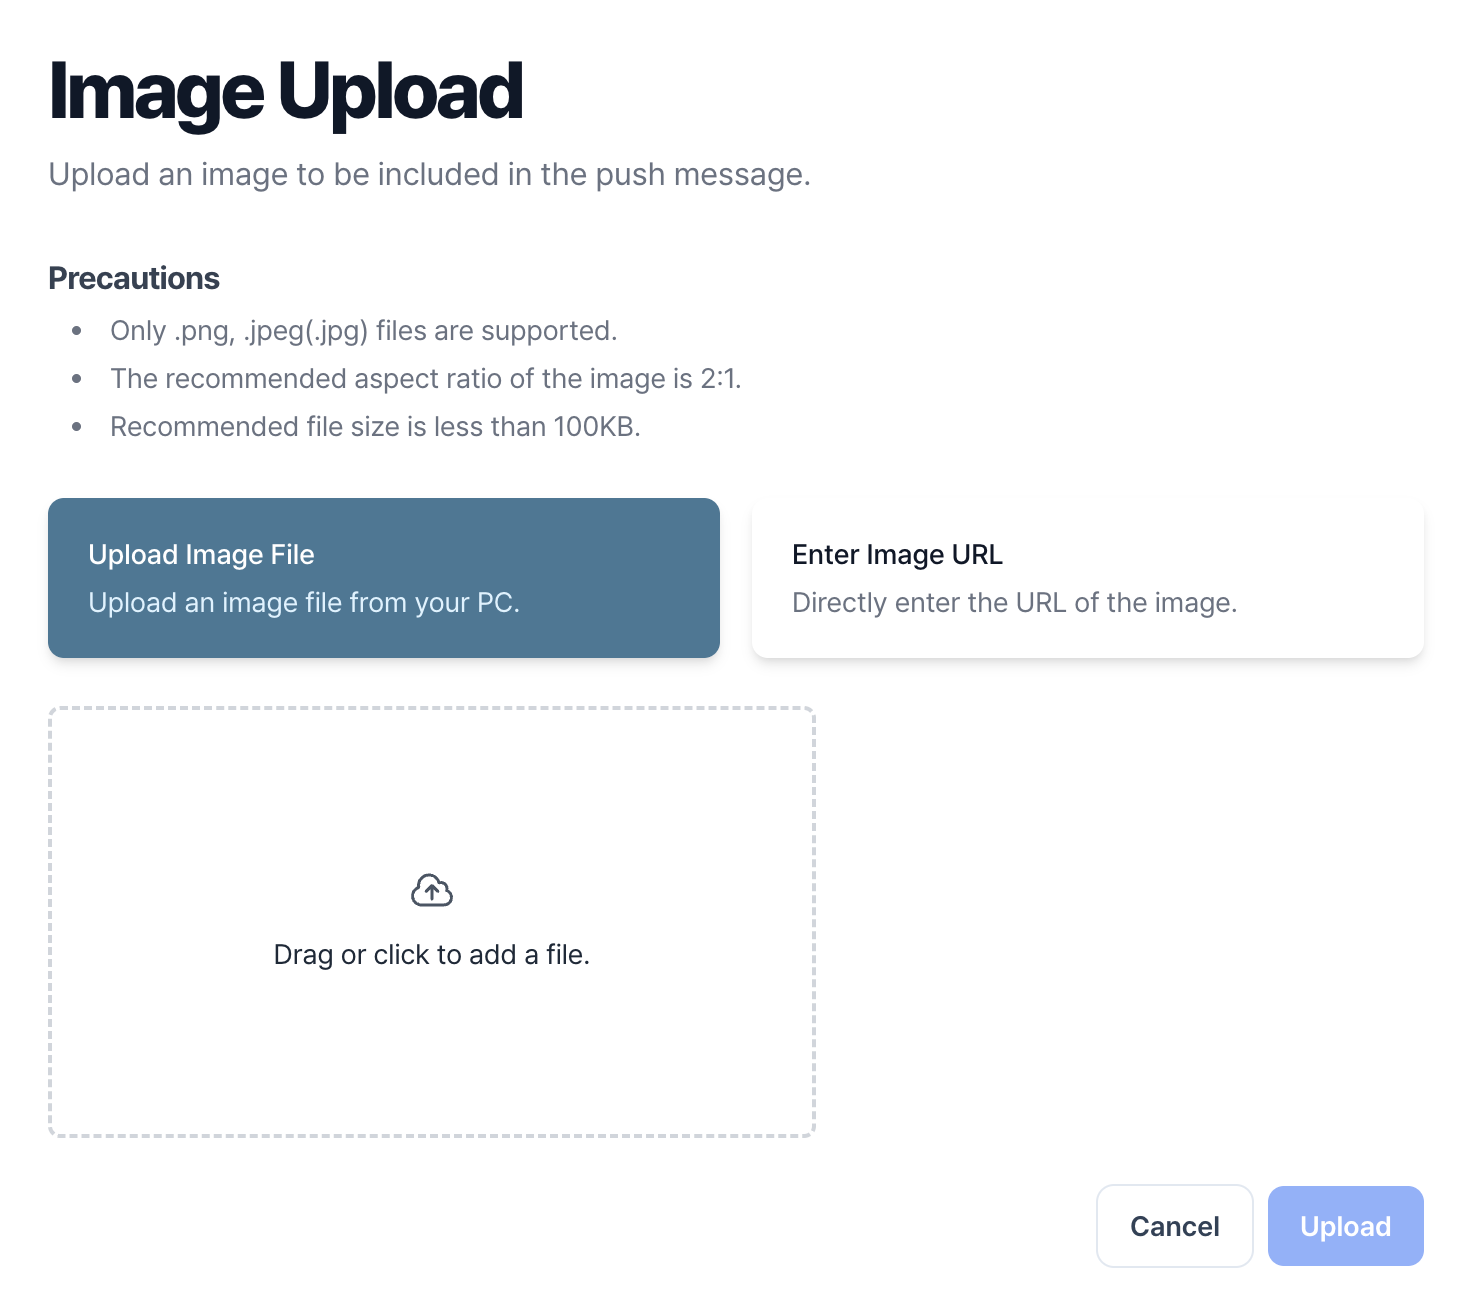
- Use a PNG or JPEG (.jpg or .jpeg) file. A file size of 200 KB or less is recommended.
- We recommend an image of at least 360 × 240 pixels. Check how it looks on desktop and mobile because the display size and aspect ratio can vary.
- To use an image you’ve already uploaded, select the option to enter an image URL.
Chrome on macOS does not show the notification image. See Chrome’s announcement on native notifications in macOS.
3-1-3. Set the click action (optional)
- By default, clicking a web push notification opens the website’s home page.
- Set a URL to open a specific page when the user clicks the notification.
4. Ask for web push permission
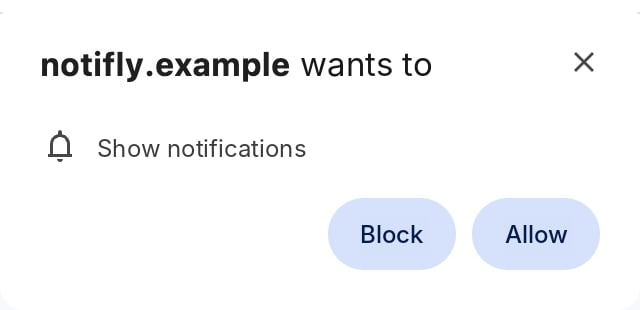
To receive web push notifications, users must allow notifications in their browser. Your site can ask for permission. If a user blocks notifications, your site cannot prompt them again. They must allow notifications for your site in their browser settings.4-1. Default permission prompt
By default, Notifly shows its own prompt first. If the user accepts, the browser asks for permission. You can show the Notifly prompt again later if the user dismisses it. To customize the prompt for your website, see Request push notification permission in the developer guide.4-2. Collect consent with a web popup button
To ask users to opt in through a custom web popup, set the button action to Web push consent. Signed-out visitors can use this button too. Set up web push on your site and use JavaScript SDK 2.22.0 or later. The button is disabled on older SDK versions.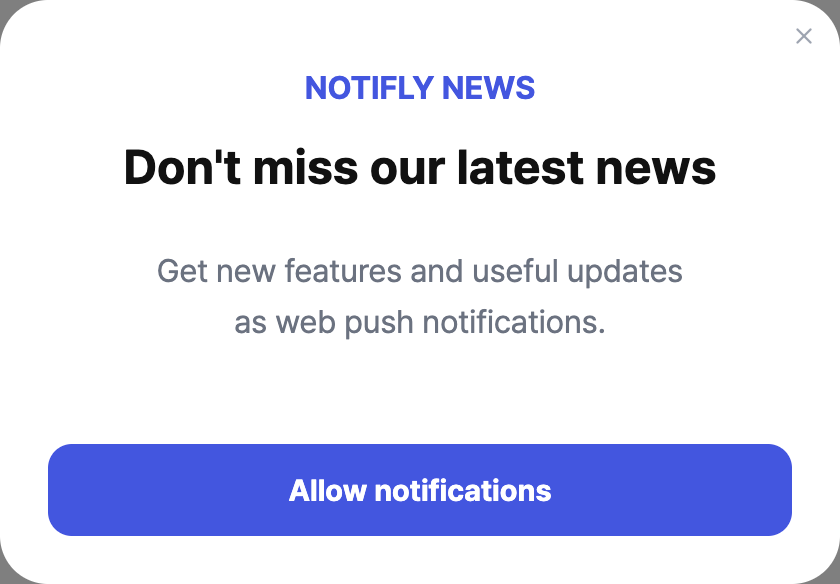
$web_push_consent and $web_push_consented_at. It requests browser permission without showing the default Notifly prompt.
The web popup closes as soon as Notifly requests permission, before the user responds or the subscription completes. It stays closed if the user denies permission or dismisses the browser prompt.
4-3. Manage consent and browser permission
The$web_push_consent property records explicit consent given in the web popup. Browser permission is separate. Denying or blocking notifications in the browser leaves the saved consent property unchanged. To receive web push, the user must grant browser permission and have an active push subscription.
To let users withdraw consent, add an opt-out screen to your site. When a user opts out, update $web_push_consent to false through your integration. The button action only records consent and doesn’t update the audience automatically. To restrict delivery based on consent, set the audience conditions for campaigns and user journeys to include only users whose $web_push_consent is true. Changing the consent property has no effect on either browser permission or the push subscription.
See the JavaScript SDK guide for an example of how to handle opt-outs.