
Overview
In the sidebar, open Settings and select Product & Project. Use this tab to view product and project information and manage global settings.- Available features depend on your role. If you can’t see a menu, ask a user with the admin role.
- Each product has two projects. Use the production environment for your live app and the development environment for testing. Connect each app to its own project through the SDK.
1. Product Info
Find the product ID assigned to your service.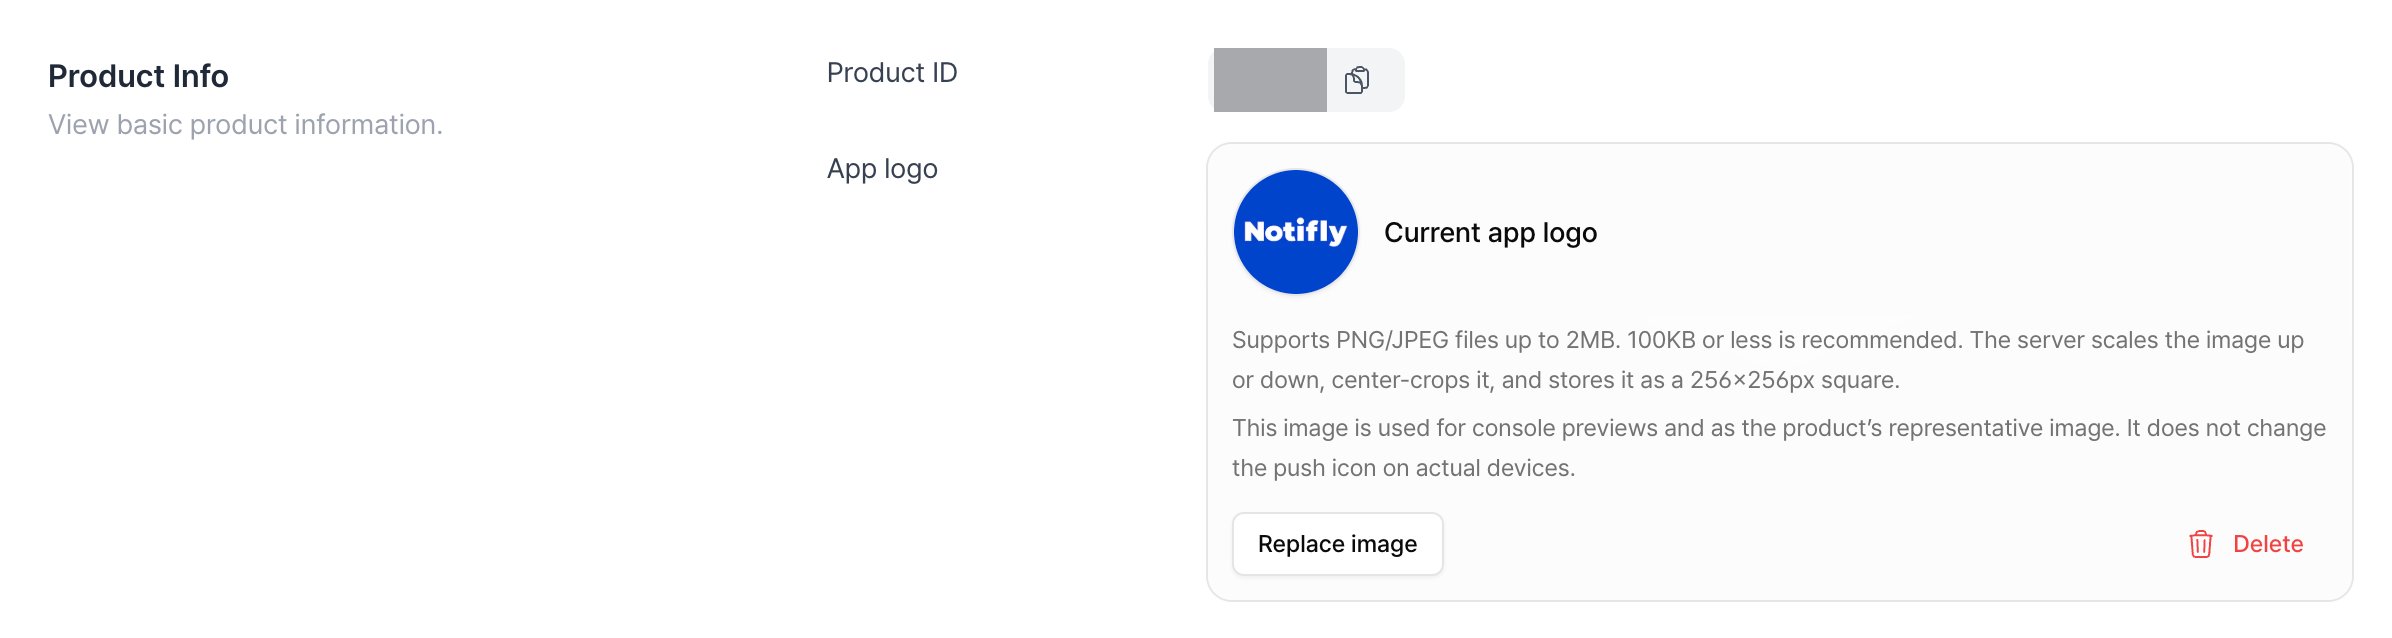
1-1. Product ID
The product ID uses your service name in Latin letters. For example, Notifly usesnotifly.
1-2. App logo
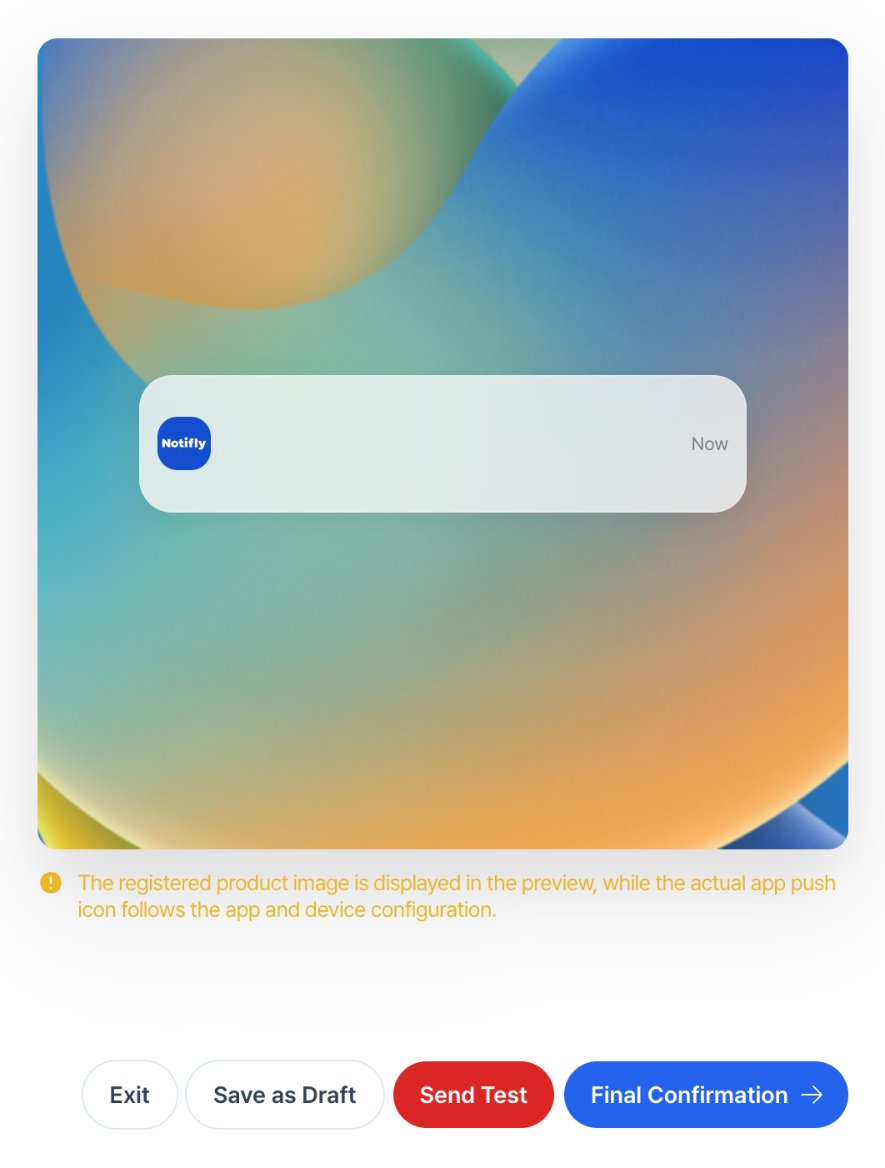
Set the app logo that appears in console message previews and in the product image.Changing this logo affects console previews and the product image. It leaves the icon on recipients’ devices unchanged.
2. Security Settings
Manage member roles, sign-in requirements, and which IP addresses can open the product in the console.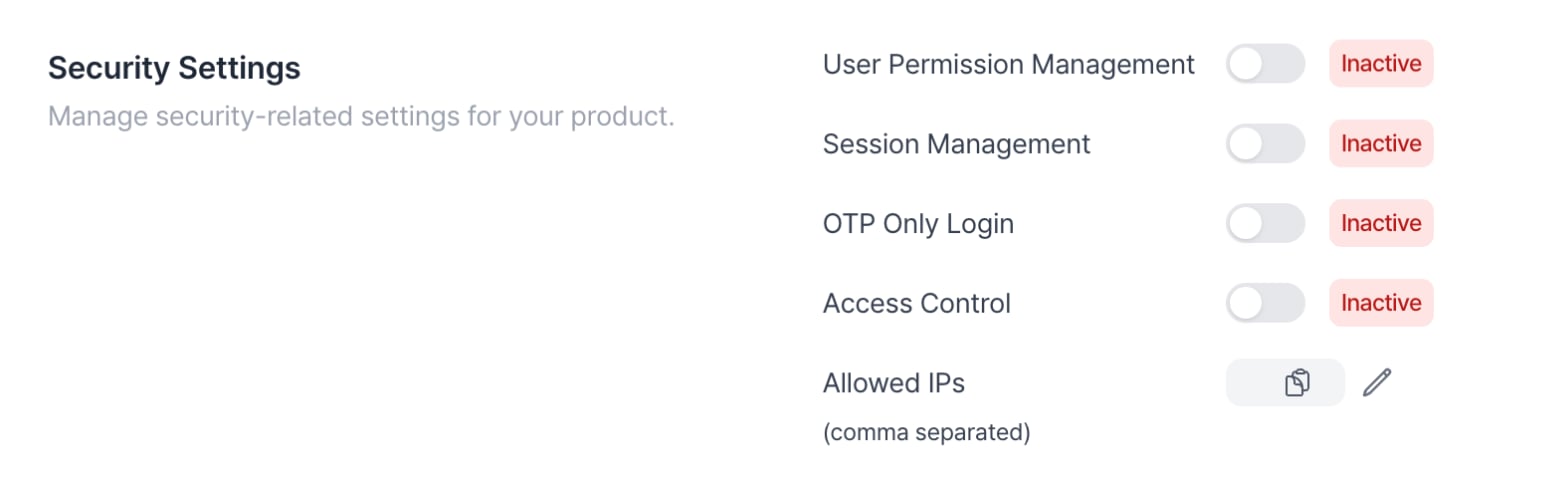
2-1. User Permission Management
Assign roles to members of this product.- This setting is off by default. While it’s off, all users have admin permissions.
- Turn it on to use two roles.
- Admin (
admin). Can access all information and change member permissions. - Member (
member). Members cannot open User Management, including User List. They also cannot open Payment History, Members Management, or the Security Settings section.
- Admin (
- To change a member’s role, go to Members Management and click ⋮ to the right of the account.
2-2. Session Management
Turn on this setting to limit each account to one signed-in session at a time. It’s off by default.2-3. OTP Only Login
Turn on this setting to require two-factor authentication when a signed-in user opens the product. It’s off by default.2-4. Access Control
Allow access to this product in the Notifly console only from listed IP addresses.- Turn on Access Control and enter the IP addresses under Allowed IPs (comma separated). When a product member opens the console, Notifly checks the request IP address against the list. If the address is absent, Notifly signs the member out and denies access.
- This setting is off by default.
2-5. Allowed IPs
Enter the IP addresses to allow when Access Control is on. Separate multiple addresses with commas (,).
3. Project Info
Manage basic information for the project.3-1. Project ID
Each project has an ID made up of letters and numbers. To switch environments, click the current environment in the header.- The production and development projects have different IDs. In these examples,
<production_project_id>represents the production ID, and<development_project_id>represents the development ID.
3-2. Global Frequency Capping
Limit how many messages Notifly can send to each user within a set period. Each rule applies to the channels you select. Available on the Pro plan and above.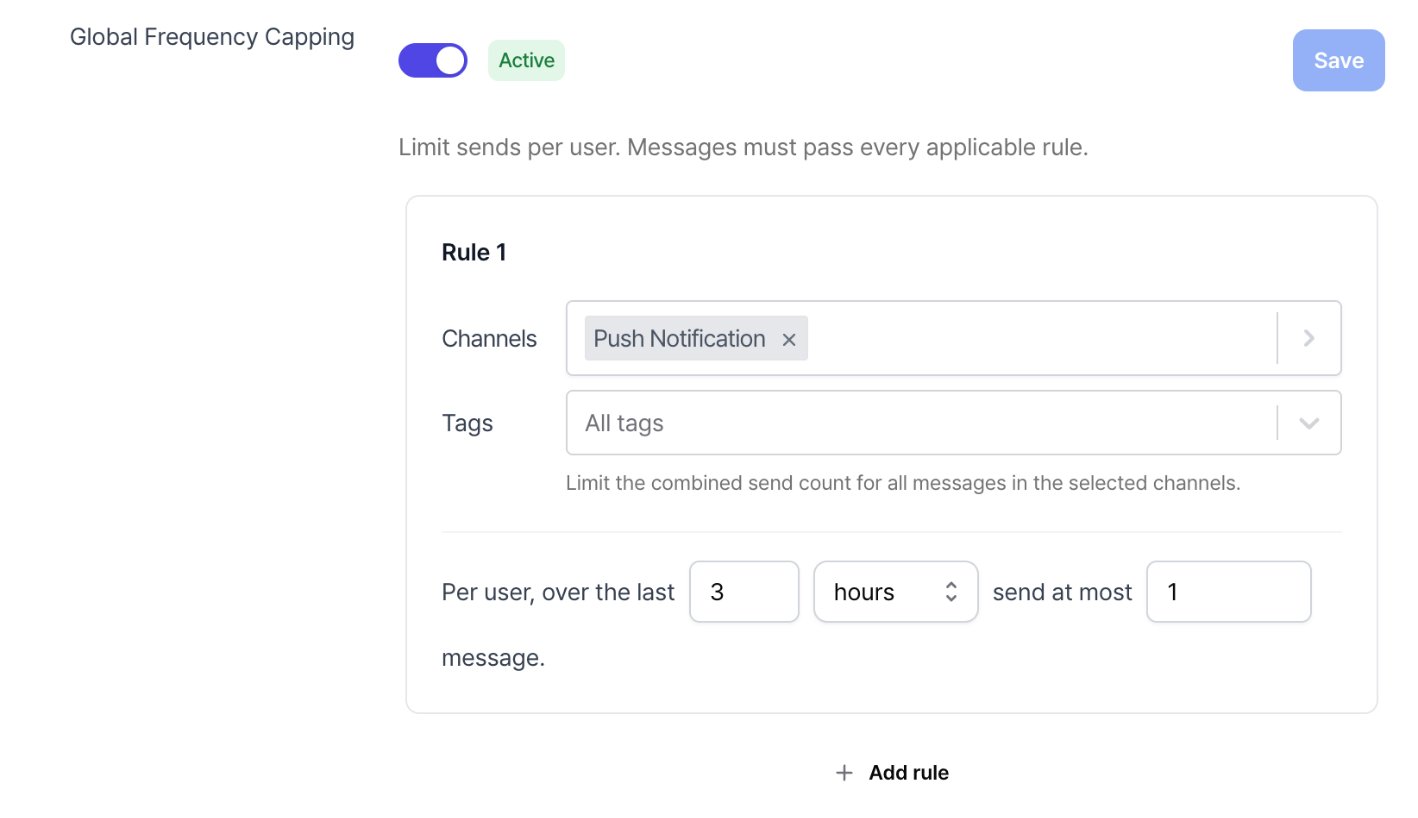
- This setting is off by default.
- Turning this on immediately applies an app push limit of one send per user every three hours. You can edit that rule or add more rules, then save your changes. Set a limit for a period of hours, days, weeks, or months.
- Within a rule, sends across the selected channels count toward the same limit. For example, with a limit of three sends per day for email and SMS, two emails and one SMS use the full allowance. To set limits for individual channels, create separate rules.
- Scheduling a message does not count toward the cap. A failed webhook request can count toward the cap.
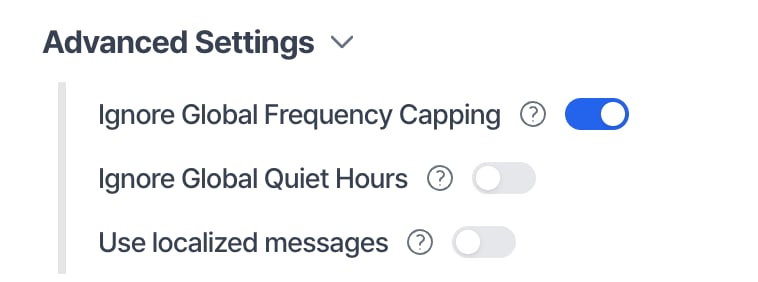
- To send a message without the project-wide cap, open Advanced Settings in the campaign or journey message node. Turn on Ignore Global Frequency Capping.
Click Save to apply any changes.
3-3. Global Quiet Hours
In South Korea, Article 50(3) of the Act on Promotion of Information and Communications Network Utilization and Information Protection requires separate prior consent for covered commercial advertising messages sent between 9 p.m. and 8 a.m. the next day. Restrict sending during this window if you lack the required consent.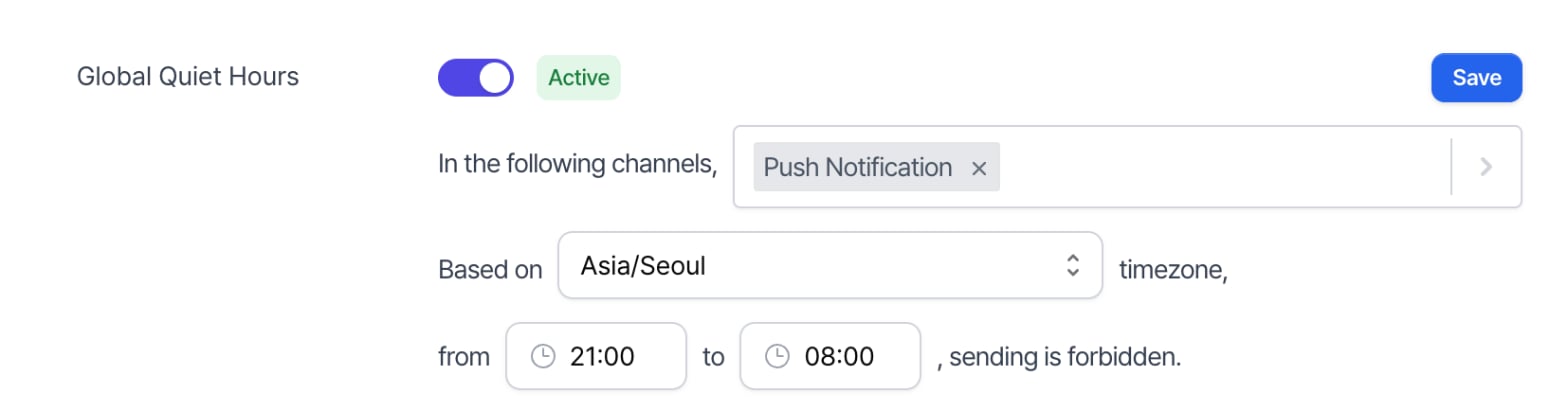
- This setting is off by default.
- The restriction applies to the selected channels and times, even if a campaign or user journey has no quiet hours of its own.
- You can also set quiet hours for individual campaigns and user journeys. When both restrictions apply, messages can go out only outside both quiet-hour windows.
- If you’ve selected a time zone outside South Korea, see quiet hours and delayed sends across time zones and daylight saving time. Notifly checks quiet hours using local time. A delayed send that crosses a daylight saving time change may occur at a different time from the end of the quiet-hour window.
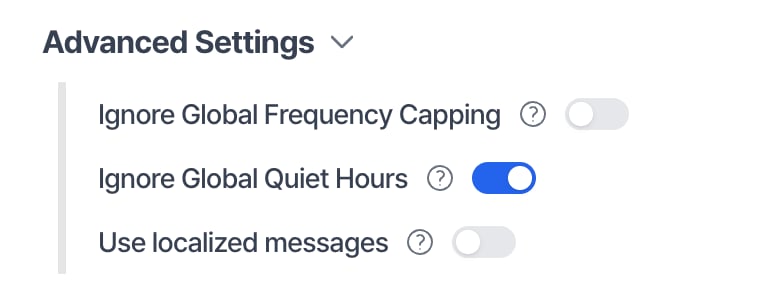
- For a message you can send during quiet hours, open Advanced Settings in the campaign or journey message node. Turn on Ignore Global Quiet Hours.
3-4. Automatic delivery history disposal
To protect personal information, you can set how long Notifly keeps delivery history for each user.
- This setting is off by default. Turning it on sets the retention period to 180 days.
- The minimum is 90 days to allow time for monthly billing and review.
- The setting applies only to the selected project environment.
4. Default Campaign User Conditions
Set default user conditions for a campaign’s Additional Filter.- Default conditions apply to campaigns only.
4-1. Set default user conditions
Choose which conditions to apply by default to a campaign’s audience.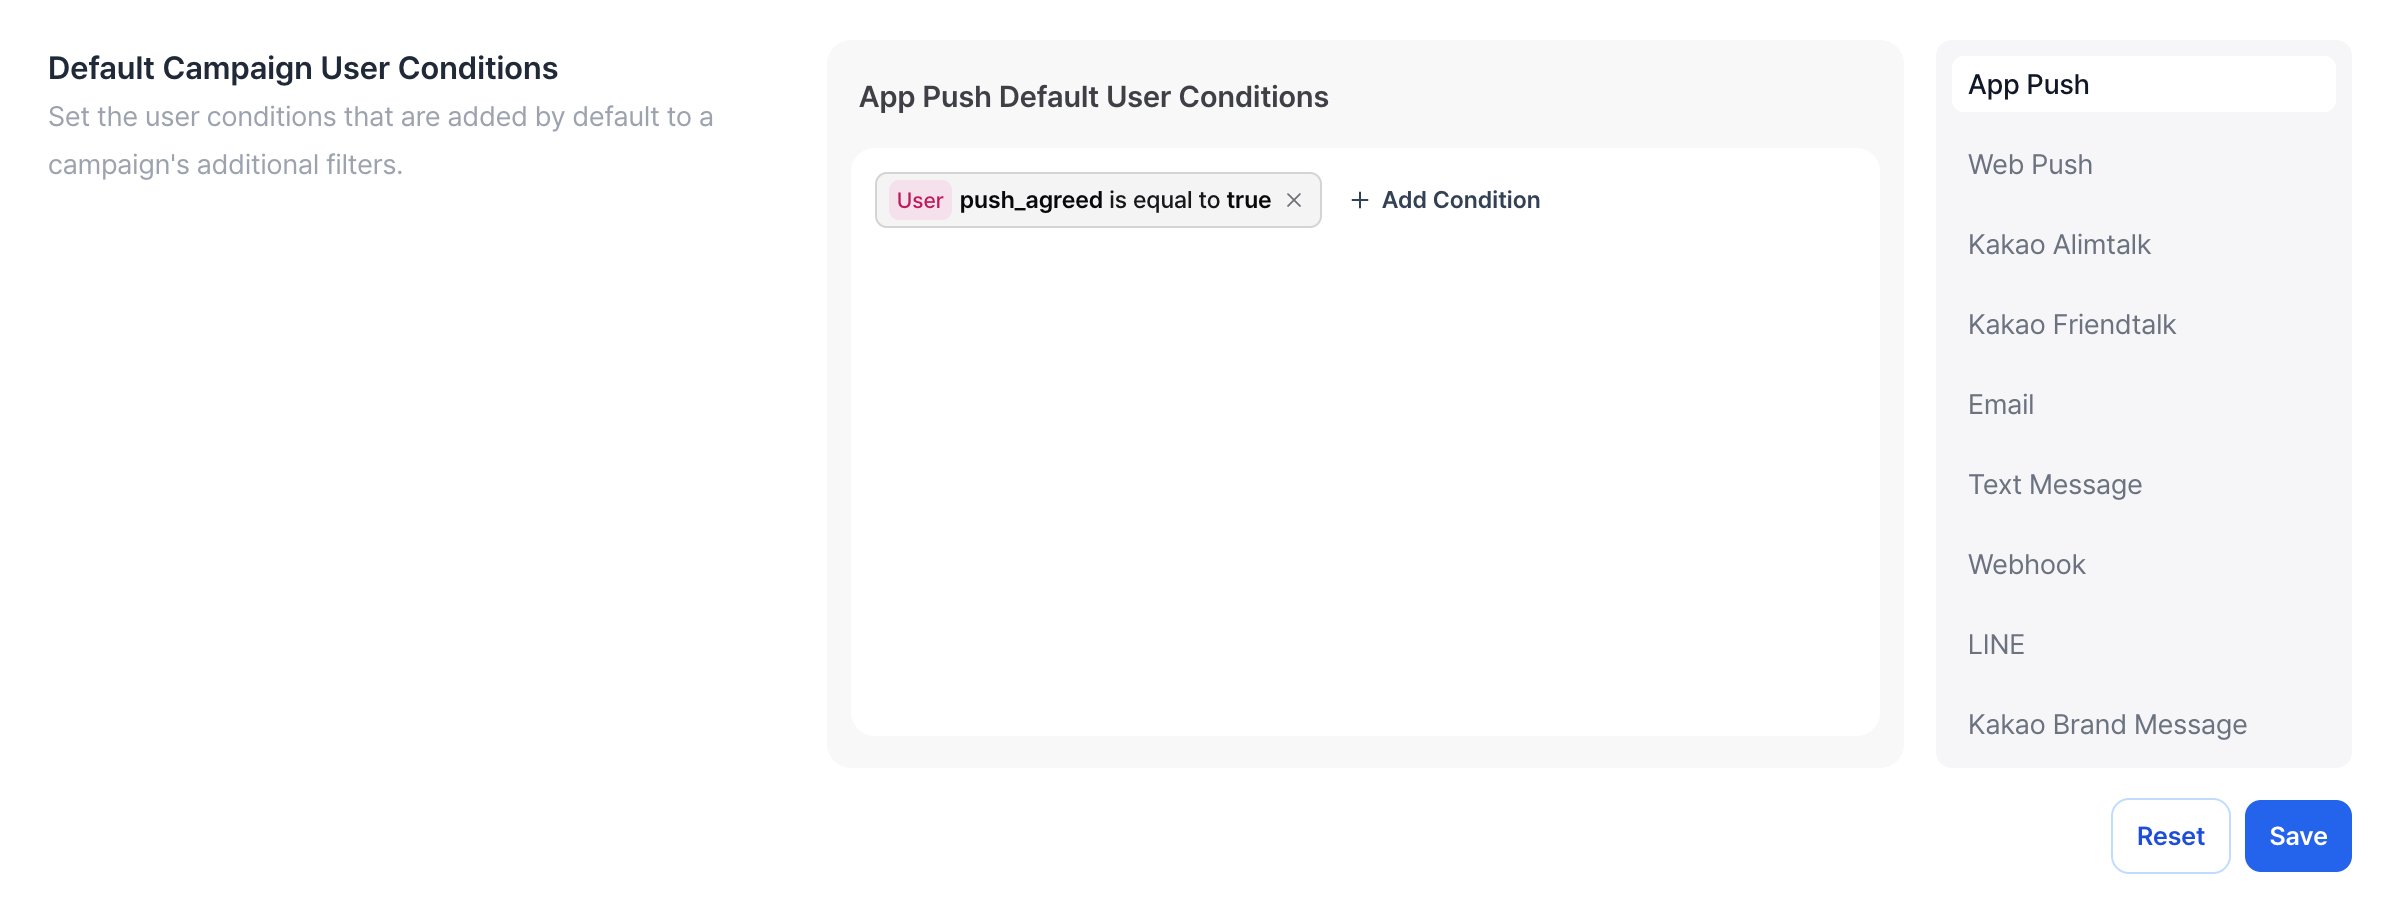
- The default value is
NULL. - You can add multiple conditions to the same channel. Notifly combines them with AND.
Click Save to apply changes. A red dot next to a channel name indicates unsaved changes.
Changes to the default user conditions apply when you create a new campaign. Existing campaigns keep their current conditions.To refresh the defaults in an existing campaign, open it for editing. Turn Default User Condition off and back on to reset it. Check the new conditions under Additional Filter, then resume the campaign.
4-2. Use default conditions in a campaign
In step 3, Delivery Target, select Filter by conditions. If the selected channel supports default user conditions and has them set up, the Default User Condition toggle appears.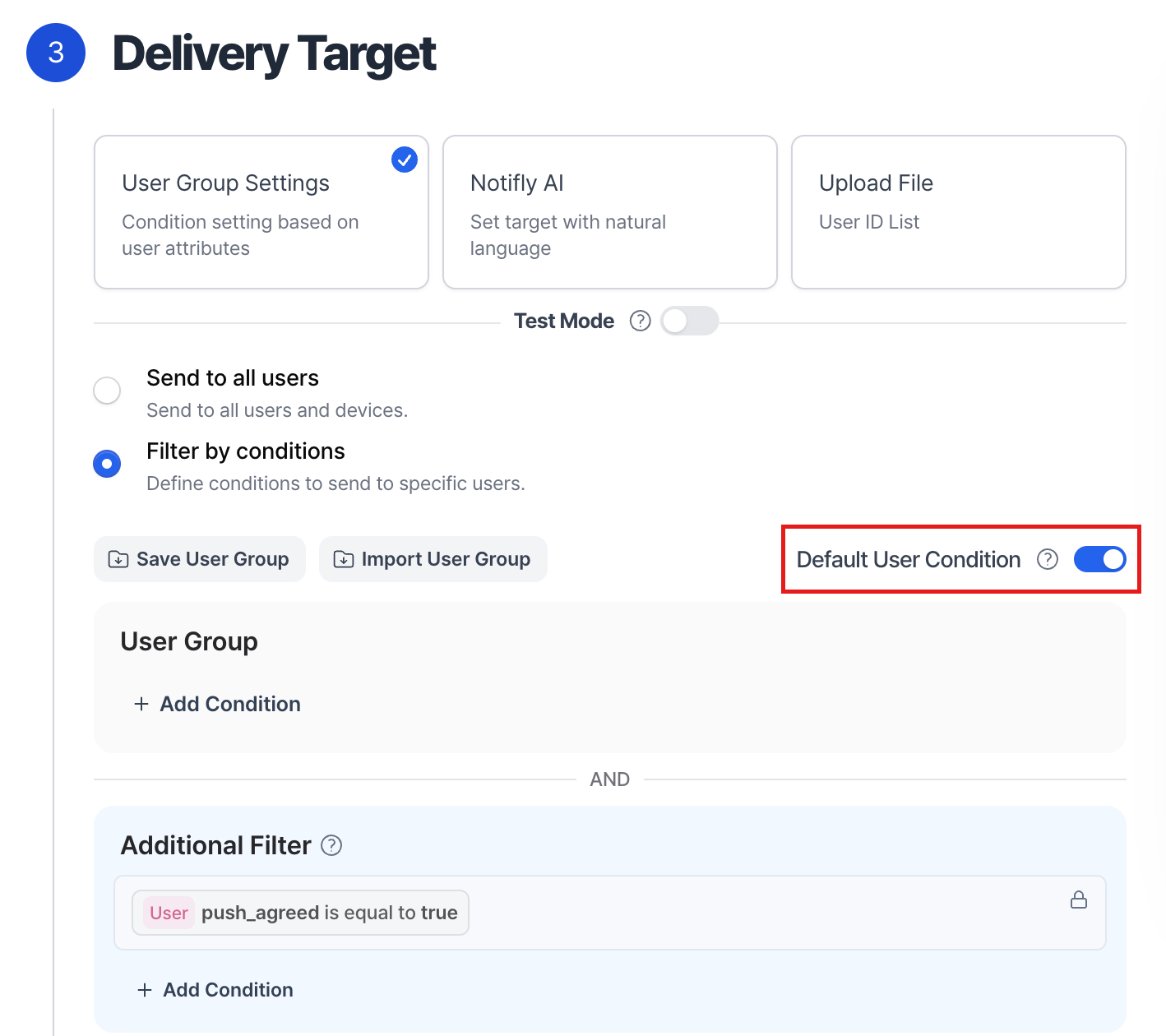
- The toggle is on by default. If you select Send to all users, Notifly does not apply default user conditions.
- While it’s on, Notifly adds the conditions to Additional Filter. Turn it off to skip the defaults for this campaign.
- To use different conditions for a particular campaign, follow these steps.
- In Delivery Target, turn off Default User Condition.
- Add the desired conditions manually under Additional Filter.
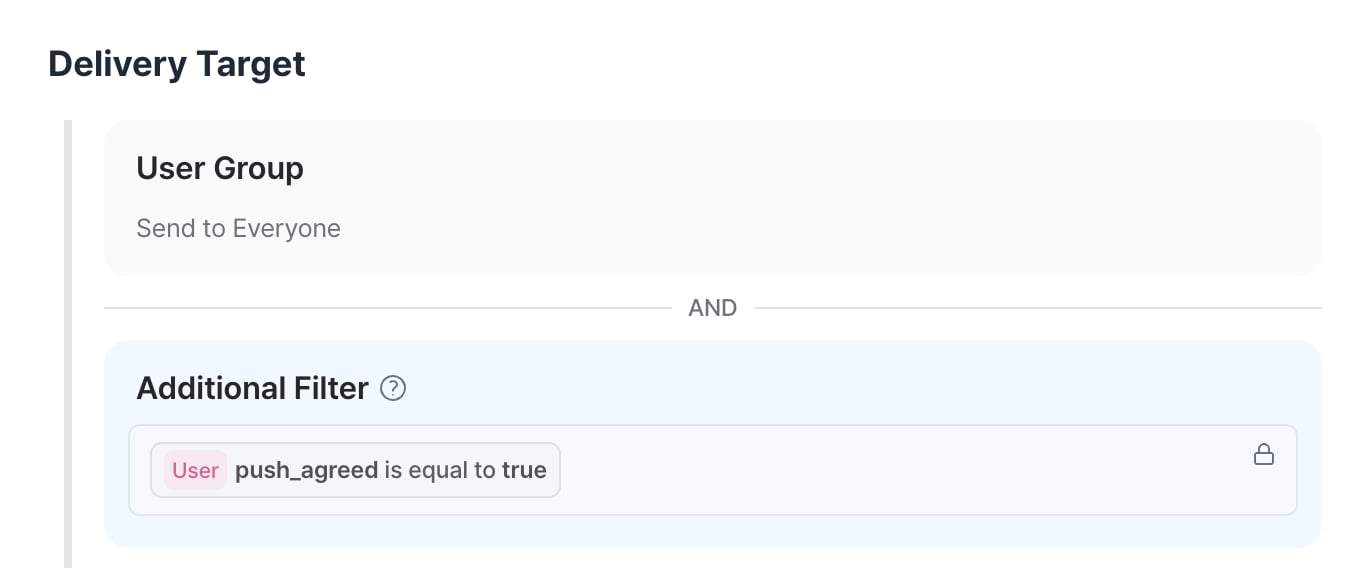
4-3. Use cases
Set defaults for conditions you use often. You can also use them to help include required targeting conditions for promotional messages.- In South Korea, Article 50 of the Act on Promotion of Information and Communications Network Utilization and Information Protection generally requires recipients’ express prior consent for covered commercial advertising messages. Default user conditions can help exclude users who haven’t opted in.
- If you store marketing consent as a separate user property for each channel, you can set default user conditions by channel. For example, for app push, require the marketing consent property to equal
true. - For an informational message, review which audience rules apply. Turn off the default user condition for that campaign only if you need to use a different set of conditions.
Example. Marketing consent for app push
Before sending promotional app push notifications, store each user’s marketing consent as a user property. Limit the campaign to users who opted in. To reuse that filter across campaigns, set it as the app push channel’s default user condition. For example, if you use themkt_push_agreed key to store consent, use this condition.
5. SDK and API credentials
Find the credentials you need for SDK integration and API development.- You can view the API Secret Key only in the dialog that opens when you create or rotate it. Store the secret securely on your development team’s server.
- Production and development share the same API credentials.
6. Billing Info
Review the billing information shown for your product. Depending on your billing arrangement, you can view your plan and next payment date, update your payment method, or register a coupon. Check any separate agreement for your billing terms.To review past payments, open Payment History in the left sidebar.