
1. Save marketing consent as a user property
When a user changes their preference on the opt-out page or in your app’s notification settings, use the app SDK to save the new consent status in Notifly. The SDK examples below show how to save a user’s opt-in.- iOS
- Android
- React Native
- Flutter
iOS
2. Add a default audience condition (optional)
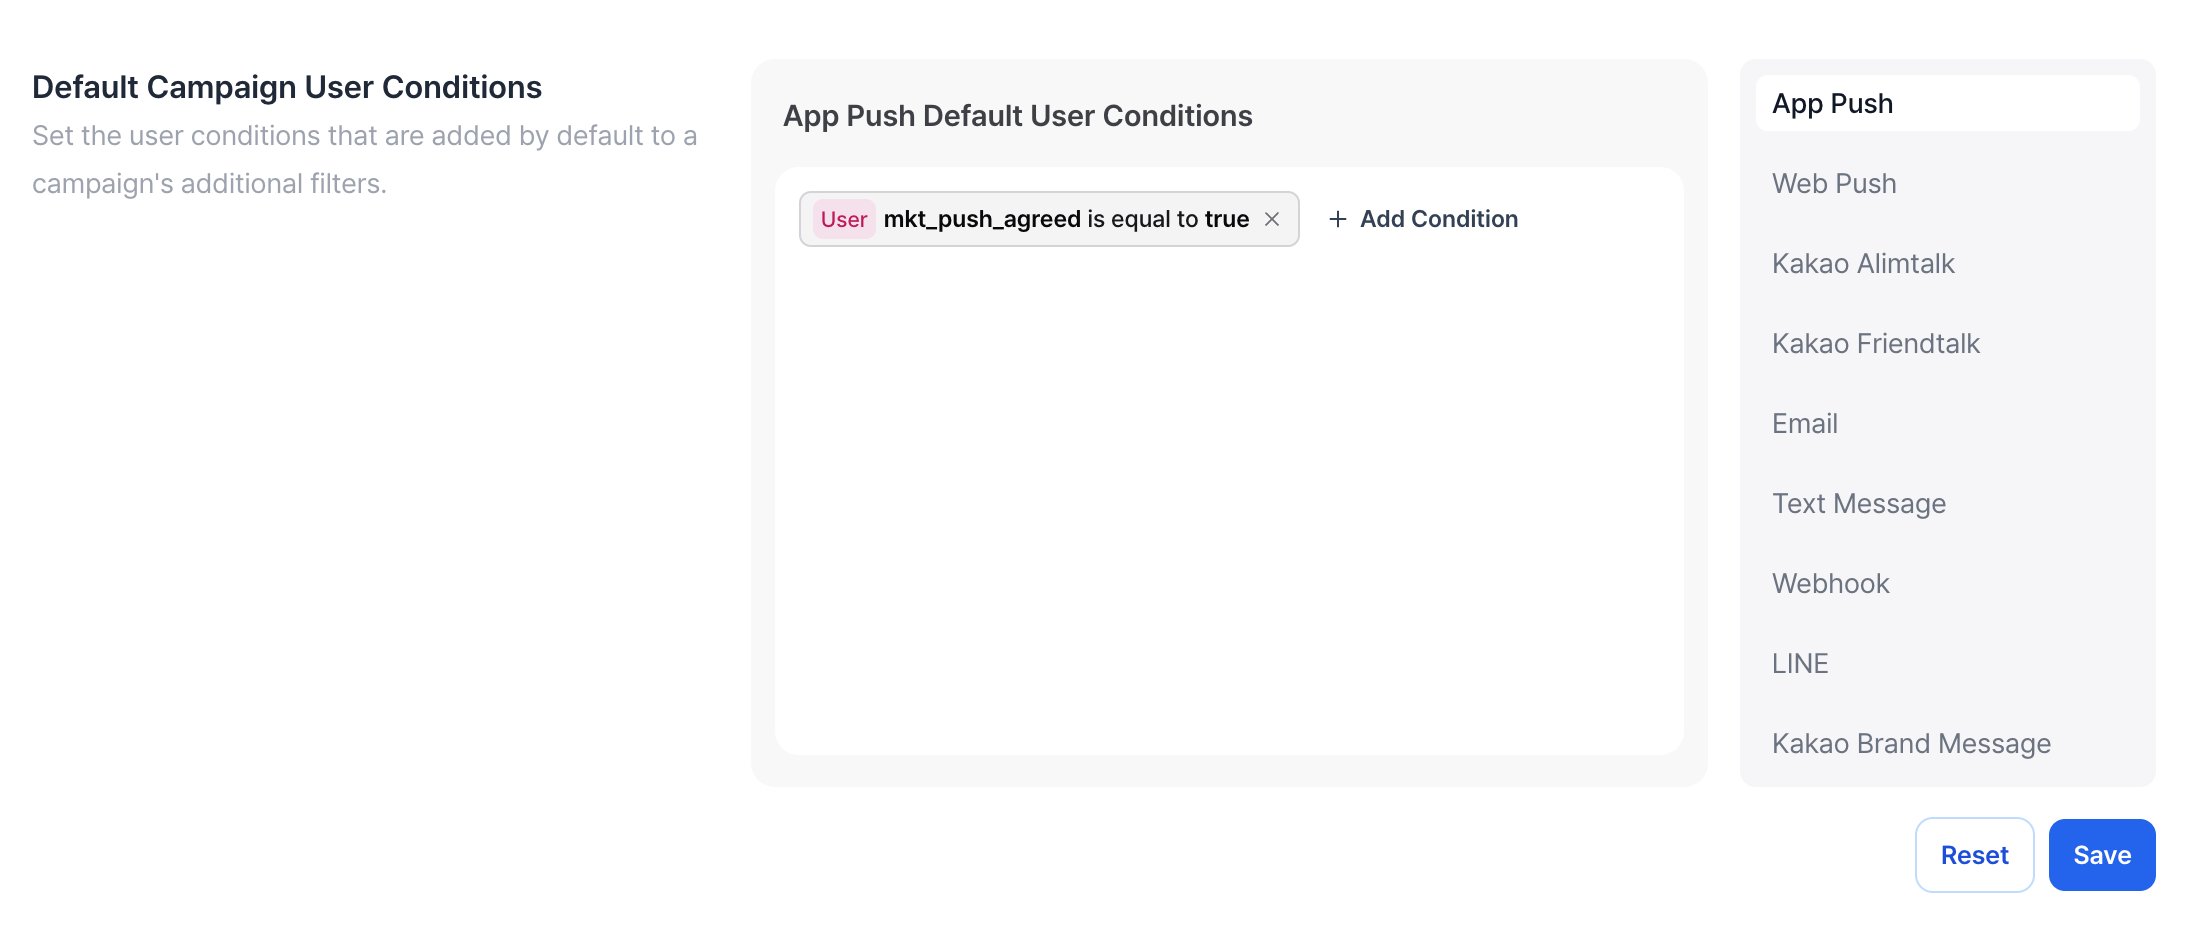
In Settings > Product & Project > Default Campaign User Conditions, add a condition for the app push channel. The screenshot usesmkt_push_agreed as an example. Select the key your service uses to store marketing consent.
3. Register a marketing opt-out page
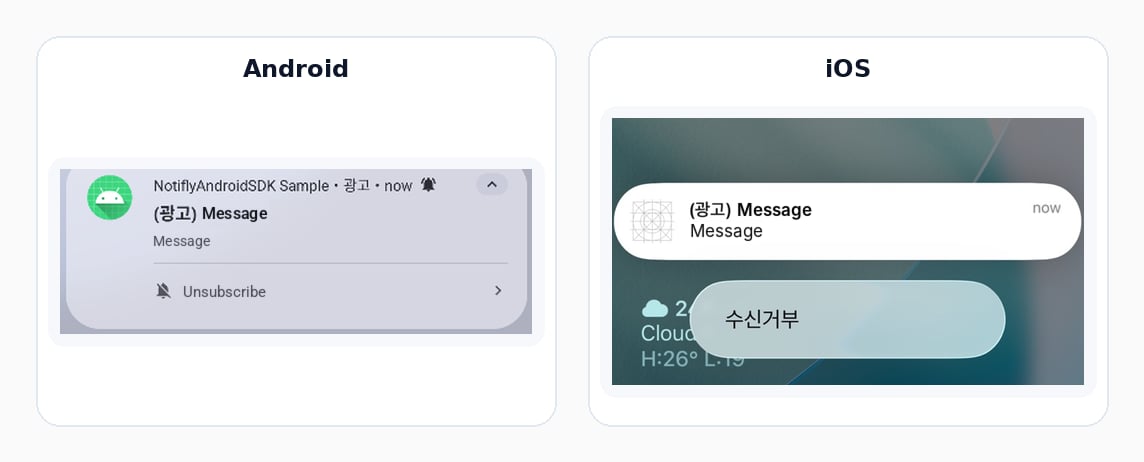
To use the built-in opt-out button in a single-language notification, register the Marketing Unsubscribe Page in Settings > Channel Settings > Push Notification (App). Enter the URL or deep link for the page that should open when a user taps the opt-out button. To open your app’s notification settings, enter a deep link the app can handle. For promotional app notifications in South Korea, check the opt-out requirements for your flow. KISA’s guidance covers avoiding steps such as requiring the user to sign in to opt out. See the KISA anti-spam guide (Korean).
Examples by platform
4. Configure a promotional app push campaign
Under Delivery Target > User Group Settings, select Filter by conditions. If you saved a marketing consent filter for app push, turn on Default User Condition. Otherwise, add a condition that includes only users who have opted in. The default condition does not apply when you select Send to all users or use a CSV audience. If you use a CSV, include only recipients who have opted in.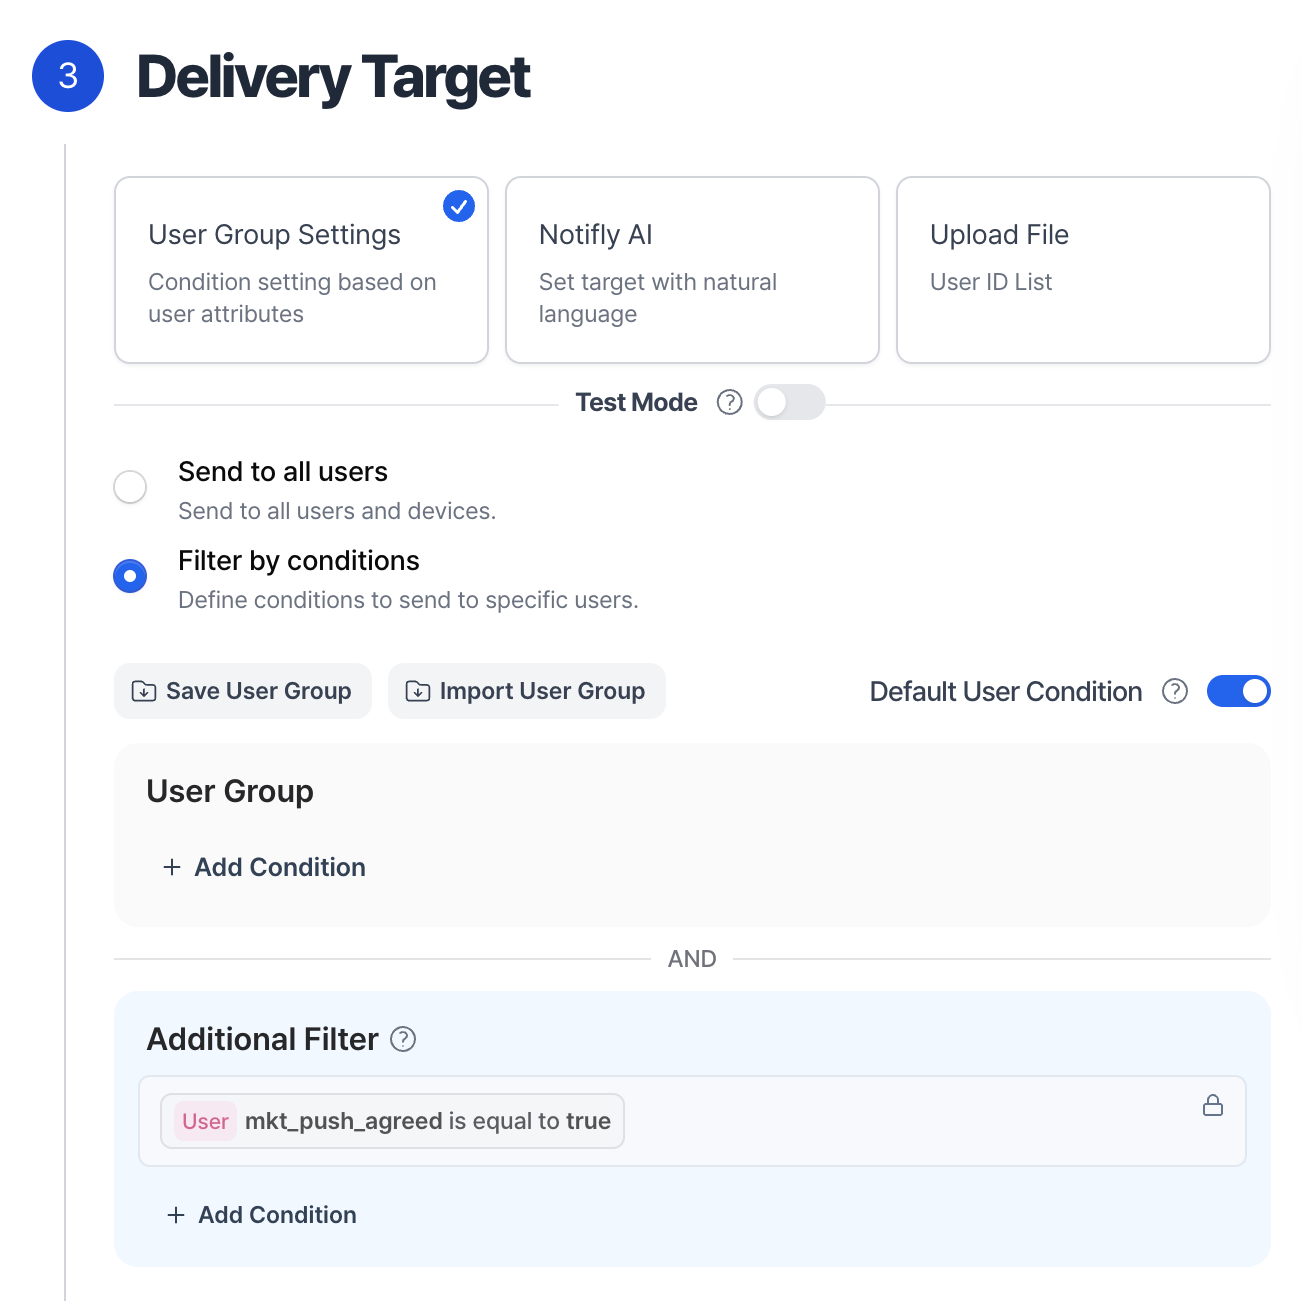
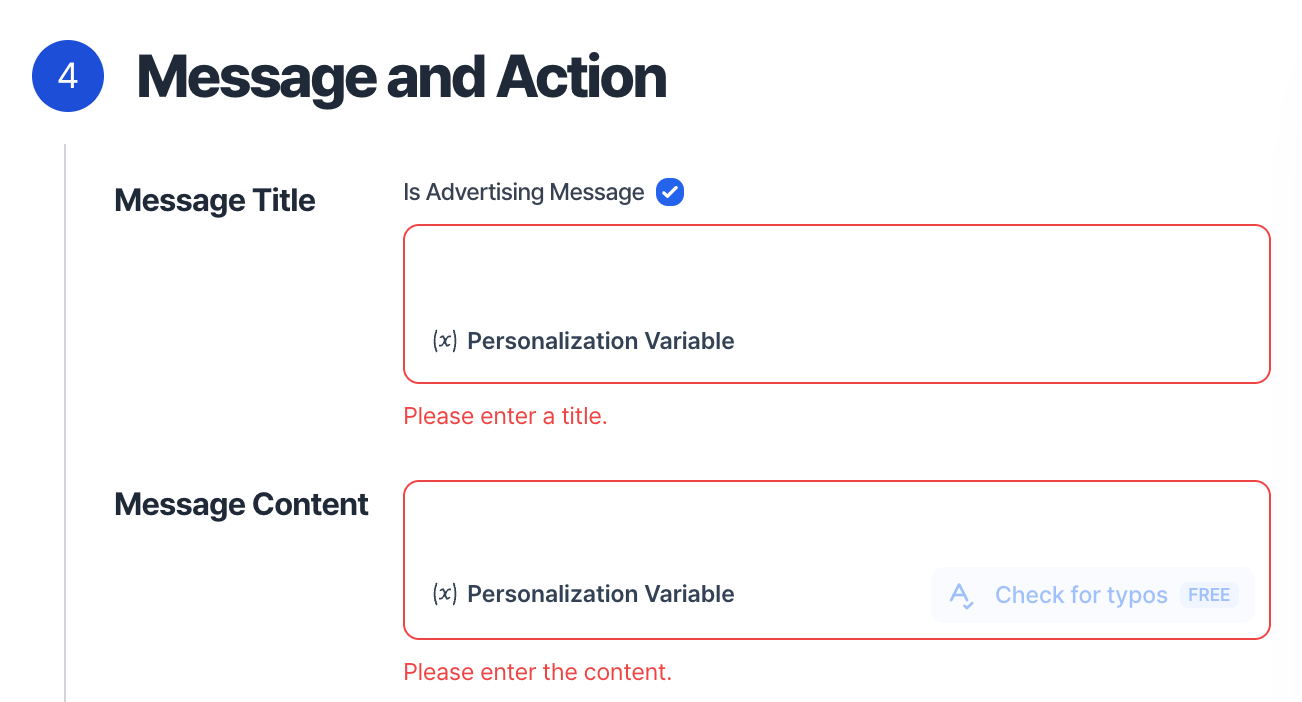
Before sending to your audience, run an internal test campaign. For a scheduled or event-triggered campaign, keep the consent filter on. In Delivery Target > User Group Settings, turn on Test Mode.In Test Recipients List, enter the external user IDs of internal testers who have opted in. Before you run the campaign, check that the list contains at least one tester and includes only those testers.
- Single-language messages: Check that the opt-out button appears in the test notification. Tap it to check that it opens the page you registered.
- Localized messages: Check that each language version shows the required advertising disclosures and that the opt-out instructions work.
FAQ
Does registering an opt-out URL stop future sends to users who opt out?
Does registering an opt-out URL stop future sends to users who opt out?
The URL only opens the opt-out page. Save the user’s new consent status in Notifly when they opt out. Then filter the campaign to include only users who have opted in.
Do informational push notifications need the marketing consent filter?
Do informational push notifications need the marketing consent filter?
The marketing consent filter is required for promotional push notifications. To send an informational push notification without this filter, turn off Default User Condition for the campaign or use a separate condition.