1. Web push components
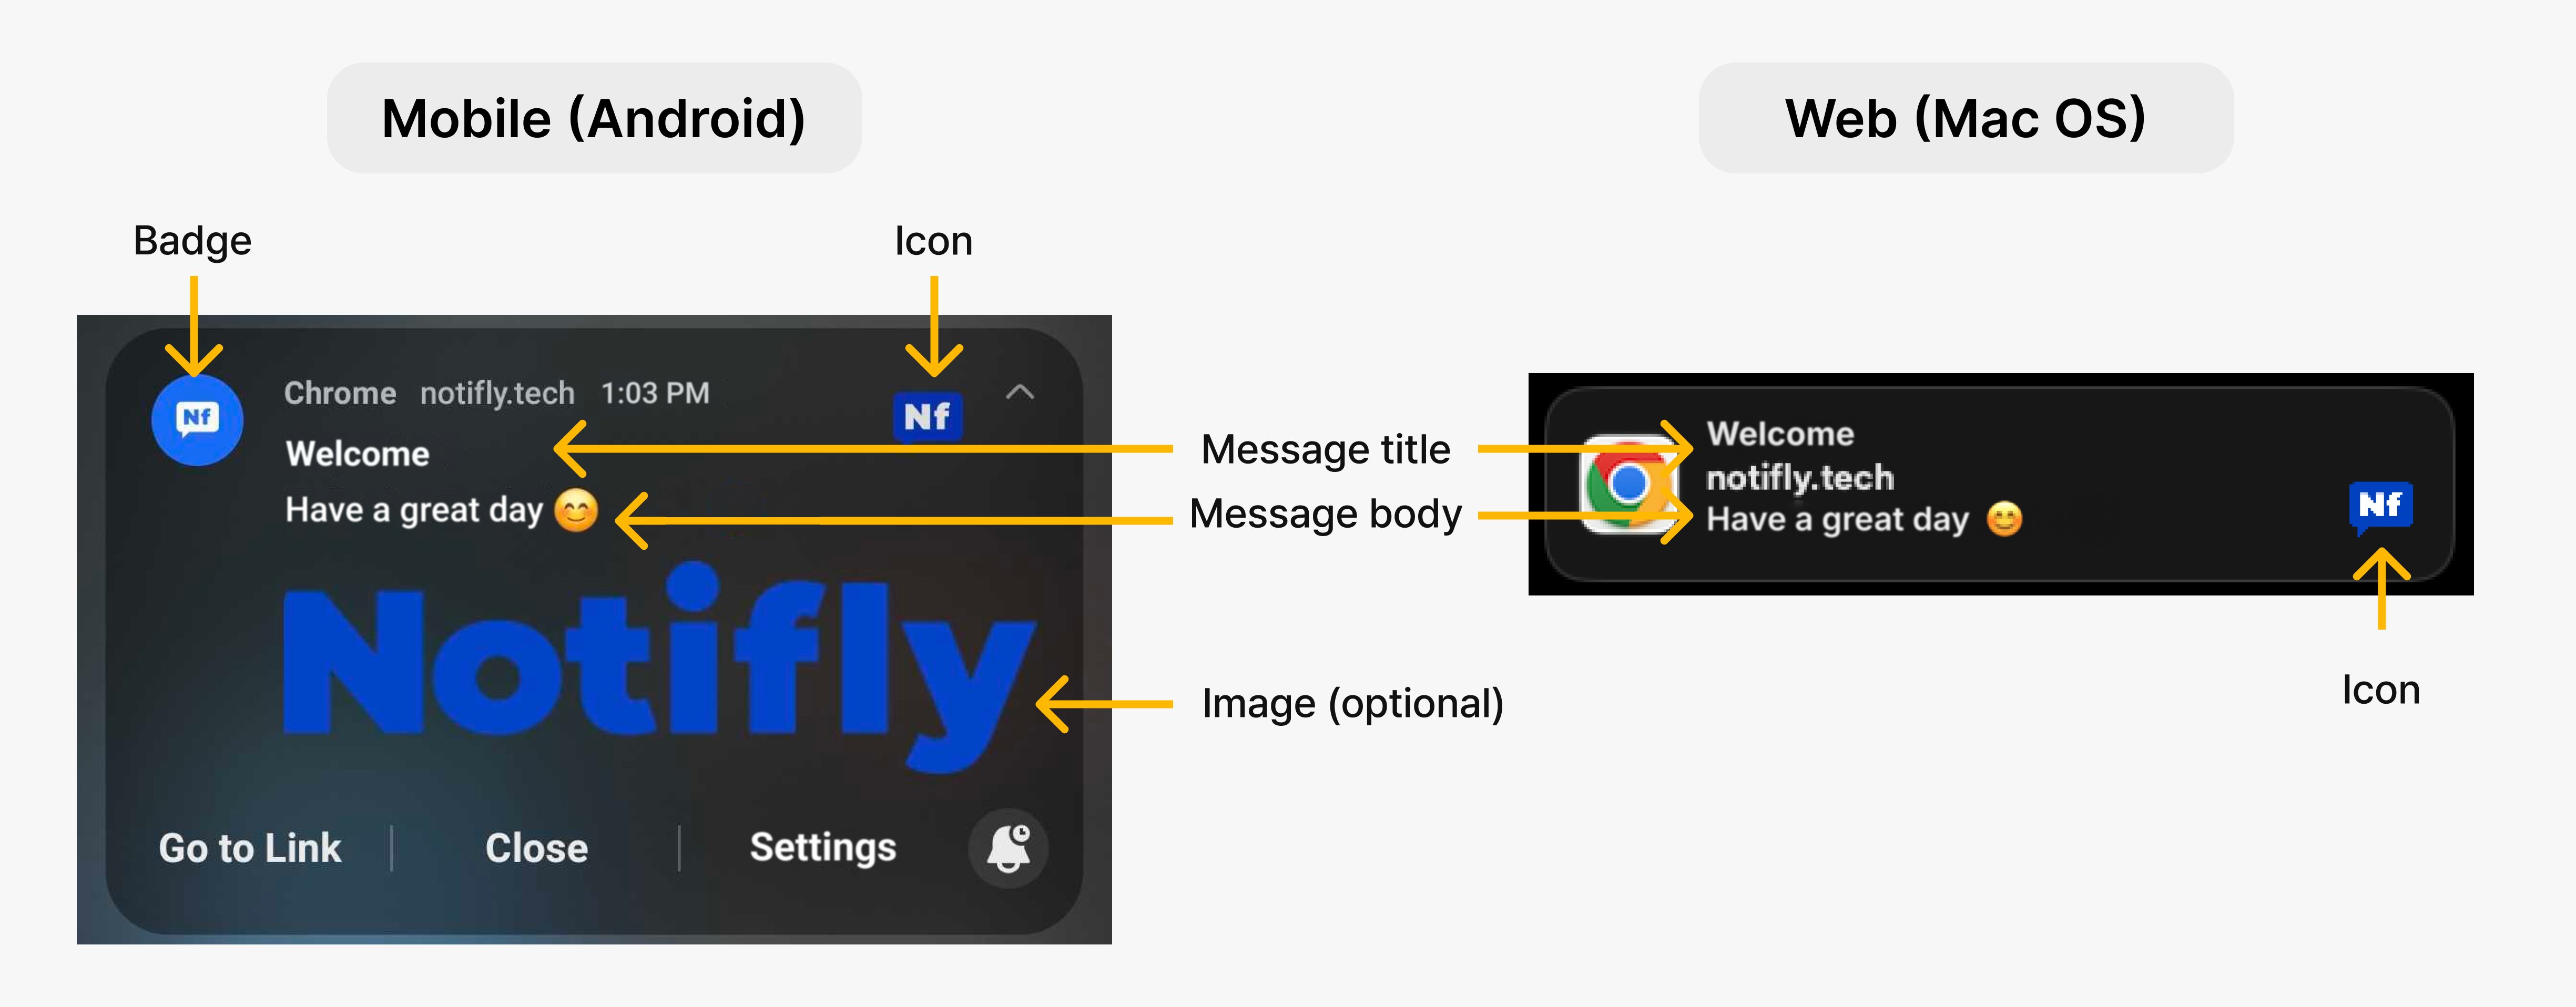
1-1. Notification title and body
Enter the title and body of the notification in the campaign.1-2. Image (optional)
Set the notification image in the campaign.- Use a PNG or JPEG (.jpg or .jpeg) file. A file size of 200 KB or less is recommended.
- We recommend an image of at least 360 × 240 pixels. Check how it looks on desktop and mobile because the display size and aspect ratio can vary.
1-3. Web push icon
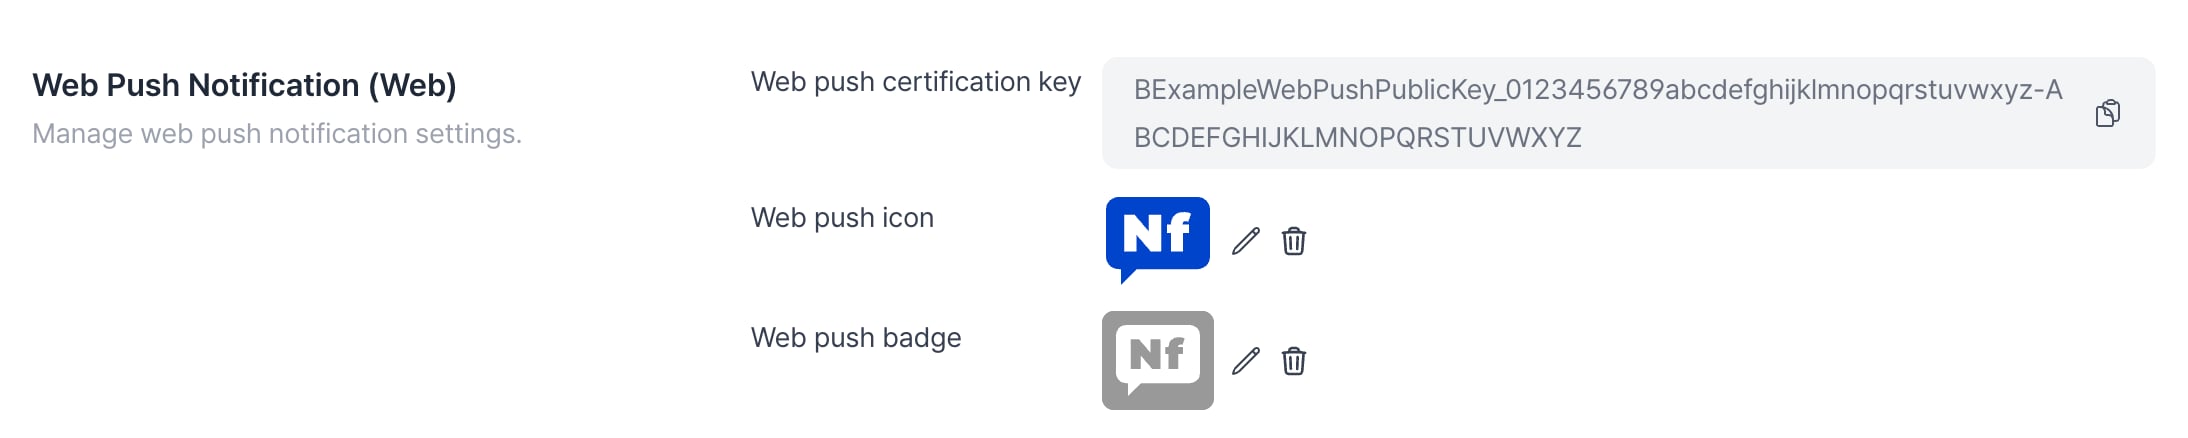
Set the icon under Web push icon in the channel settings. Upload an image or enter its URL.- Use a PNG or JPEG (.jpg or .jpeg) file. A file size of 100 KB or less is recommended.
- Use a 192 × 192 pixel image with a transparent background.
1-4. Web push badge
Set the badge under Web push badge in the channel settings. Upload an image or enter its URL.- Use a PNG or JPEG (.jpg or .jpeg) file. A file size of 100 KB or less is recommended.
- Use a 72 × 72 pixel black-and-white icon with a transparent background.
1-5. Image, icon, and badge support by platform and browser
In the table, O means supported and X means unsupported.2. Set the web push badge and icon
- Sign in to the Notifly console and open Settings.
- Open Channel Settings > Web Push Notification (Web) and configure Web push icon and Web push badge.