
1. Install the Notifly custom template
- Download the latest template.
Download the template from the releases page.
- Korean template: template.ko.tpl
- English template: template.tpl. The steps below use this version.
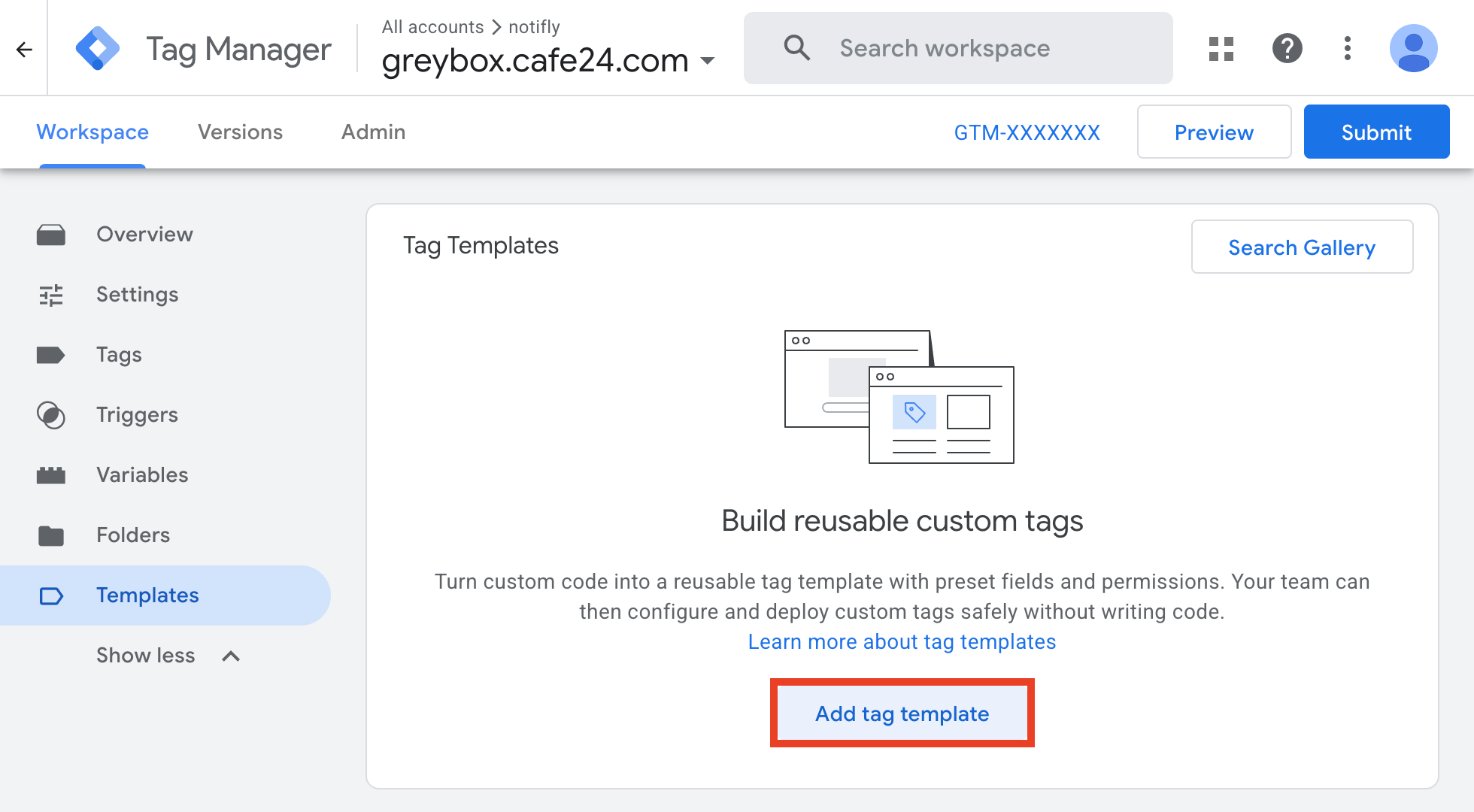
- In GTM, open Templates near the bottom of the left menu. Under Tag Templates, create a template. If the list is empty, click Add tag template.
- In the template editor, select ⋮ > Import in the upper right. Import the
.tplfile you downloaded.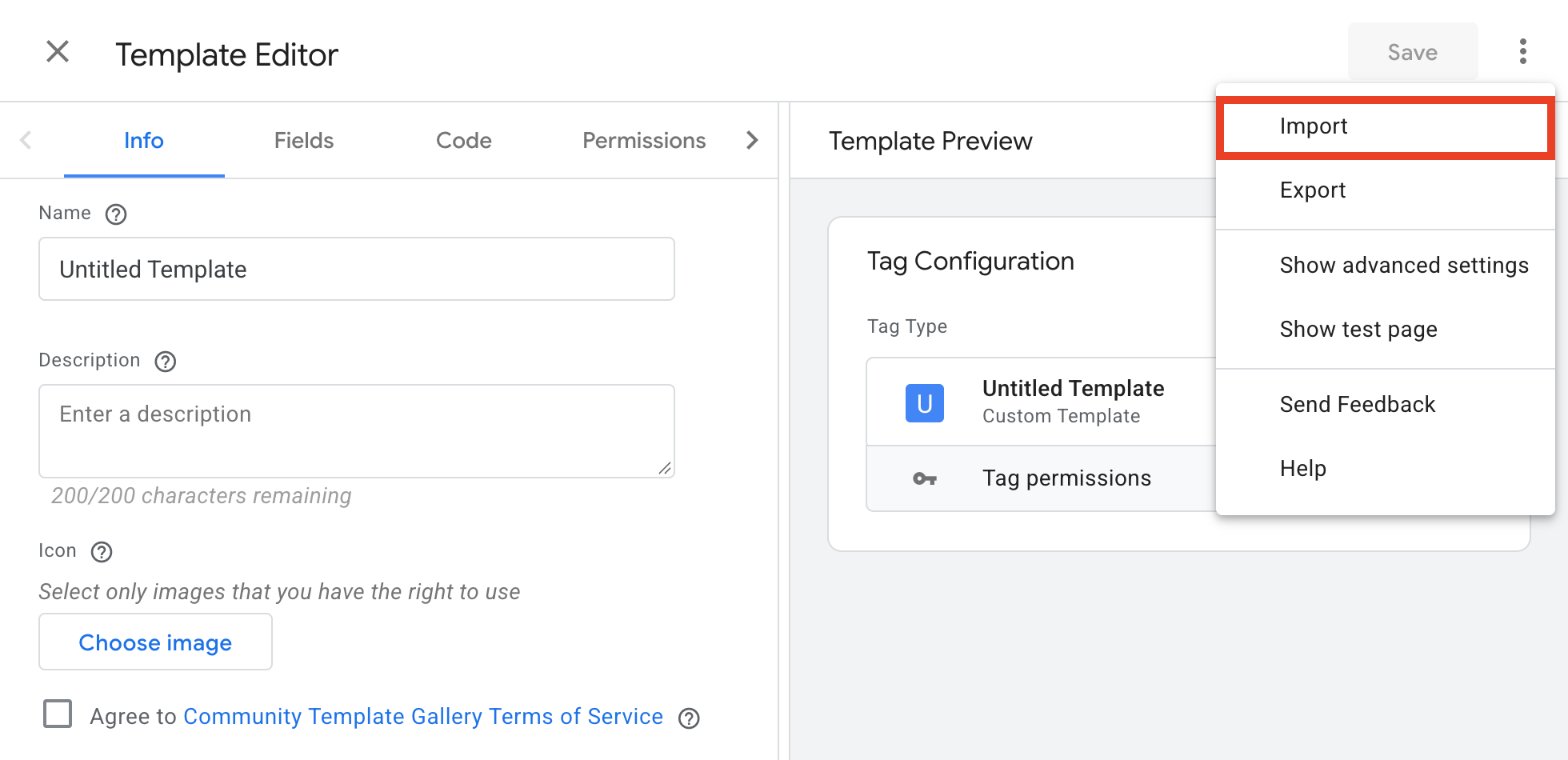
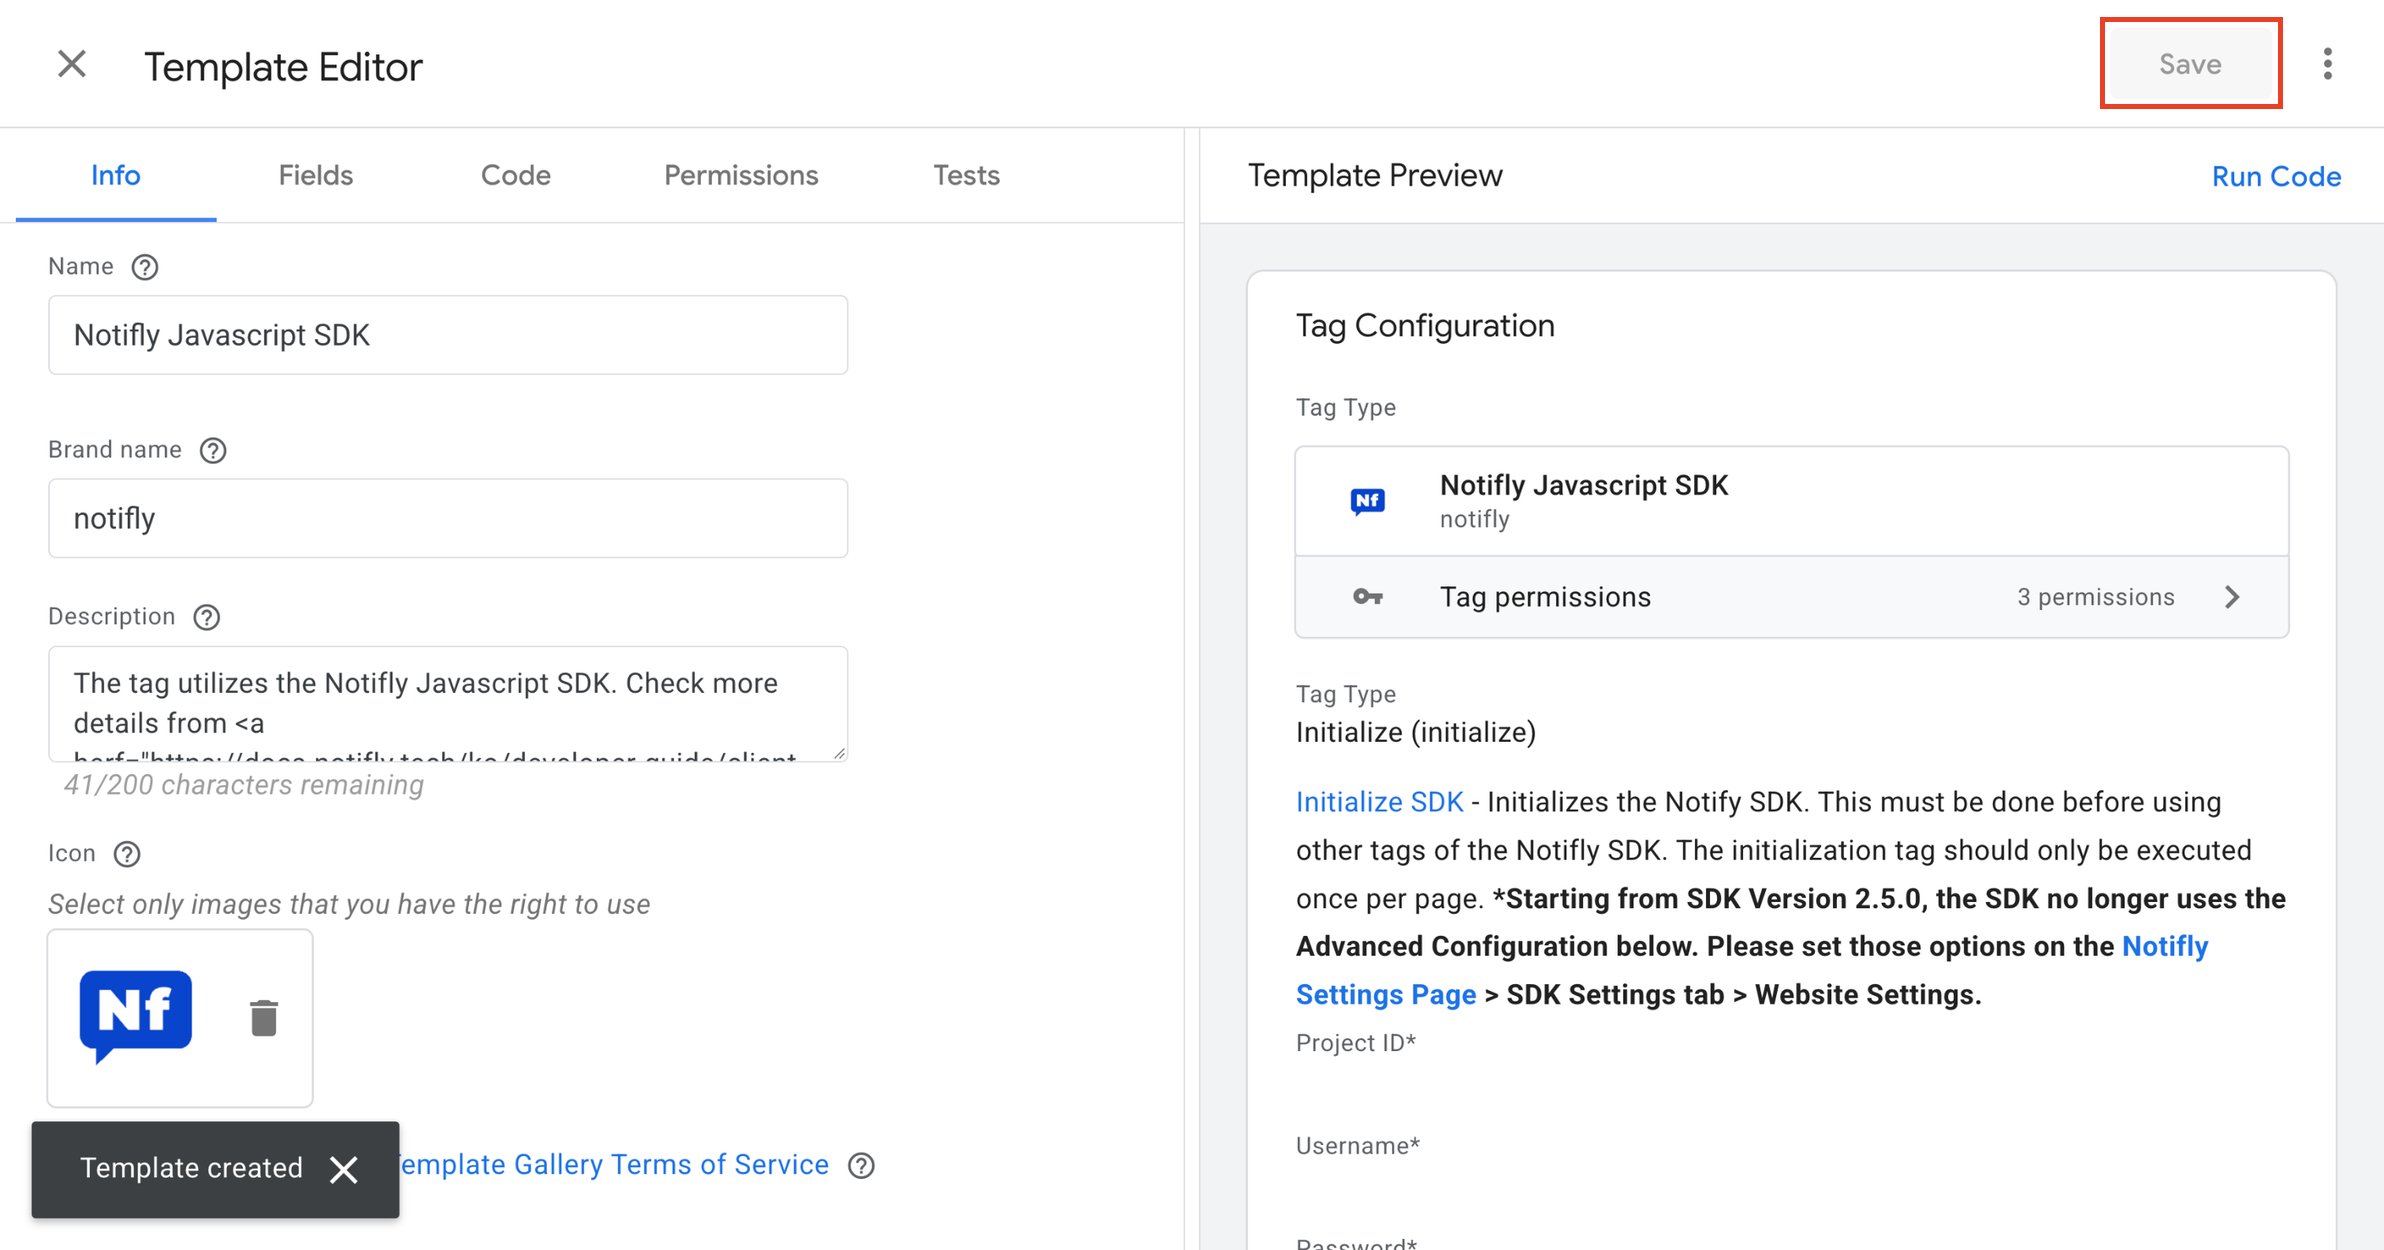
- Click Save. The Template created message appears at the bottom left.
2. Create an SDK initialization tag
- In Google Tag Manager, open Tags in the left menu and click New.
- Name the tag, then click Tag Configuration.
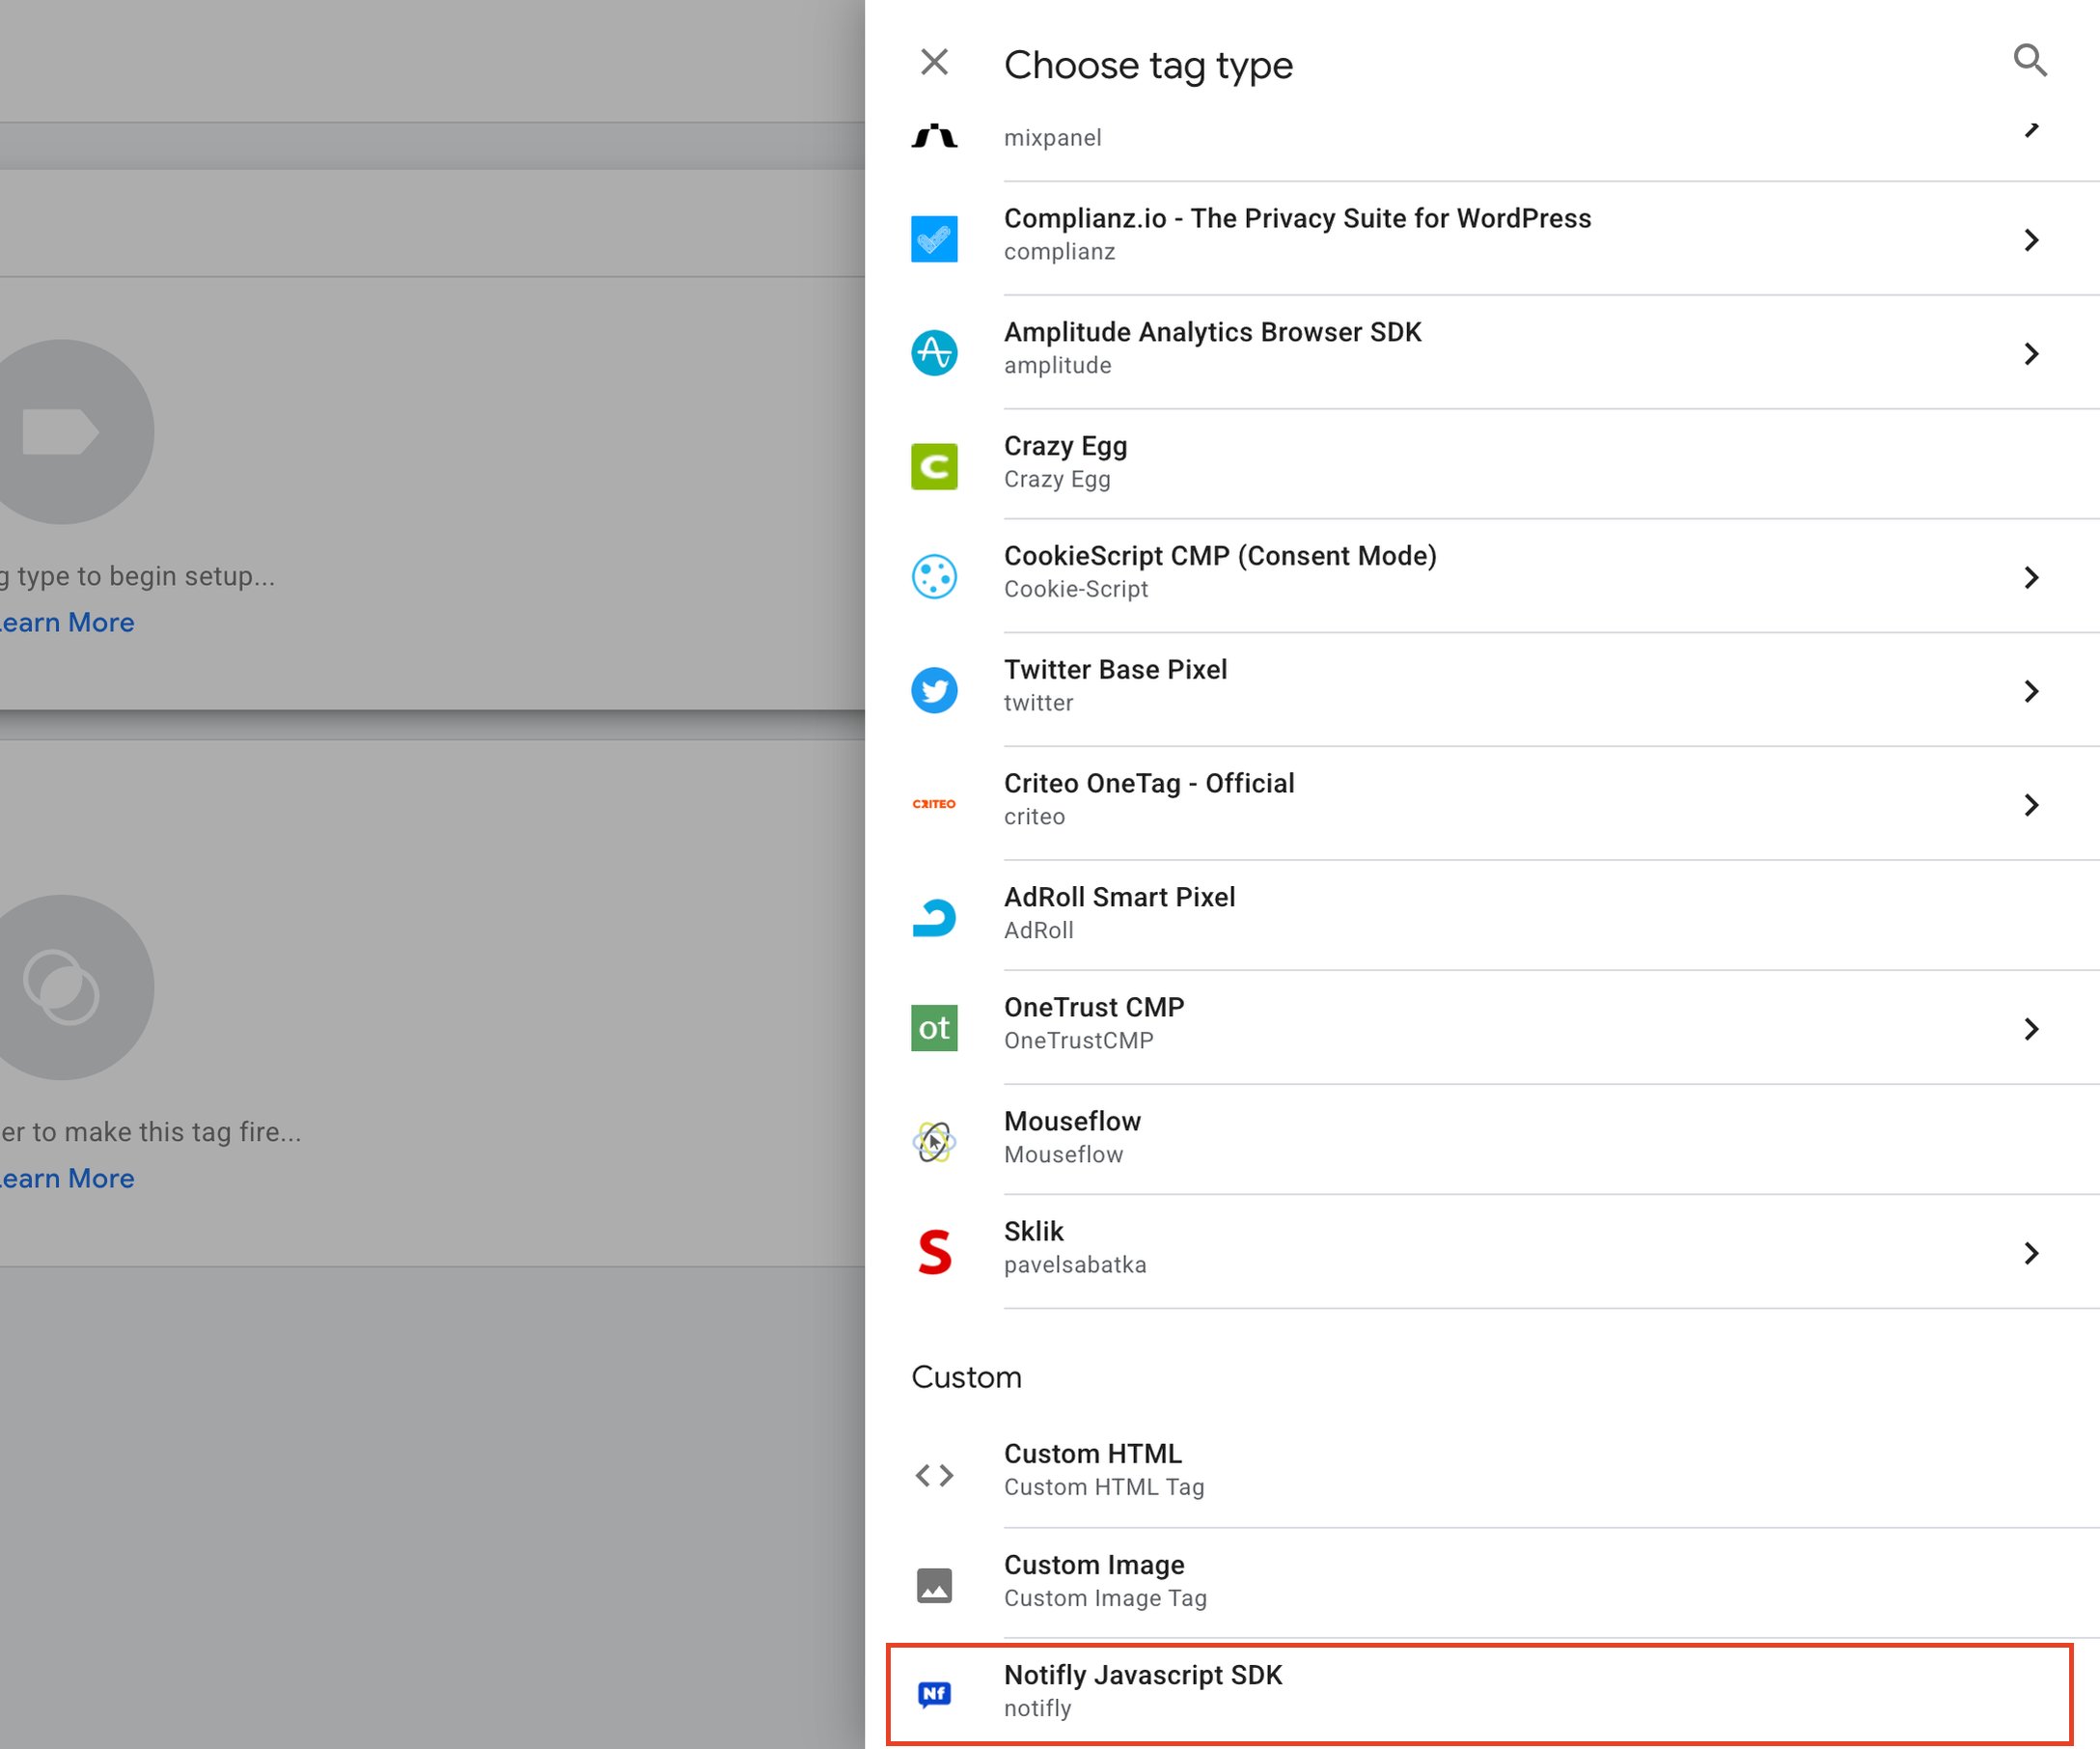
- Under Custom at the bottom of the tag type list, select Notifly Javascript SDK.
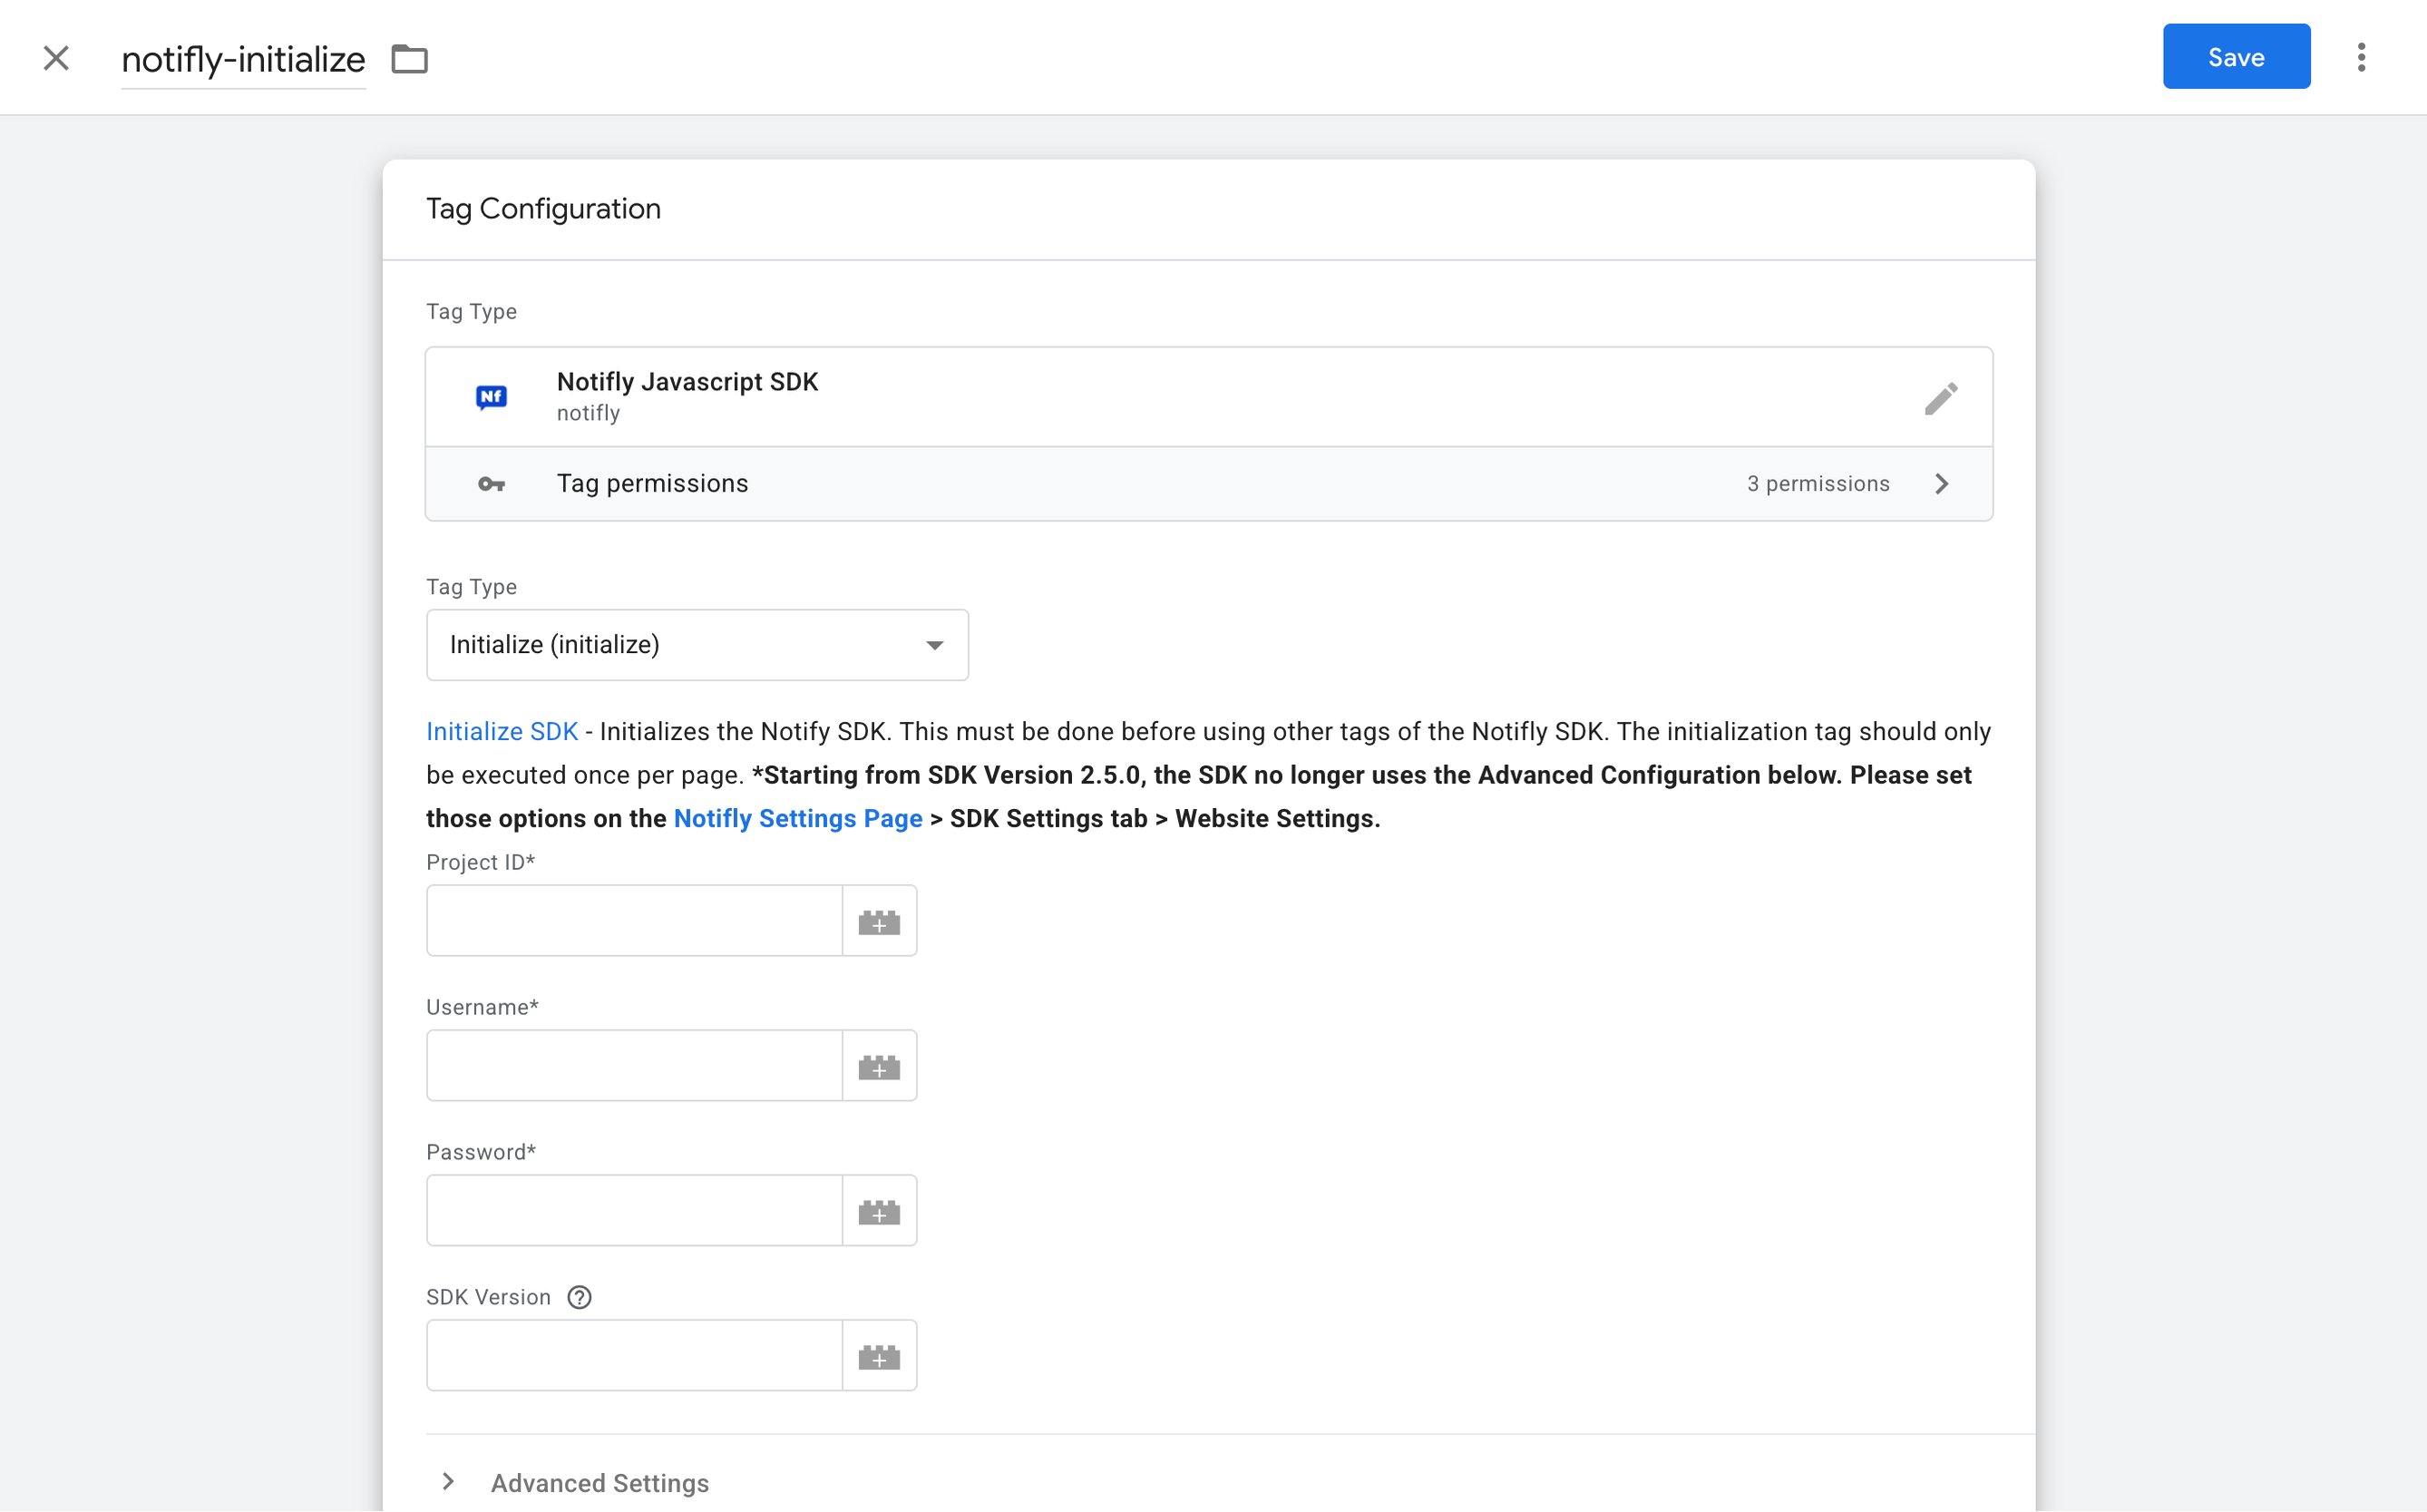
- In the tag configuration, set Tag Type to Initialize (initialize) (SDK 초기화 (initialize) in the Korean template), then enter Project ID* and Username*. Password* is a placeholder for backward compatibility. Do not enter a real password or API Secret Key. Enter the same nonempty value as Username*. See the Notifly SDK initialization options.
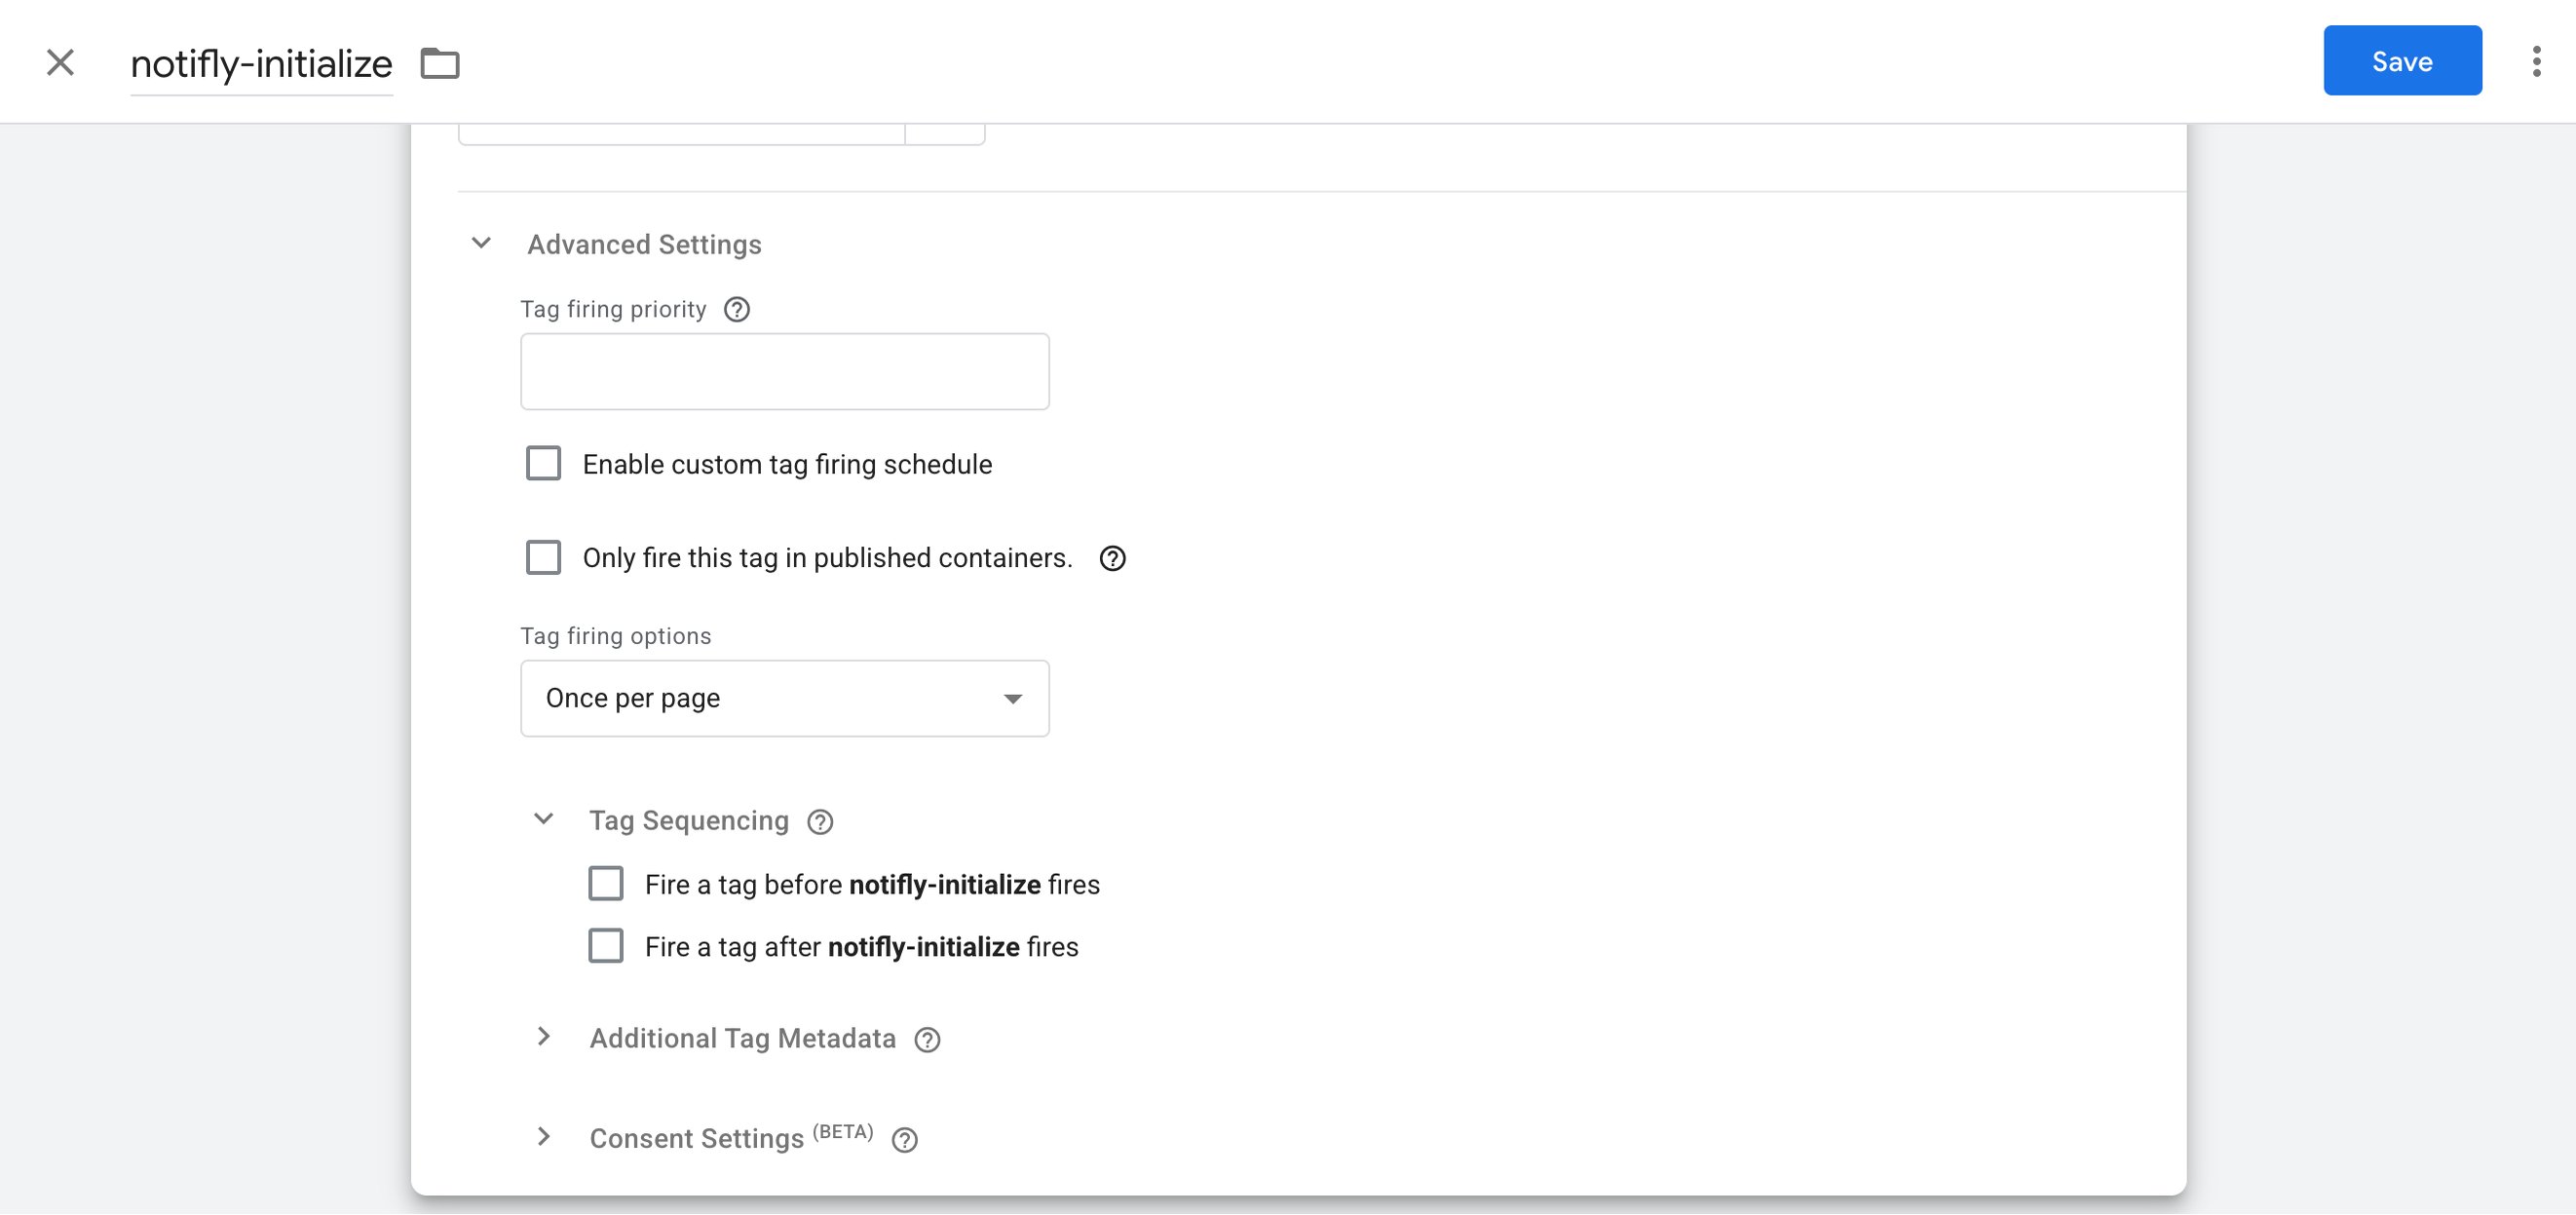
- Advanced settings
- Set Tag firing options to Once per page.
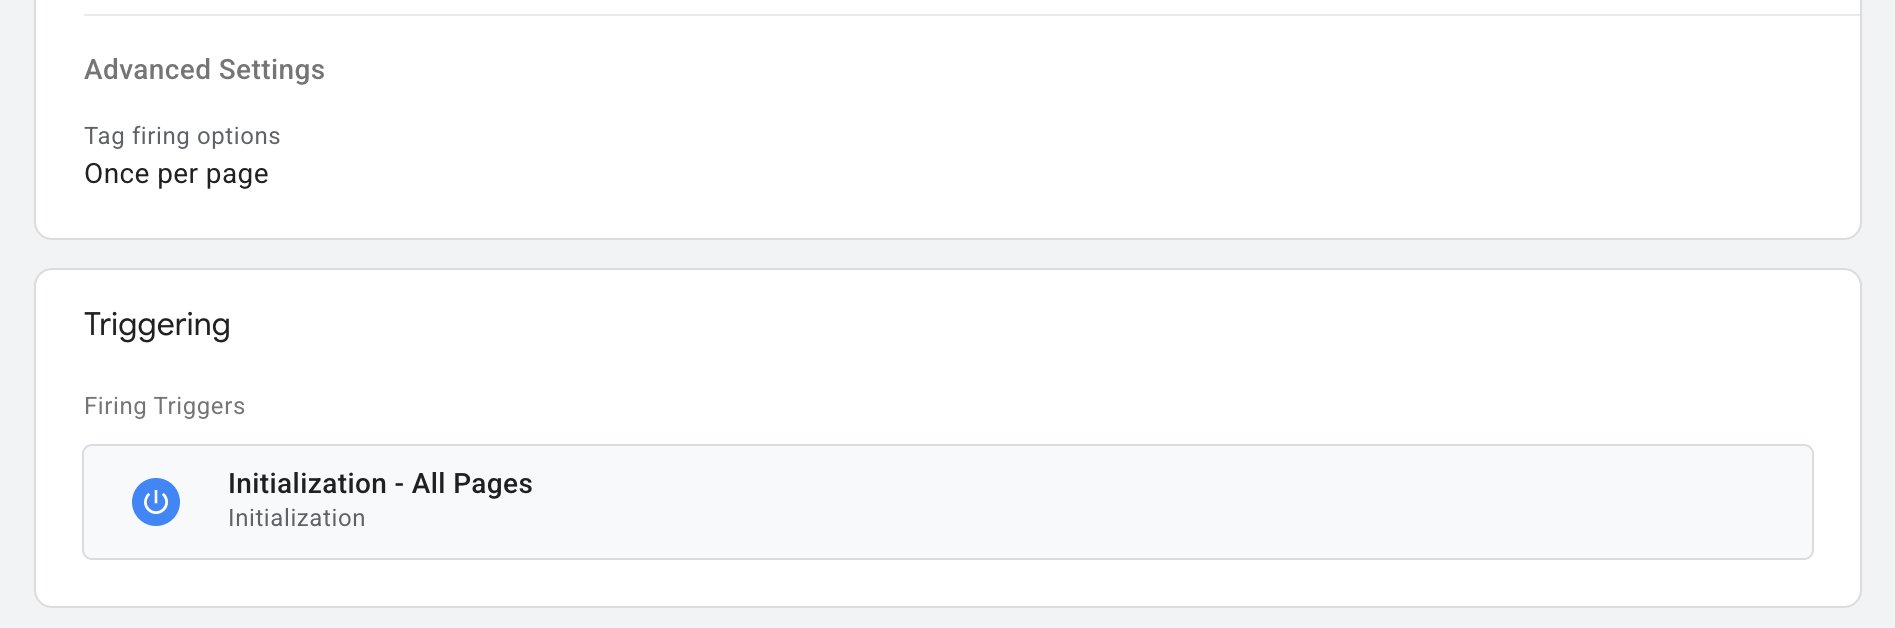
- Set the trigger to Initialization - All Pages.
3. Manage users
SetuserId and userProperties for campaign targeting and personalization. You can also store values such as push notification consent in userProperties and use them in filters.
The SDK initialization tag must run first.
1. Set the user ID (setUserId)
- Go to Tags > New, name the tag, for example Notifly – setUserId, then click Tag Configuration.
-
Set Tag Type to Set User ID (setUserId) (유저 아이디 등록 (setUserId) in the Korean template). In the User ID field (유저 아이디 in the Korean template), select a GTM variable, such as
{{User ID}}.\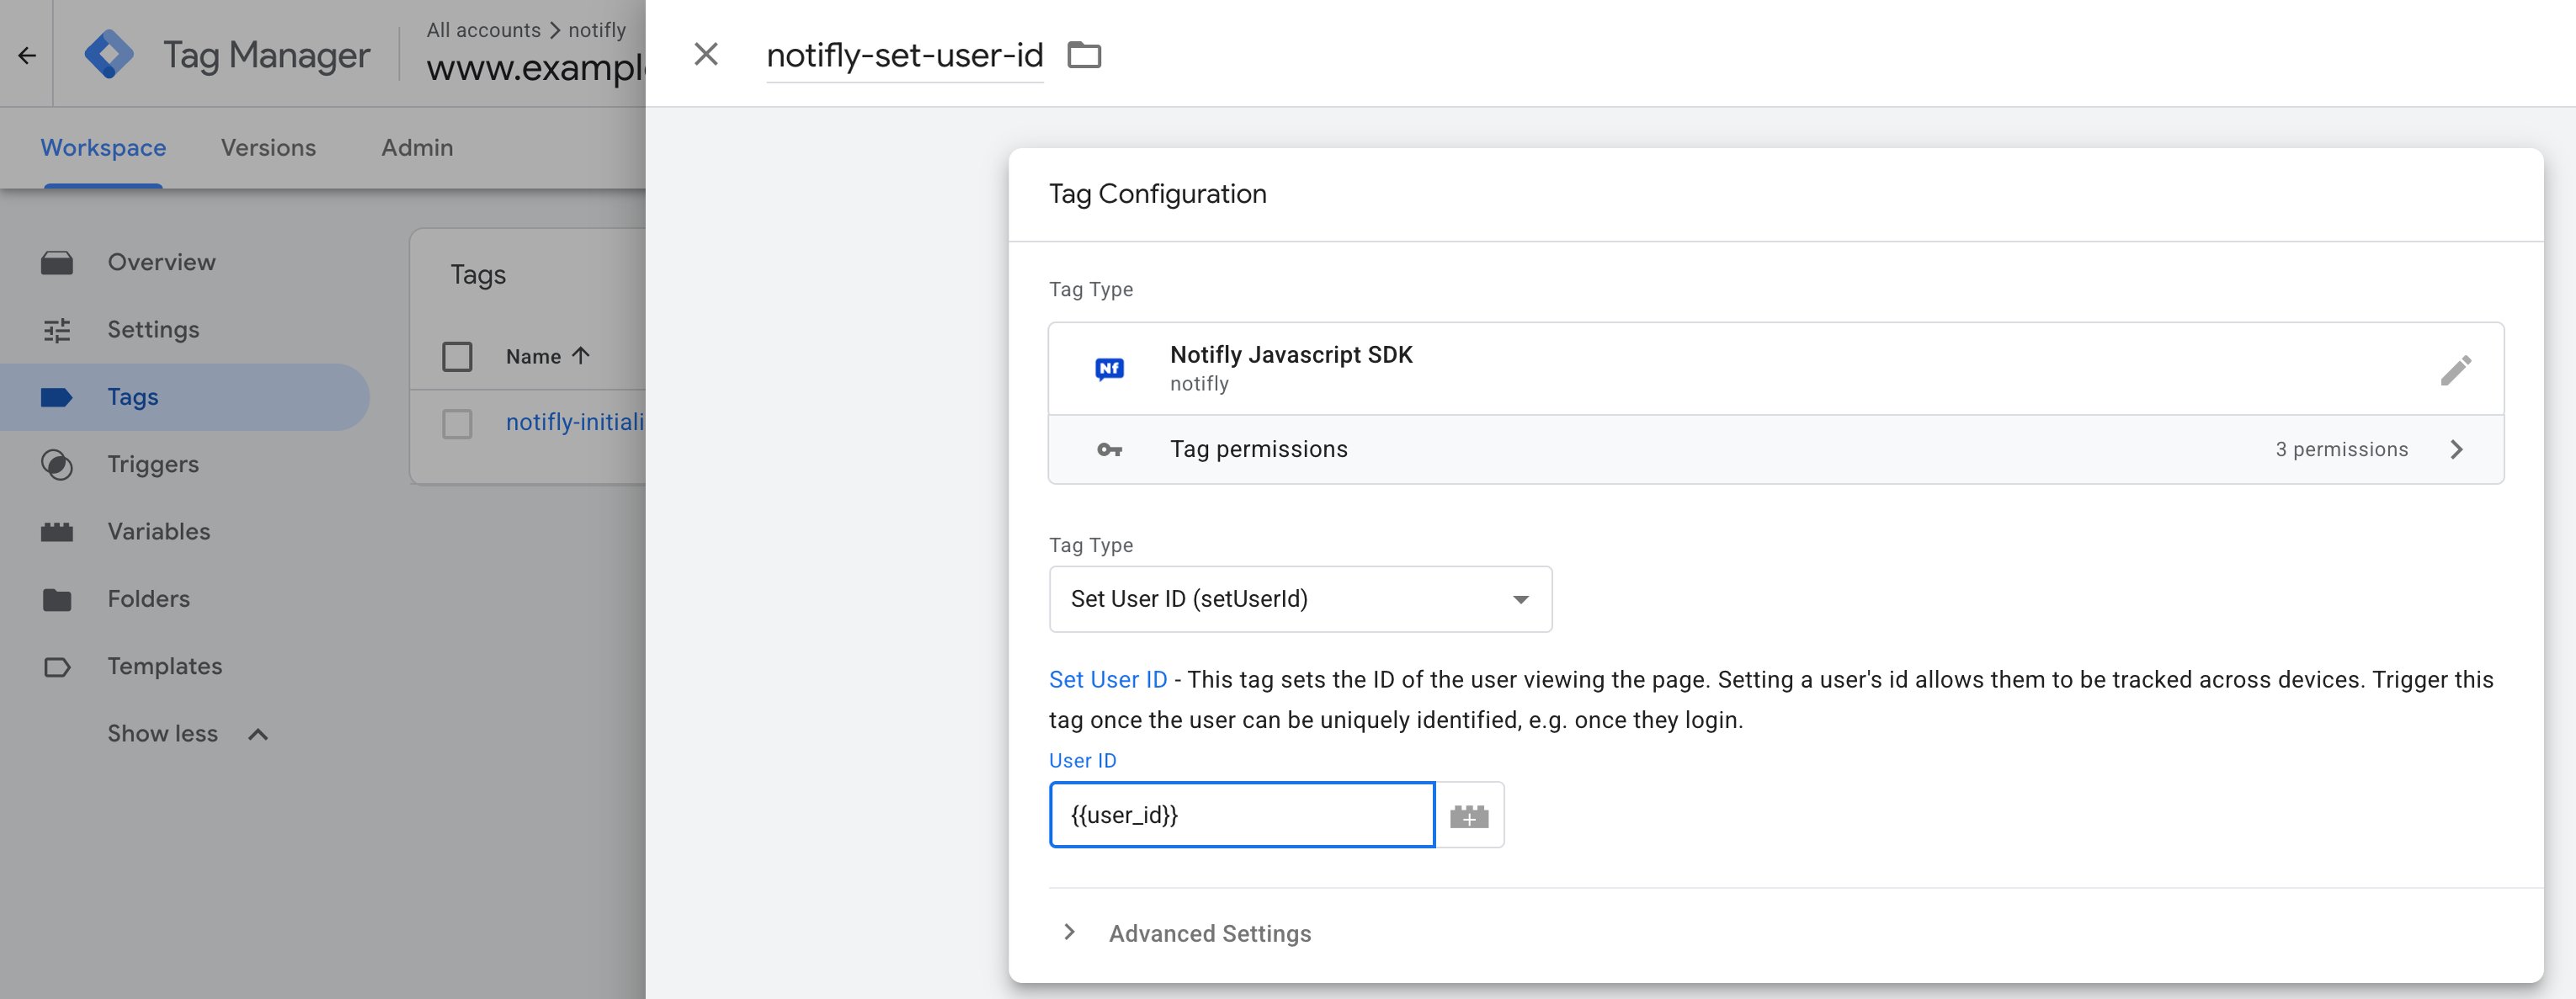
-
In Tag Sequencing, configure the SDK initialization tag to run first. Other tags do not work unless the initialization tag has run.
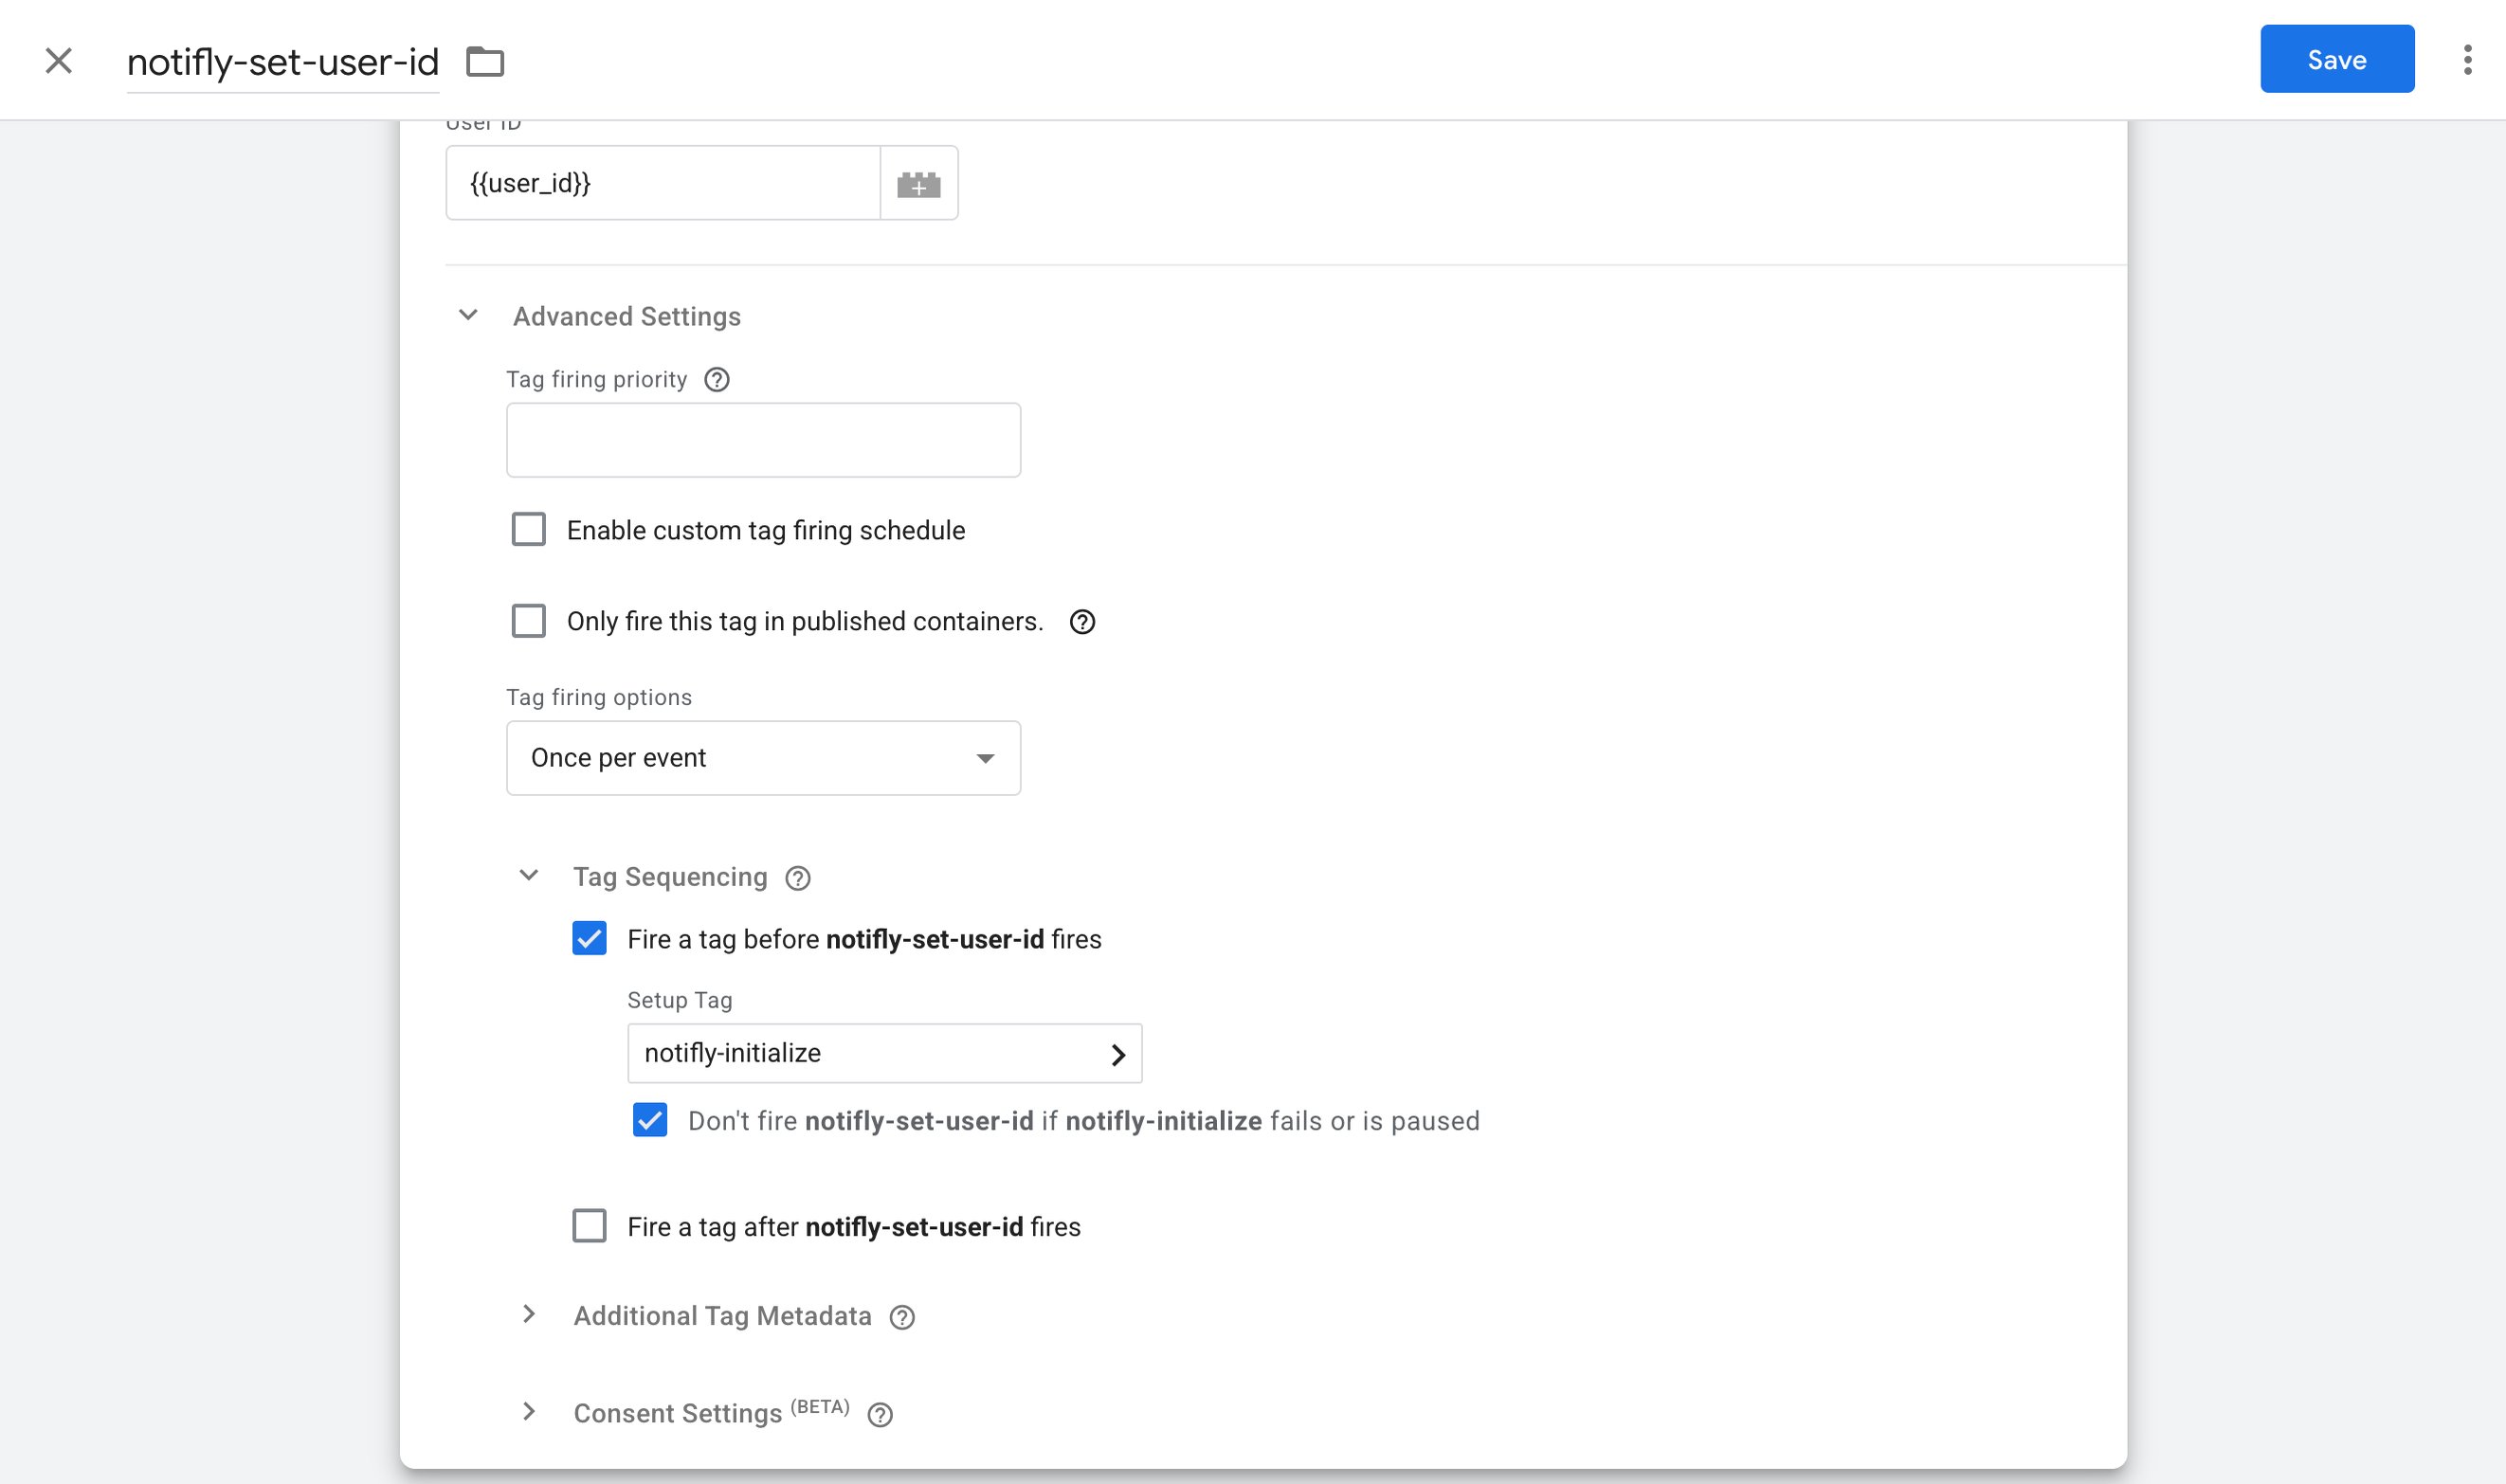
-
Use a custom event that fires after sign-in, such as
login_success, as the trigger.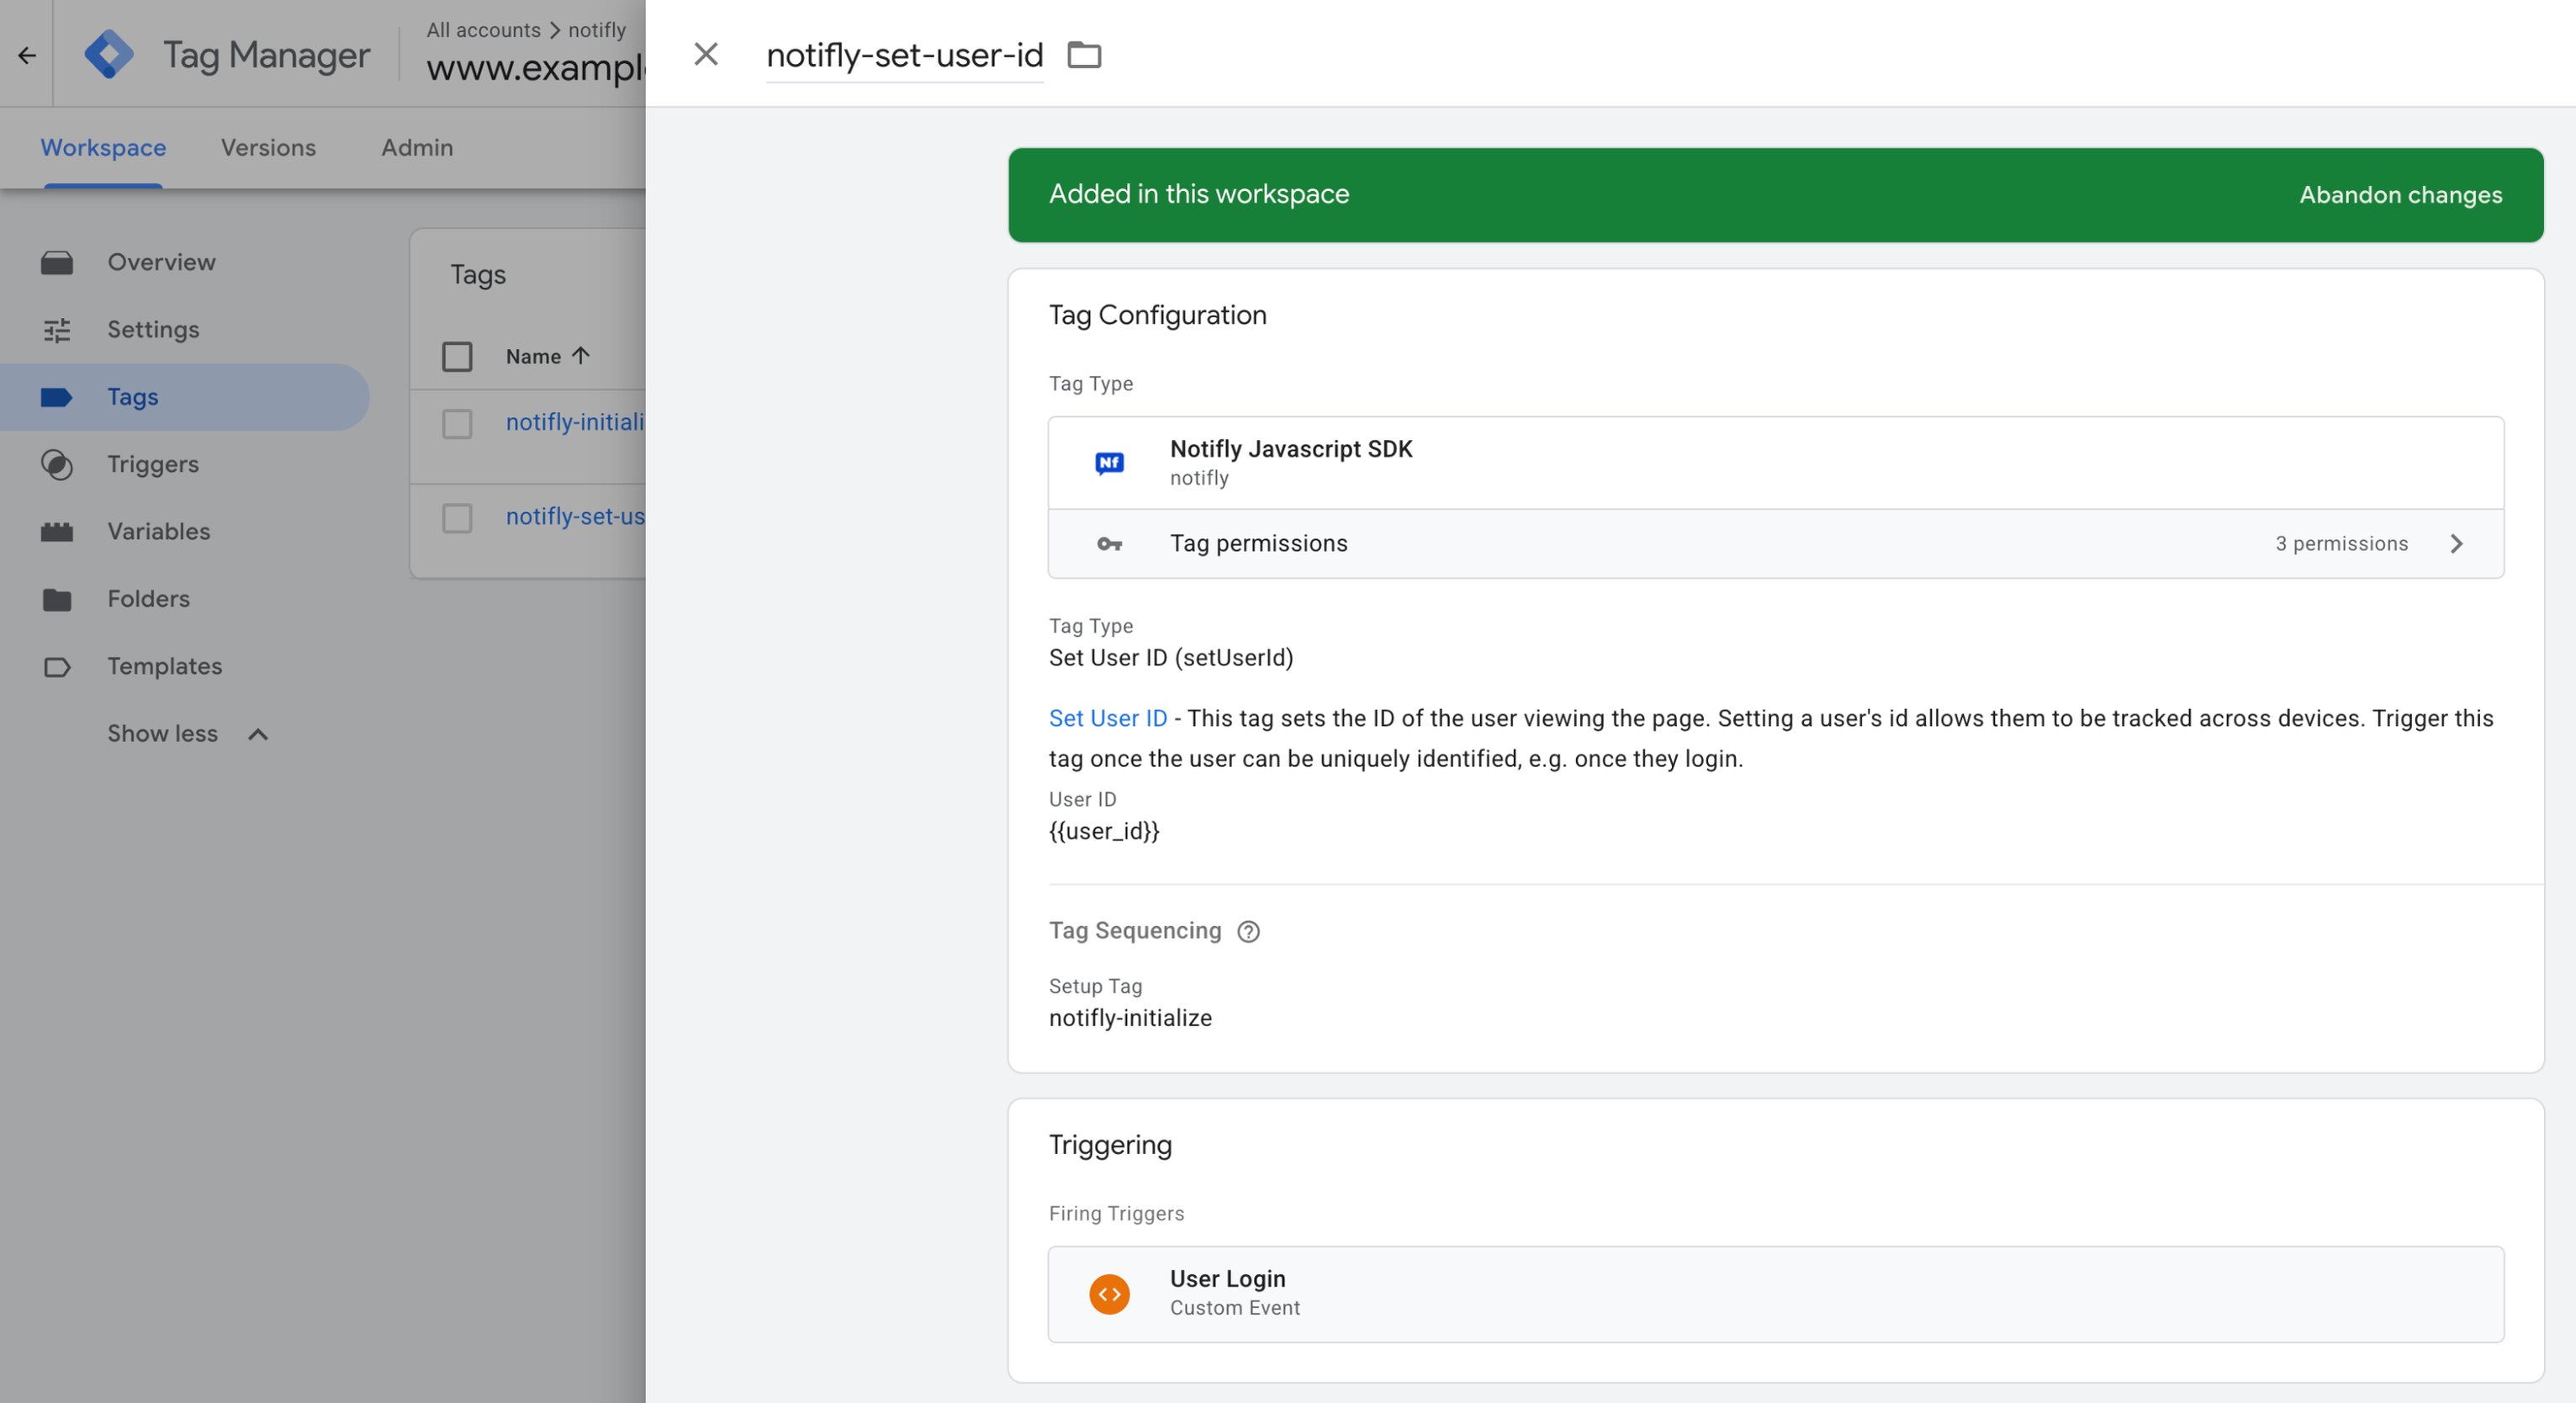
2. Set user properties (setUserProperties)
Before sending sensitive user propertiesBefore sending custom user properties that need protection, such as names or addresses, register each key under User Management > User List > Property management in the console and enable encryption. Use the same key names as in the data you send.For setup instructions and limitations, see the property management guide.
- Go to Tags > New, name the tag, for example Notifly – setUserProperties, then open Tag Configuration.
-
Set Tag Type to Set User Properties (setUserProperties) (유저 속성 등록 (setUserProperties) in the Korean template). Map the properties you want to register to the corresponding GTM variables.
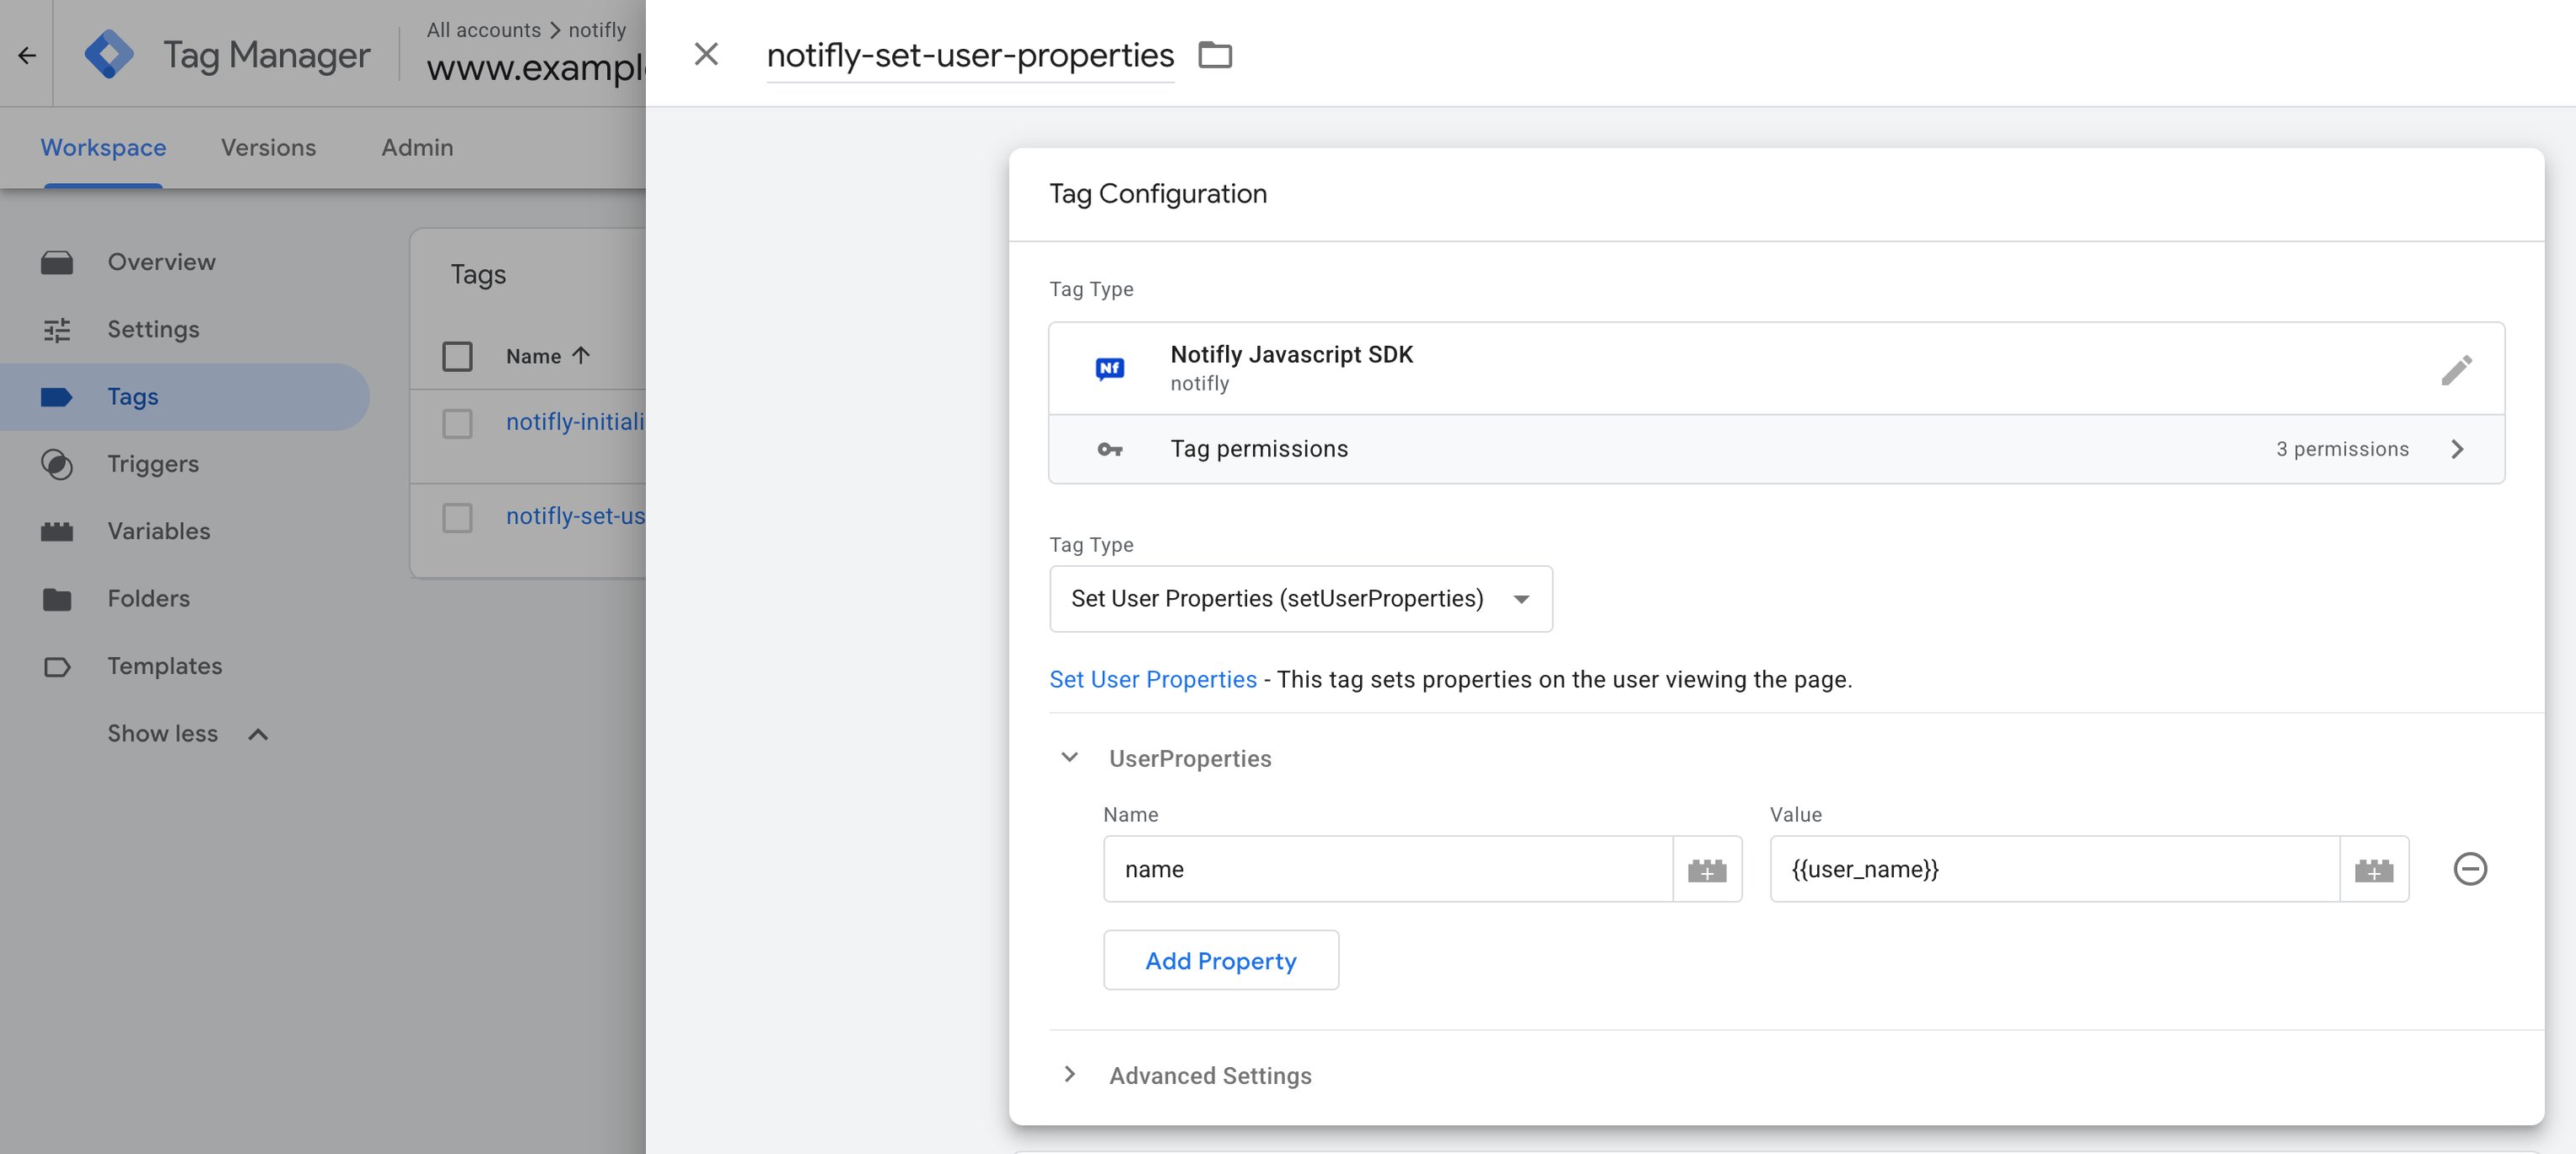
-
In Tag Sequencing, configure
setUserIdto run beforesetUserProperties.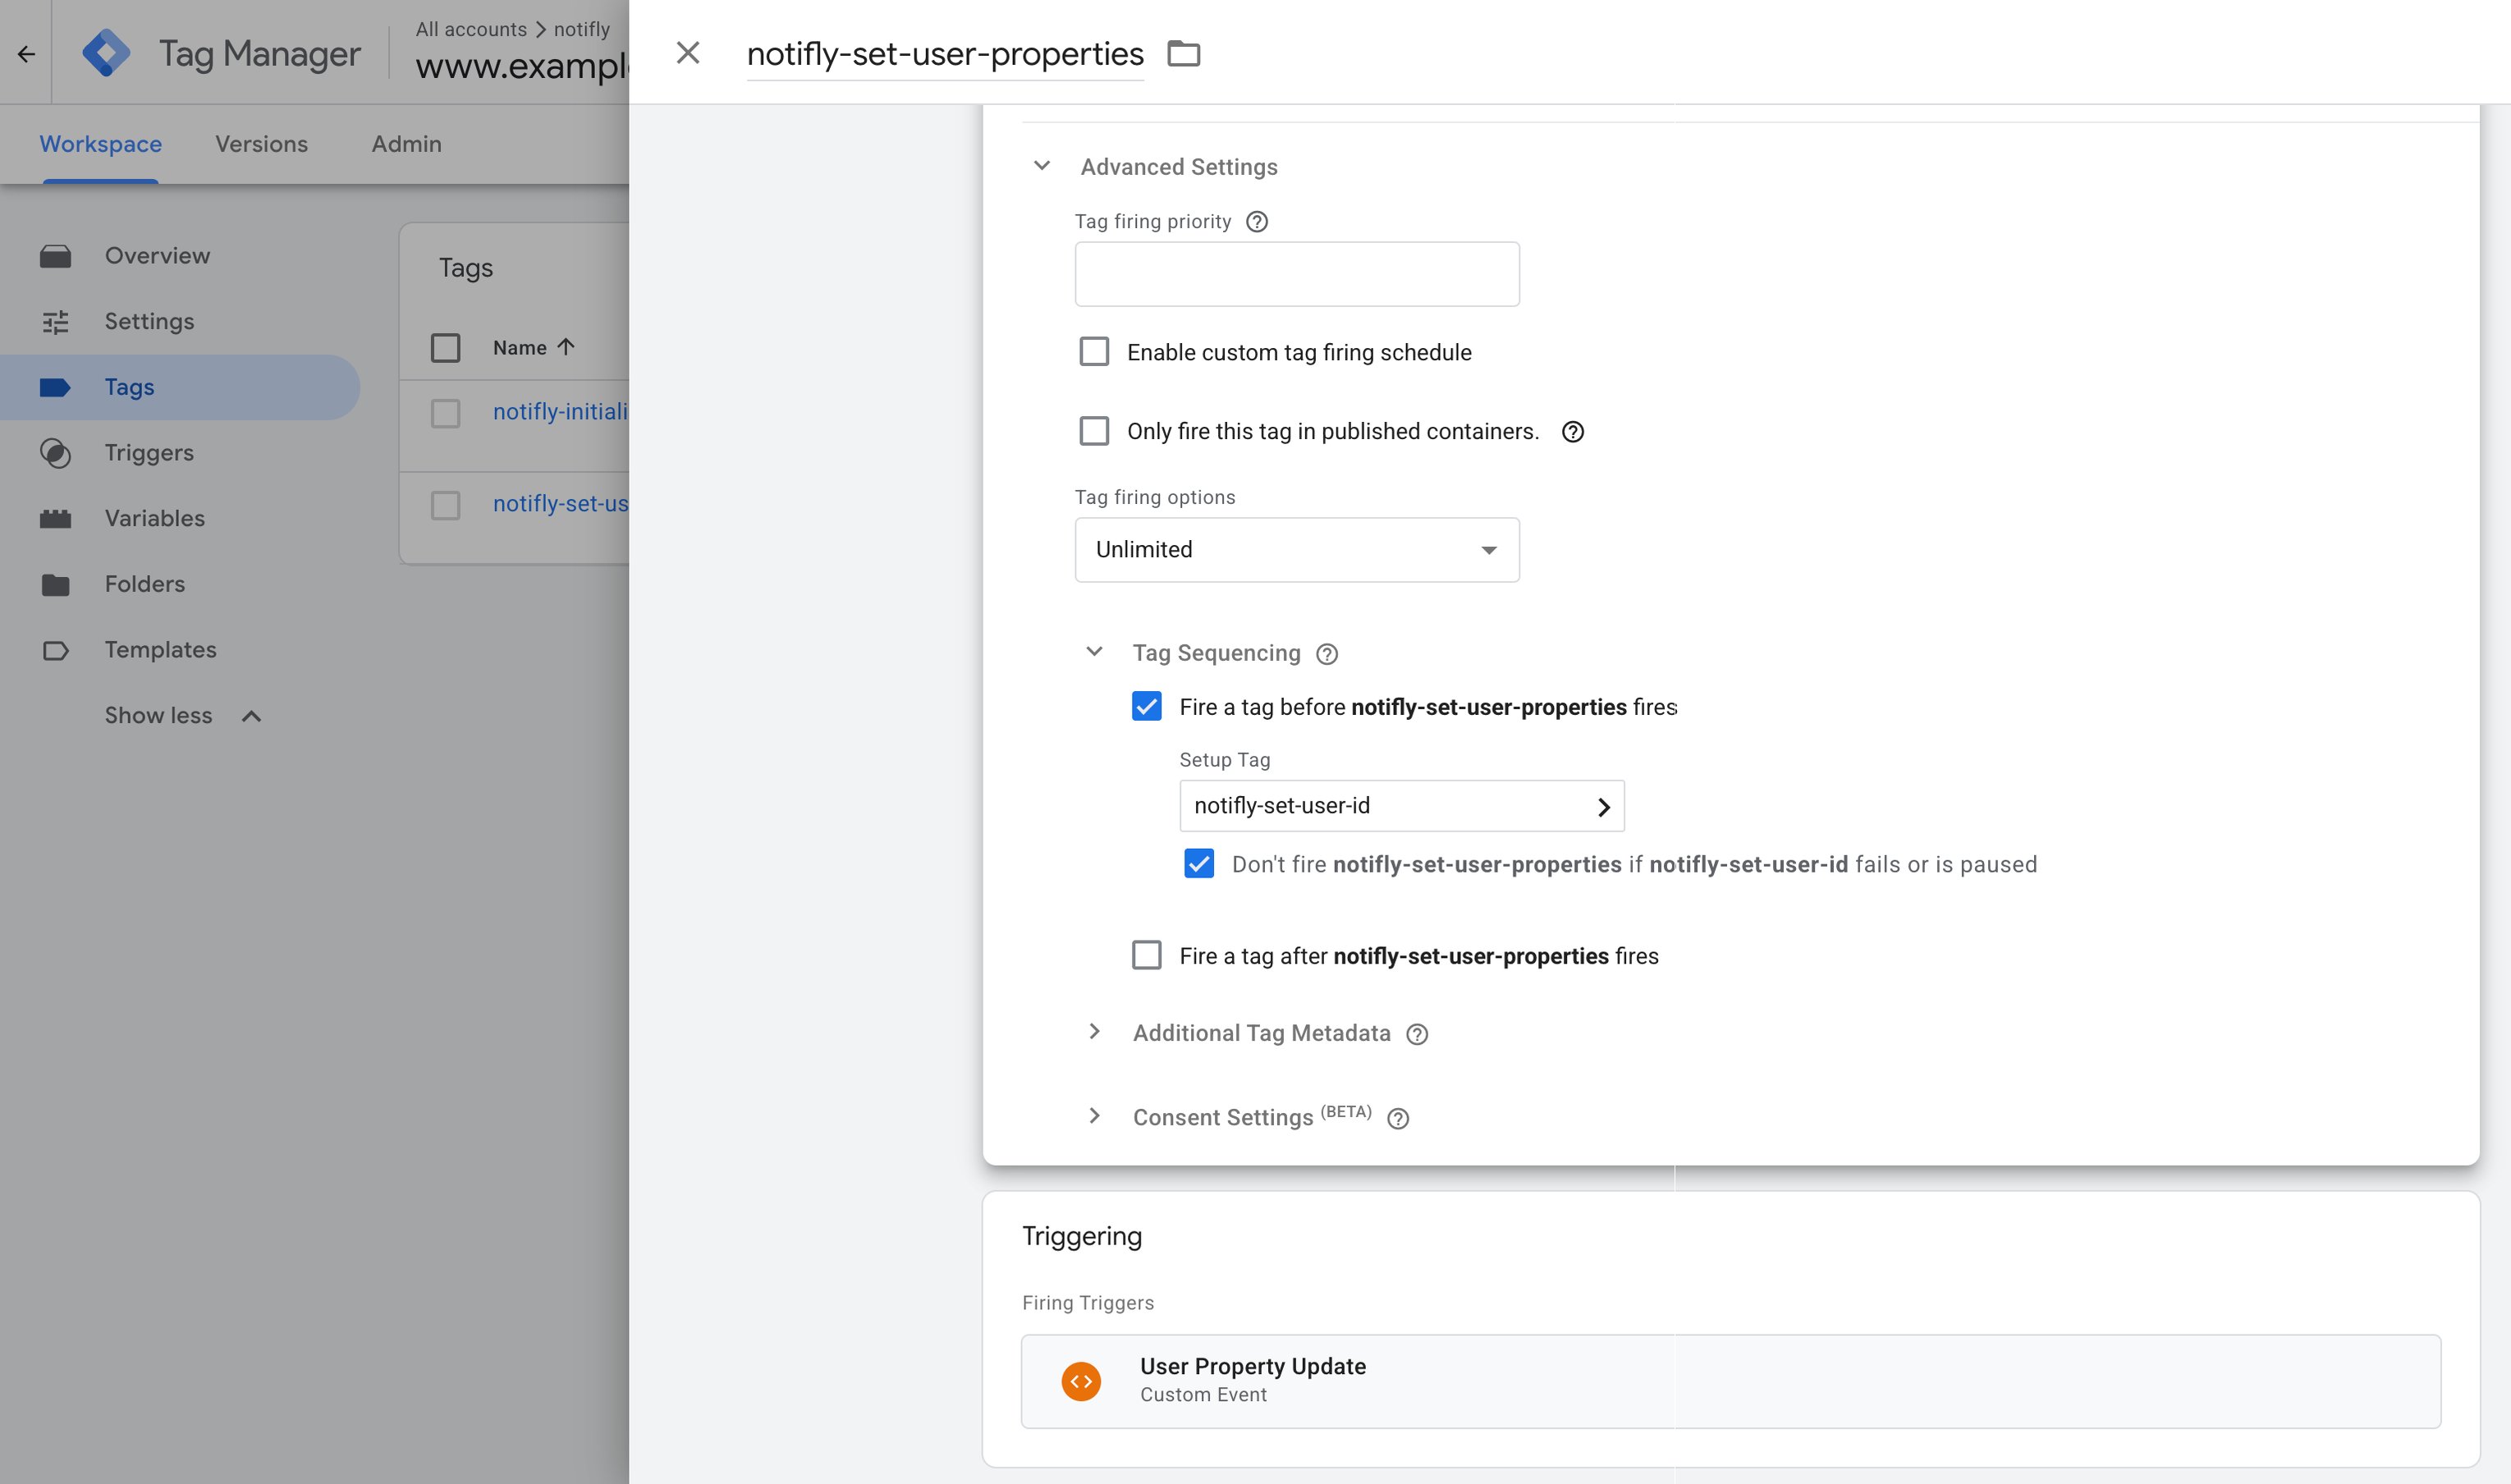
- Email delivery requires
$email. Kakao AlimTalk, Friendtalk, and SMS delivery require$phone_number. LINE message delivery requires$line_user_id. - Use reserved keys exactly as written, such as
$email,$phone_number, and$line_user_id.
4. Log events (trackEvent)
Send user actions, such as clicks, views, and purchases, as events for segmentation, triggers, and performance analysis.- Configure tag sequencing so the event tag runs after the SDK initialization tag.
- In Set of Keys for User Segmentation (
segmentationEventParamKeys), you can add at most one key.
- Go to Tags > New, name the tag, for example Notifly – trackEvent, then open Tag Configuration.
- Set Tag Type to Track Event (trackEvent) (이벤트 로깅 (trackEvent) in the Korean template) and enter an event name. If needed, map event parameters to GTM variables and add a key under Set of Keys for User Segmentation.
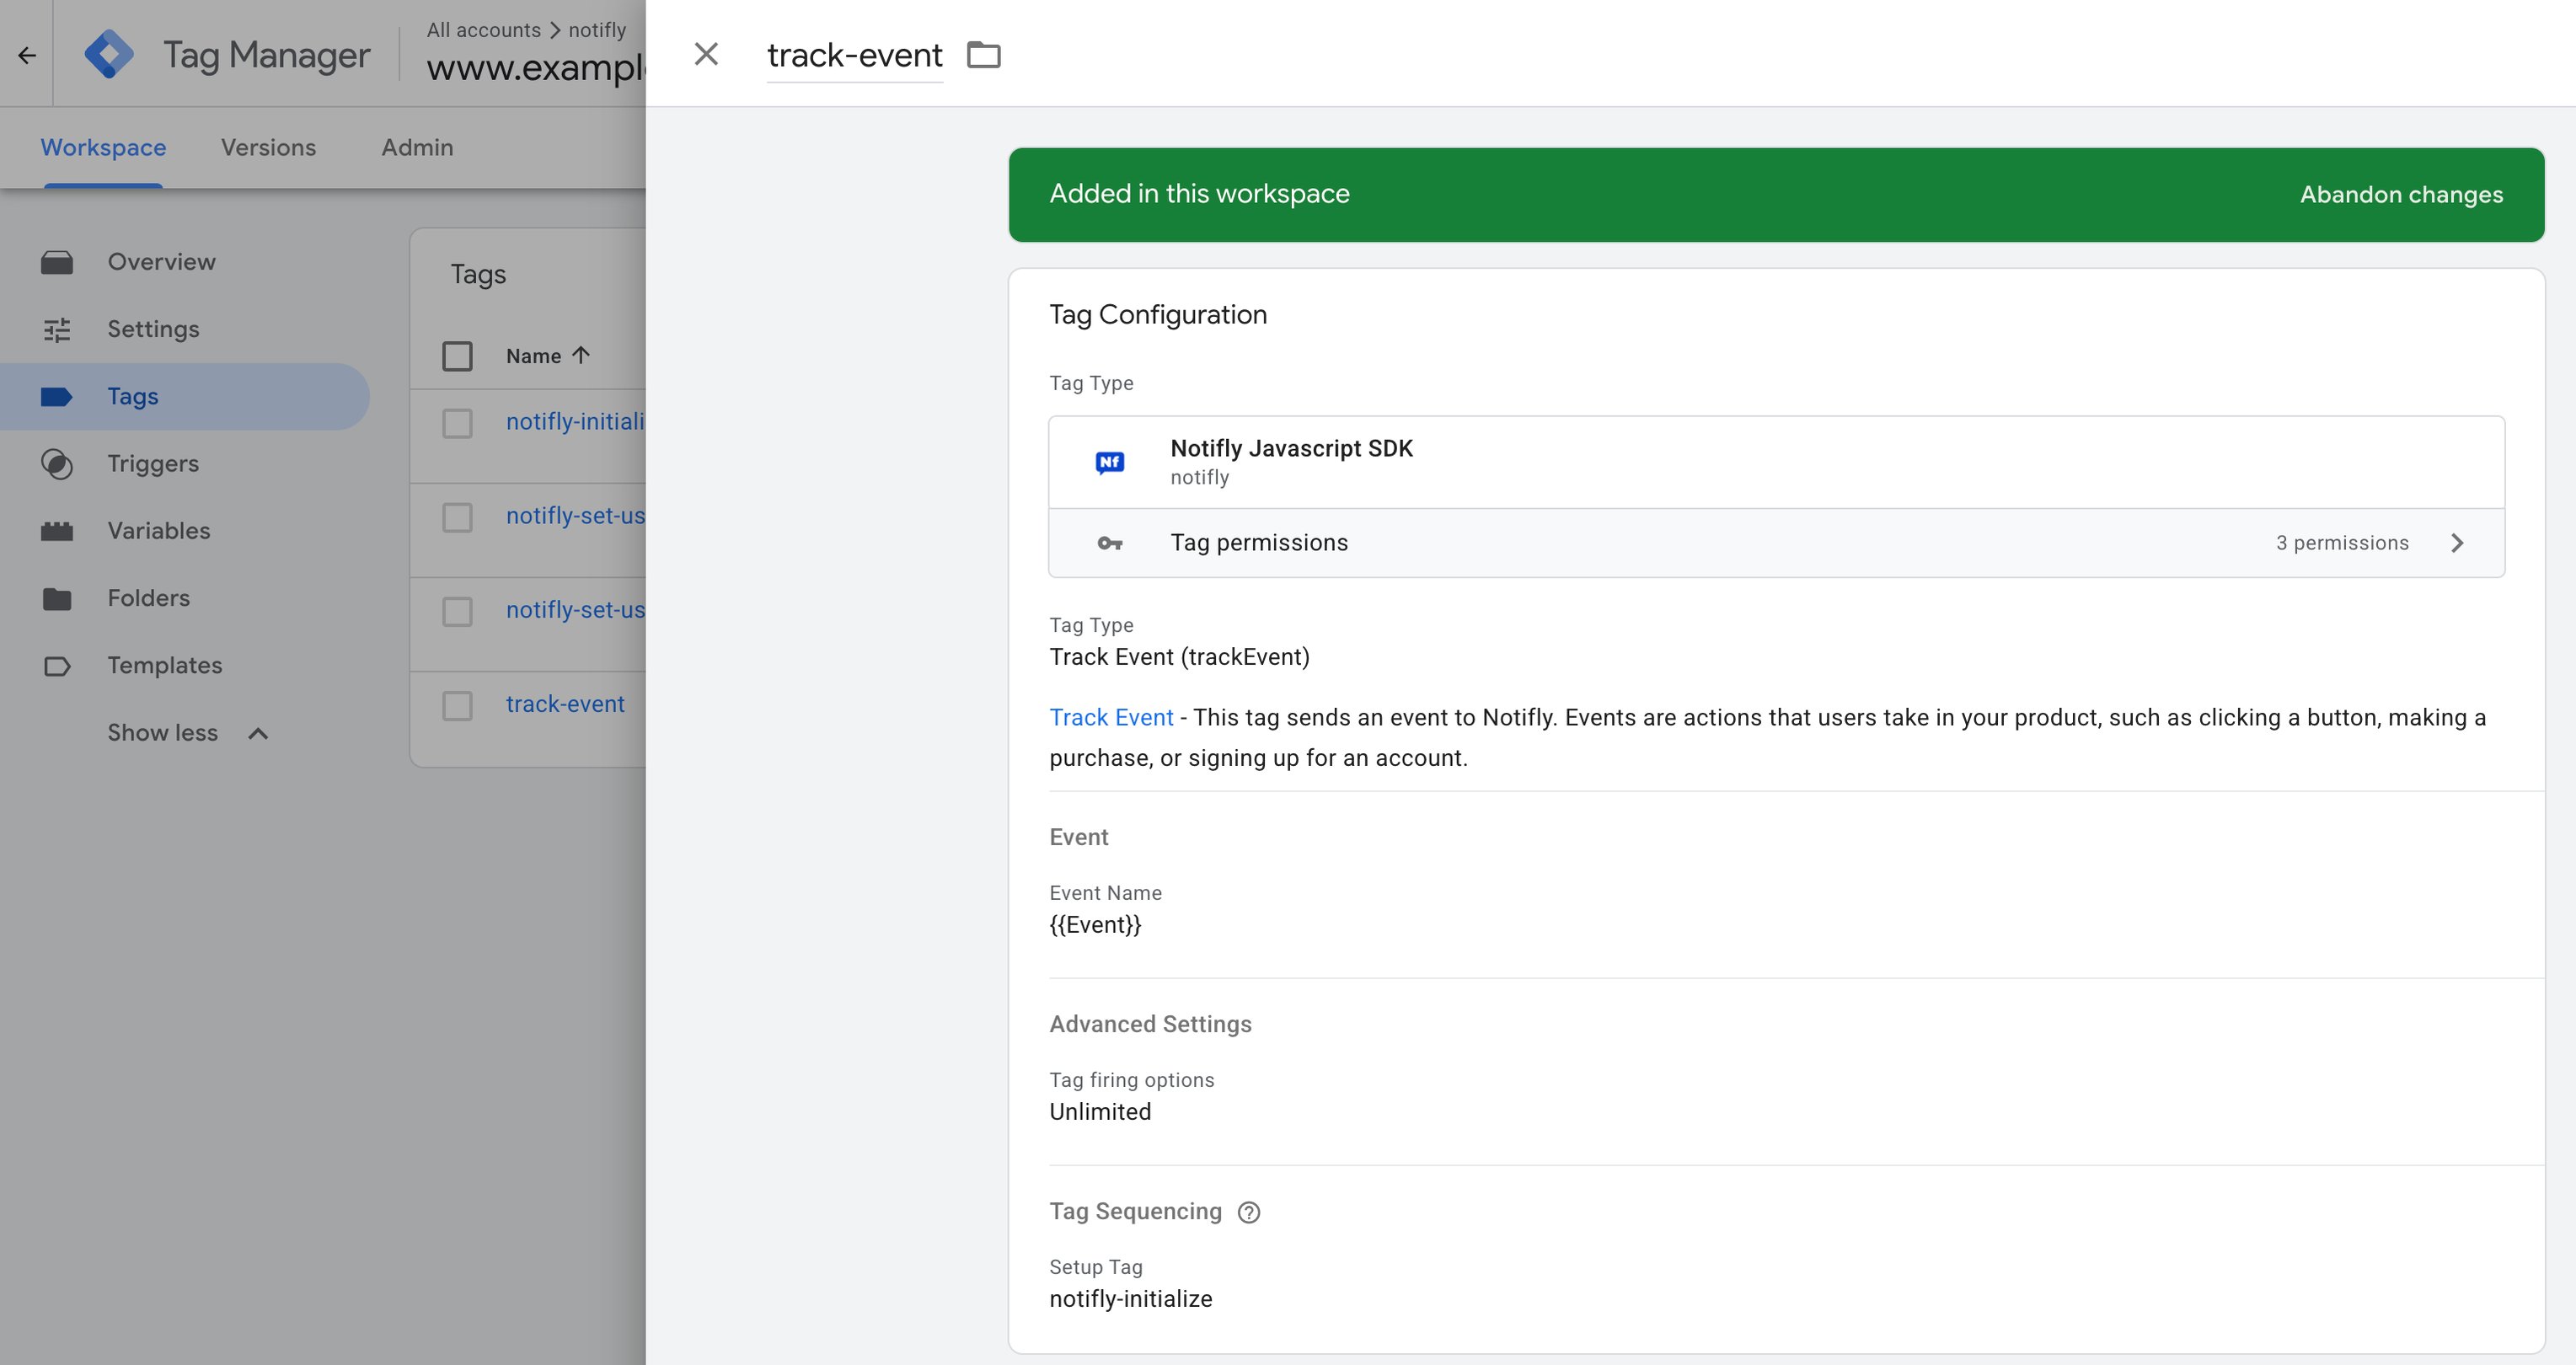
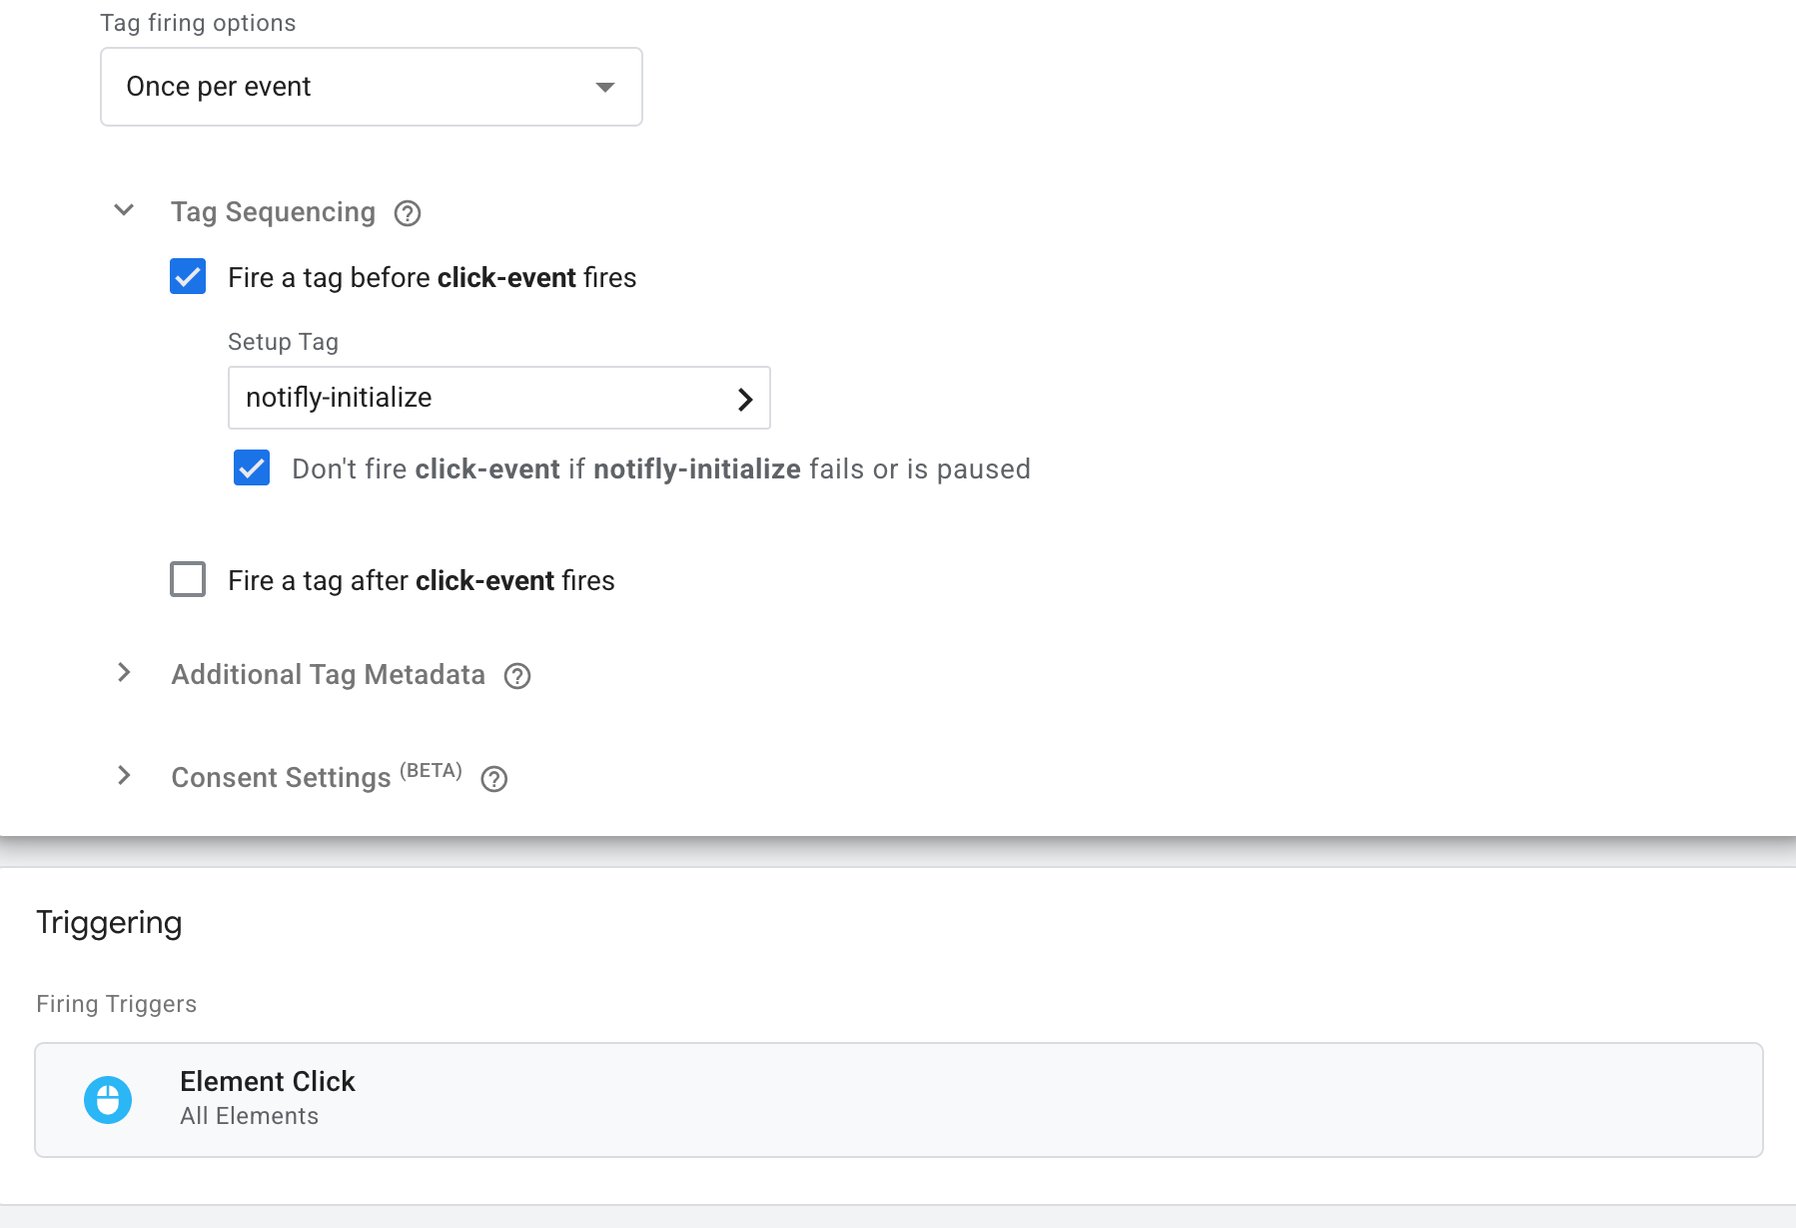
- In Tag Sequencing, configure the tag to run after the SDK initialization tag.
- For example, use GTM’s built-in variable Click ID and built-in trigger Click - All Elements to send the clicked element’s
idaselement_id. Addelement_idunder Set of Keys for User Segmentation.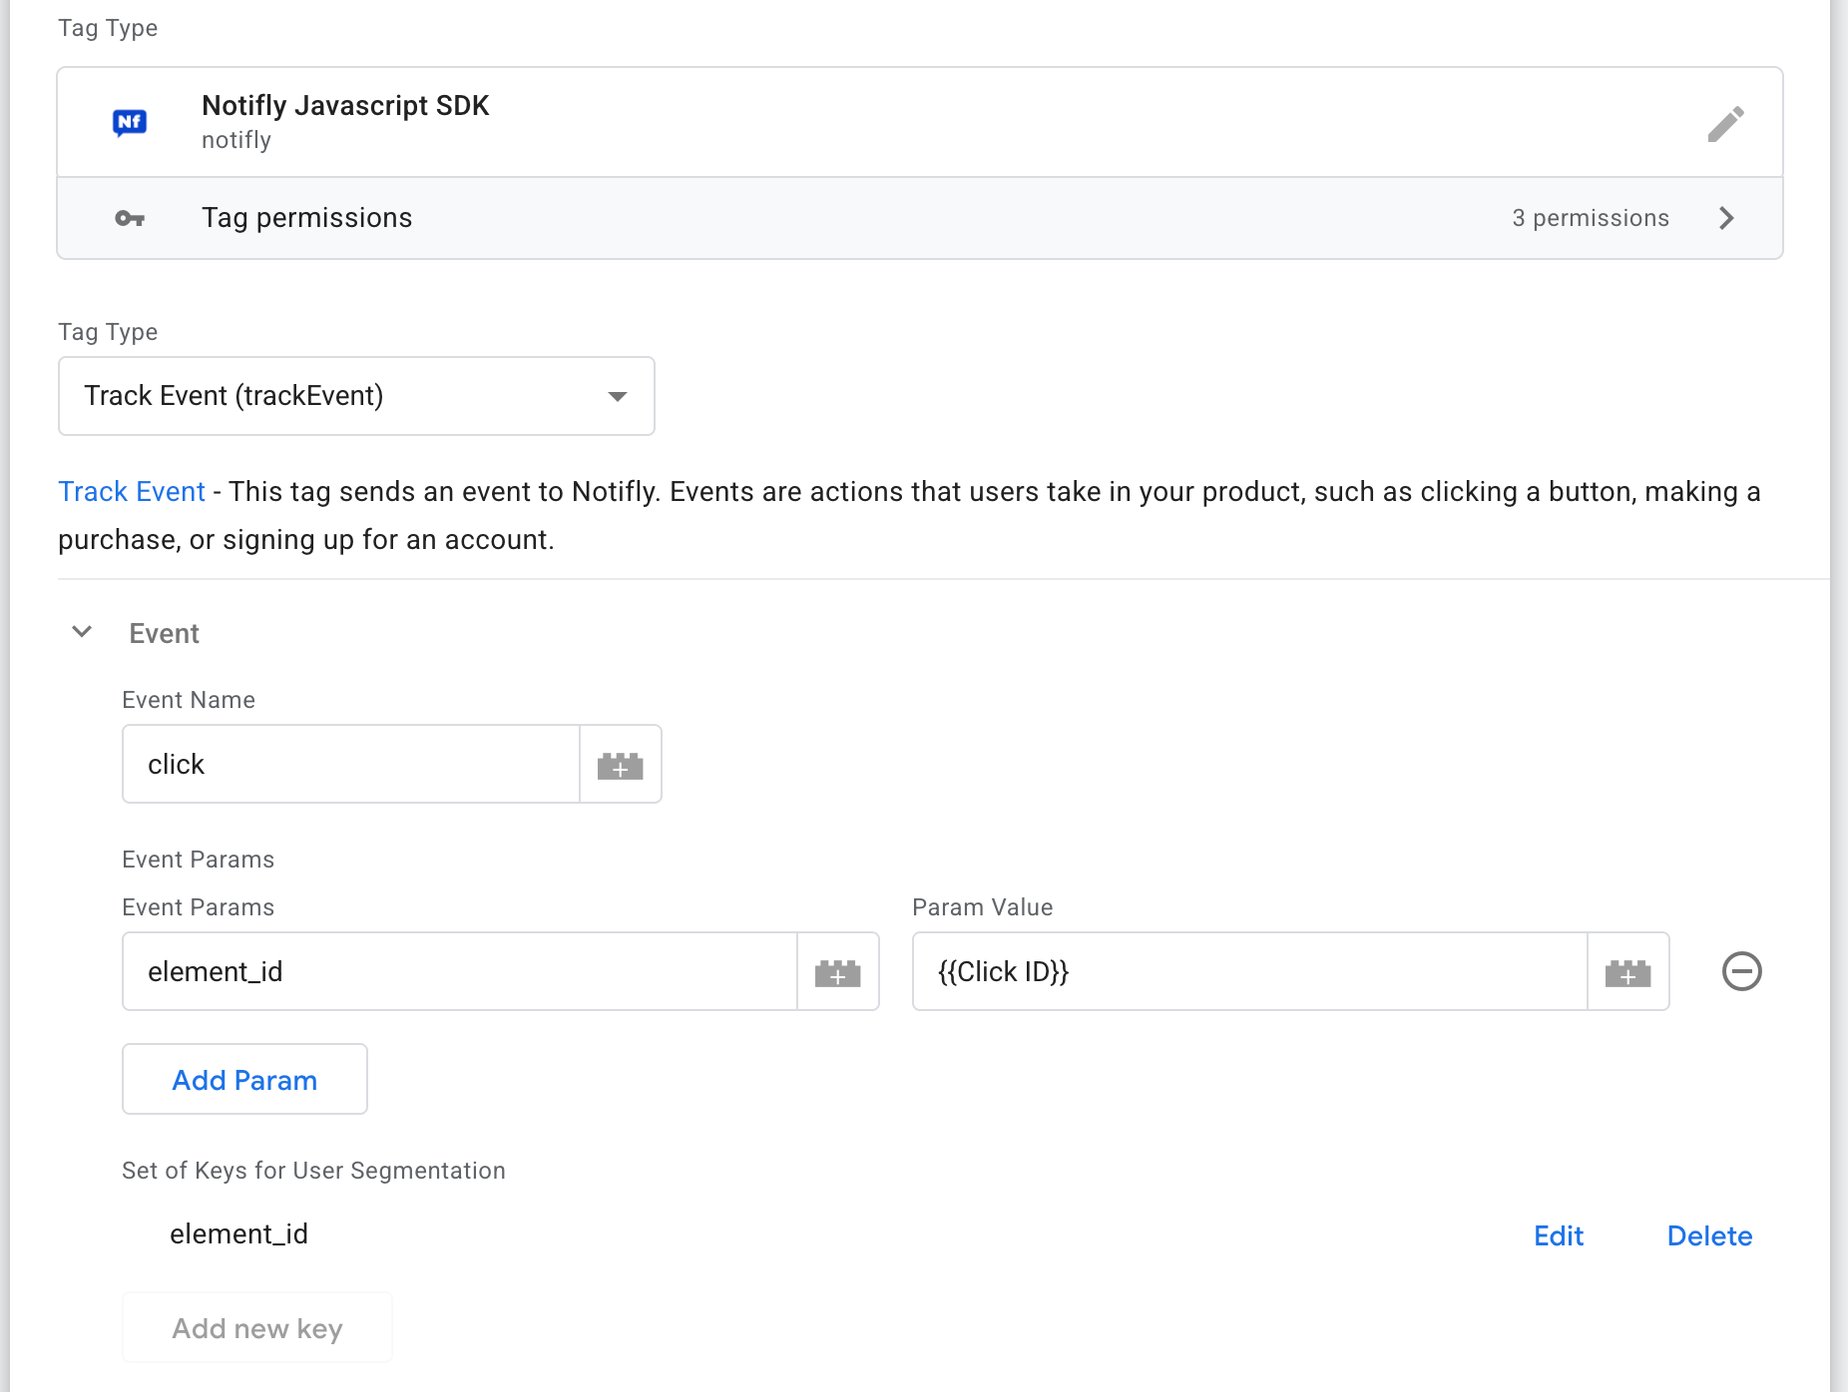
5. Test the integration
After you install the SDK, follow Test your integration to verify event collection and push notification delivery.6. Configure web push notifications (advanced)
- To use web push notifications, add a script to your website in addition to the Google Tag Manager configuration.
- Follow the web push setup section of the JavaScript SDK guide to add
notifly-service-worker.jsto your website. - For integration questions, email contact@notifly.tech.