
- You need a Firebase project to use Firebase Cloud Messaging.
- This guide explains how to create a Firebase project and connect it to Notifly.
1. Prerequisites
1-1. Set up a Firebase project
Create a Firebase project and register your app in that project.1-2. Configure Firebase for your platform
- Flutter
- React Native
- Android
- iOS
You can configure Firebase for Flutter in either of these ways.
- Install and initialize Firebase with the FlutterFire CLI. This is the recommended method.
See the FlutterFire setup guide. - Install and initialize Firebase manually for each platform, iOS and Android.
Follow the instructions in the Android and iOS tabs below.
- Android:
google-services.json - iOS:
GoogleService-Info.plist
1-3. Register an APNs authentication key
For iOS apps, including React Native and Flutter apps, upload an APNs authentication key to your Firebase project. You need an APNs authentication key to send push notifications to iOS devices.2. Enable the Firebase Cloud Messaging API (V1)
Enable the Firebase Cloud Messaging API (V1) to deliver push notifications and in-app popups to devices through Notifly.- Sign in to the Firebase console.
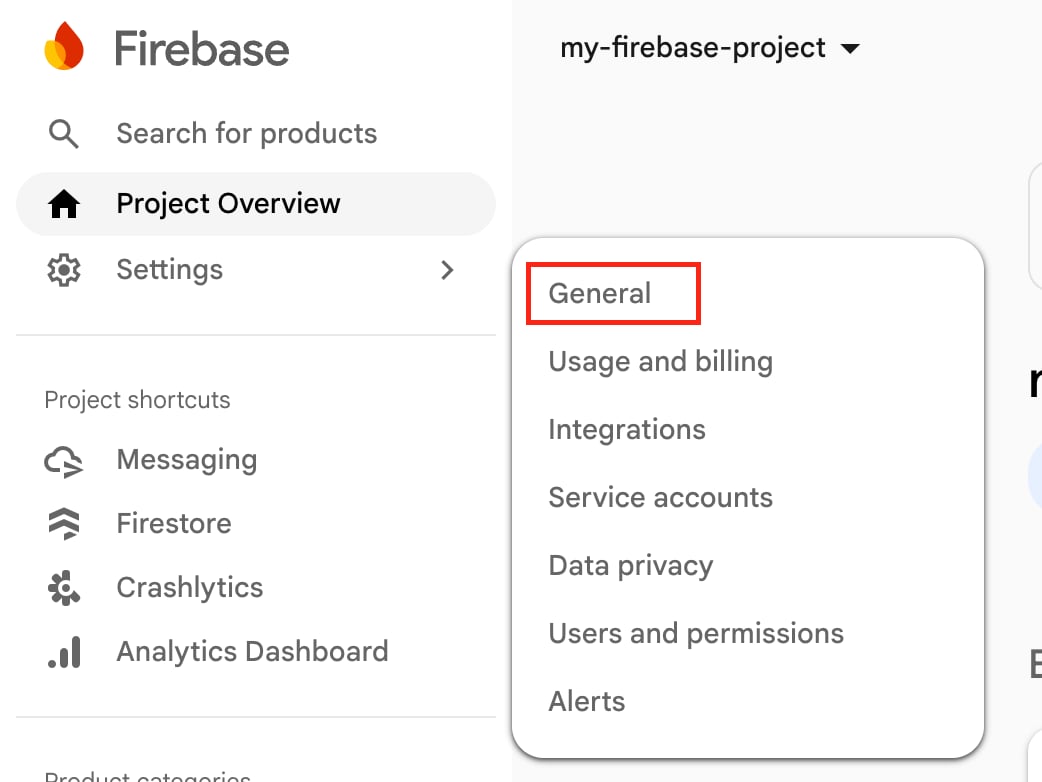
- In the left menu, open Settings > General.
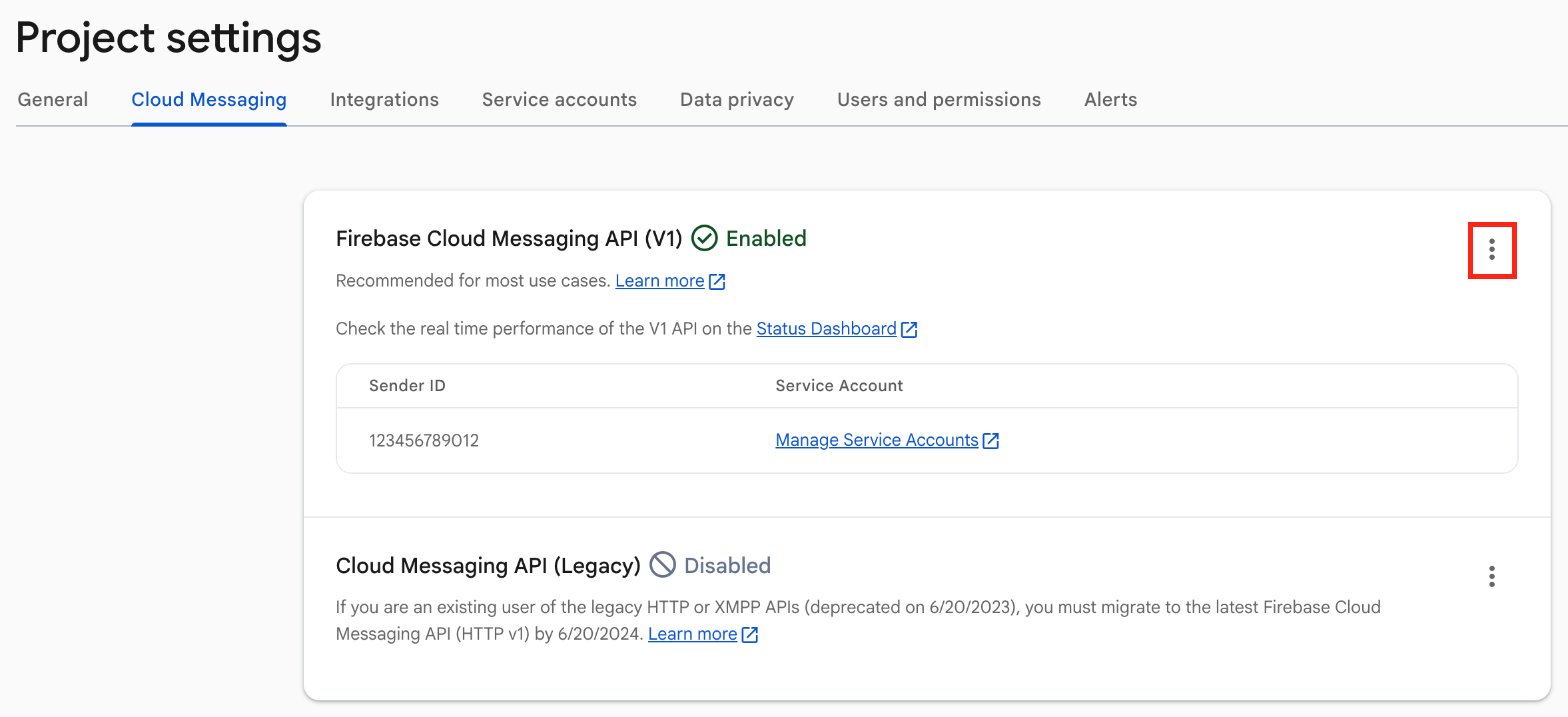
- Open the Cloud Messaging tab.
- Check whether Firebase Cloud Messaging API (V1) is enabled.
- If the API is enabled, continue to section 3 to register the FCM service account with Notifly.
- If the API is disabled, click the icon in the upper right of the API section to open its management page.
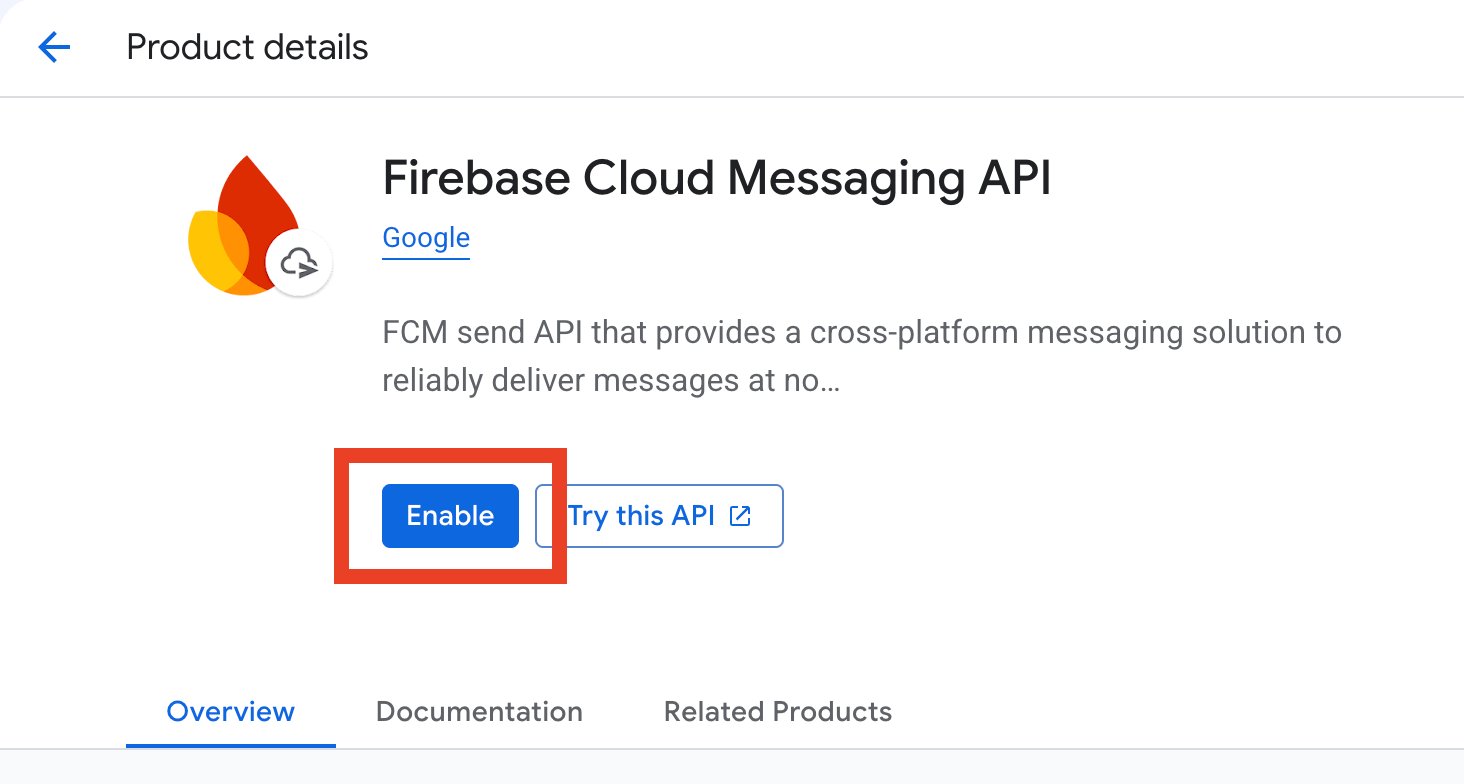
- Enable the Firebase Cloud Messaging API in the Google Cloud console.
3. Register an FCM service account with Notifly
To connect Notifly to Firebase Cloud Messaging (FCM), you need a JSON key for a service account with permission to send messages. Create a dedicated service account for Notifly so that you can manage its permissions and keys independently.Create an FCM service account key
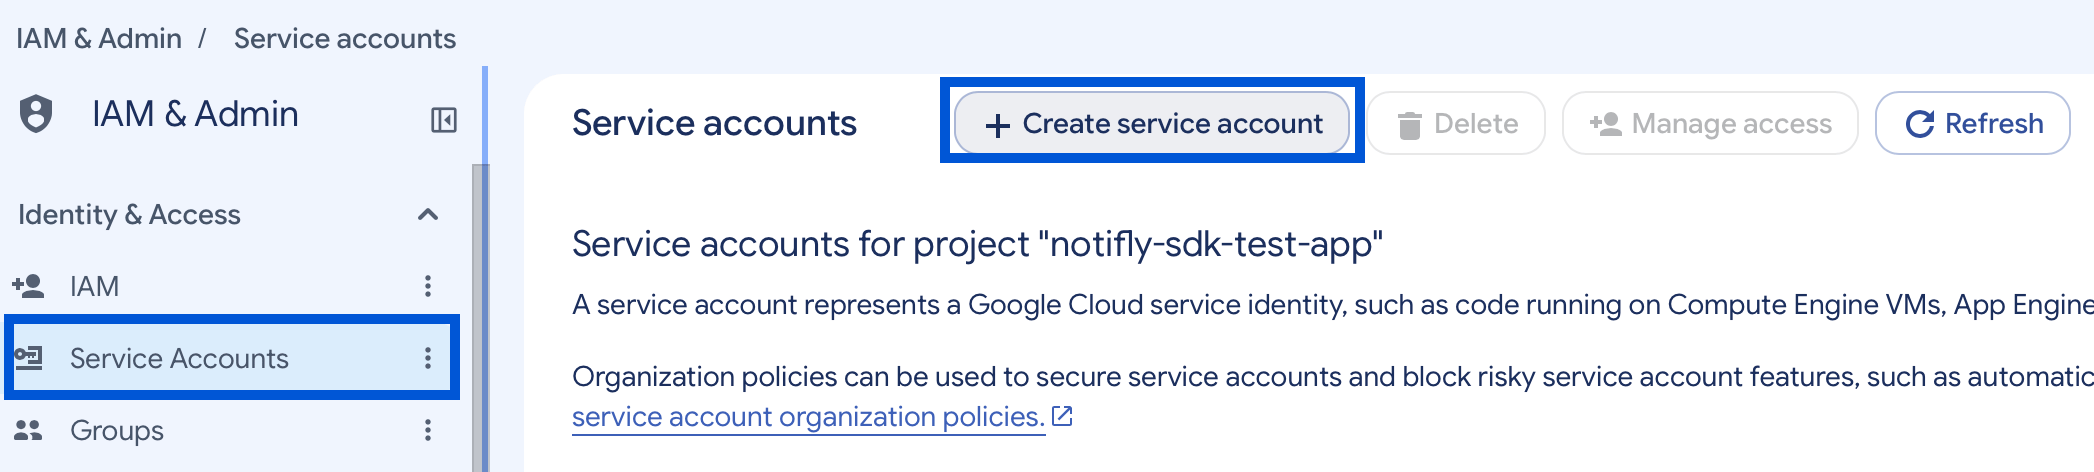
- Open the Service Accounts page in the Google Cloud console. This is separate from the Firebase console. In the project selector at the top, select the same Firebase project that your app uses. If the displayed project names differ, compare the Project ID in Firebase project settings.
- Under IAM & Admin > Service Accounts, click Create service account.
- Enter a service account name and ID, then click Create and continue. For example, use
Notiflyas the name andnotifly-fcm-senderas the ID. - In the Permissions step, search for and select Firebase Cloud Messaging API Admin in the role selector.
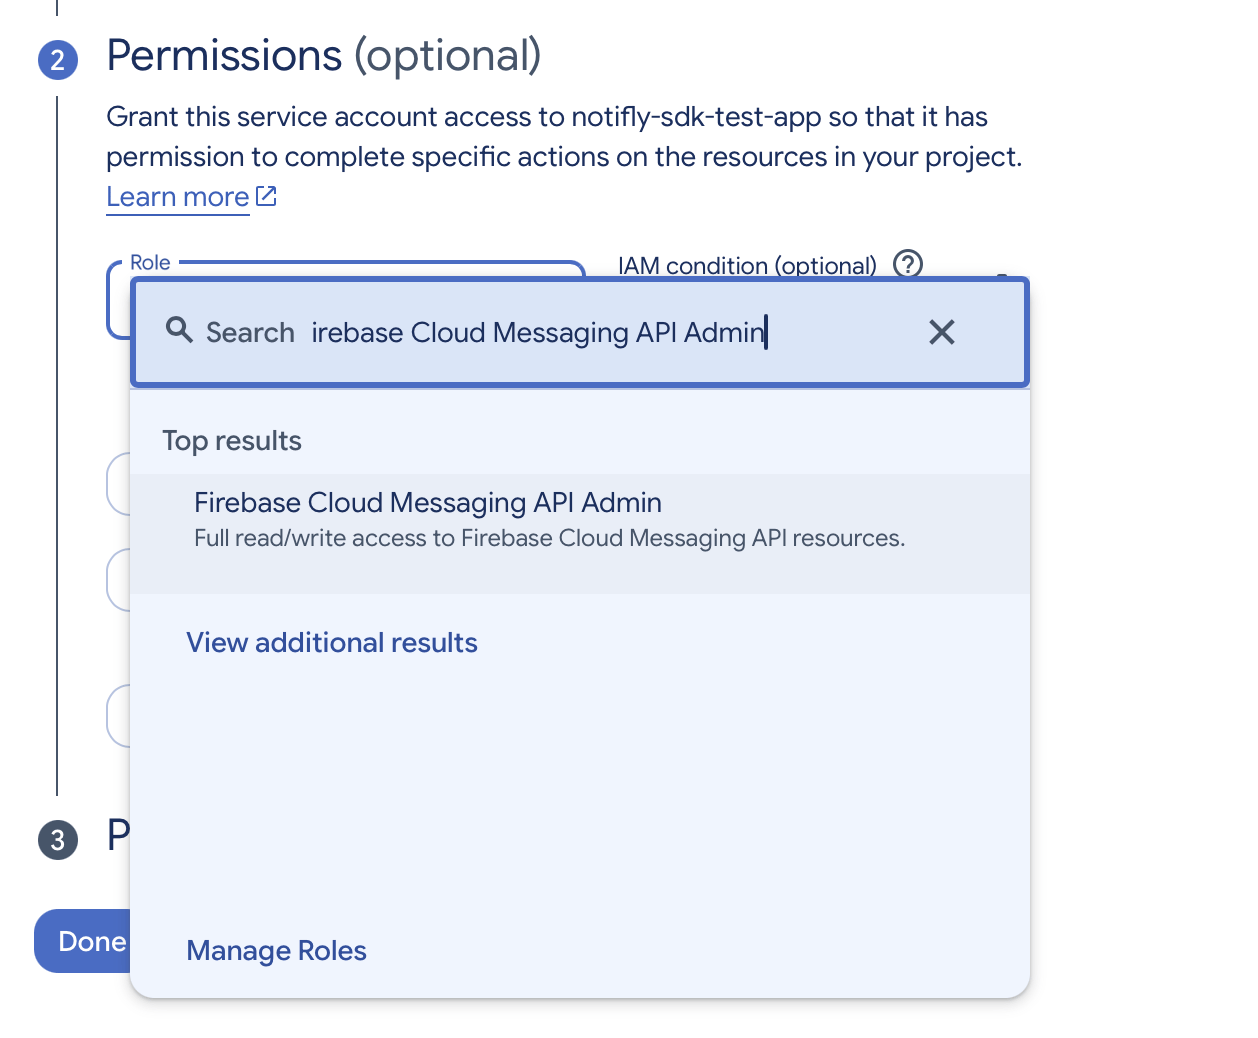
- Click Continue. Leave the next step, Principals with access, empty and click Done.
- In the service account list, open the menu (⋮) to the right of the dedicated account you just created and select Manage keys.
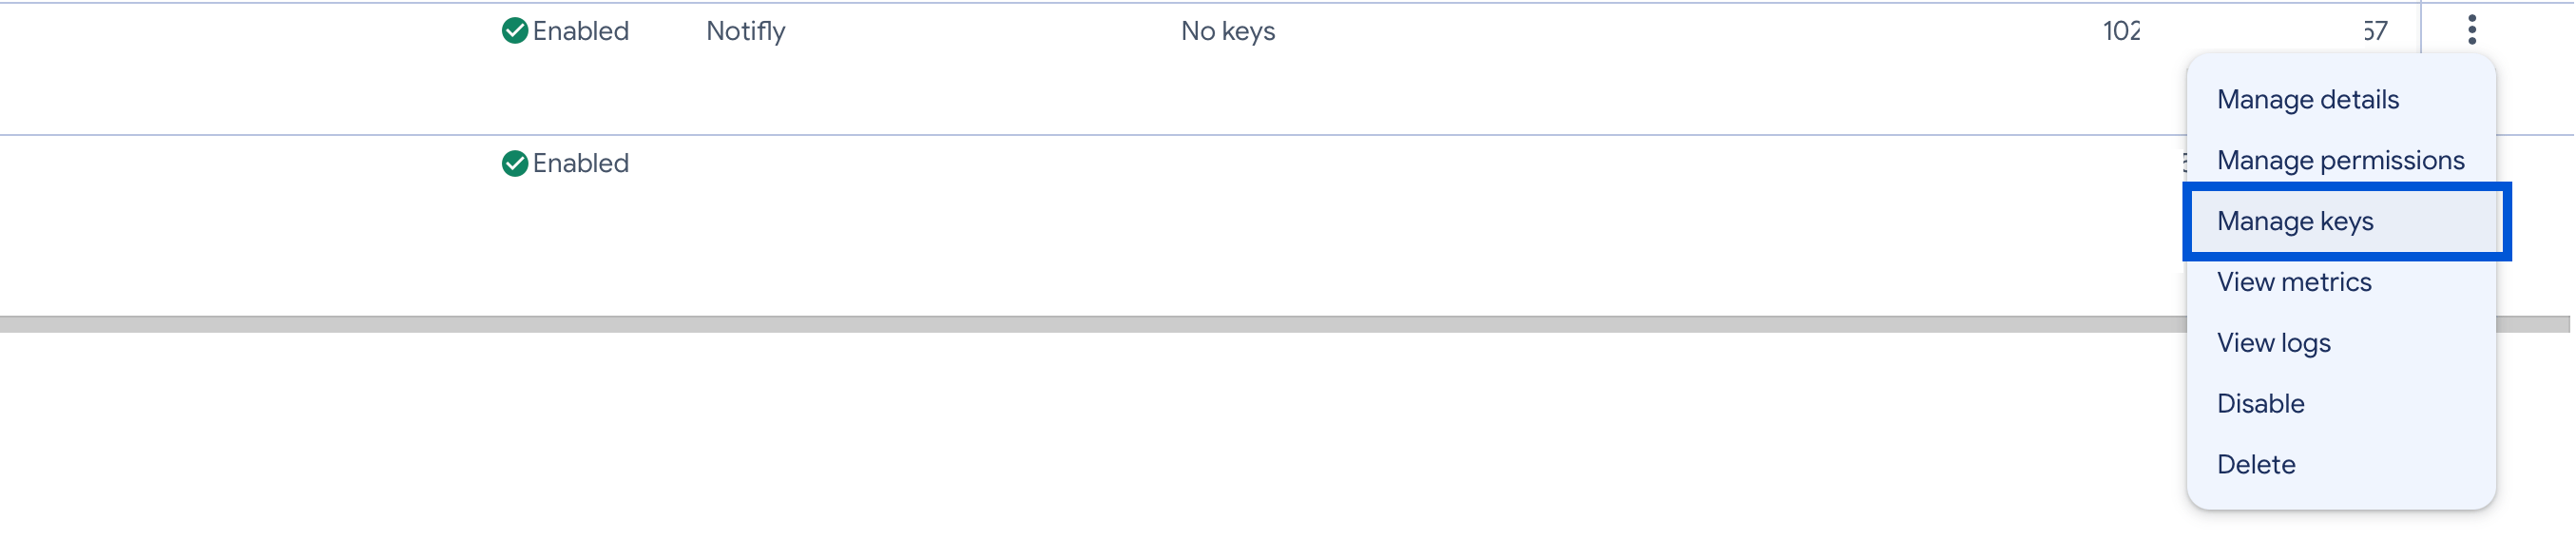
- On the Keys tab, select Add key > Create new key.
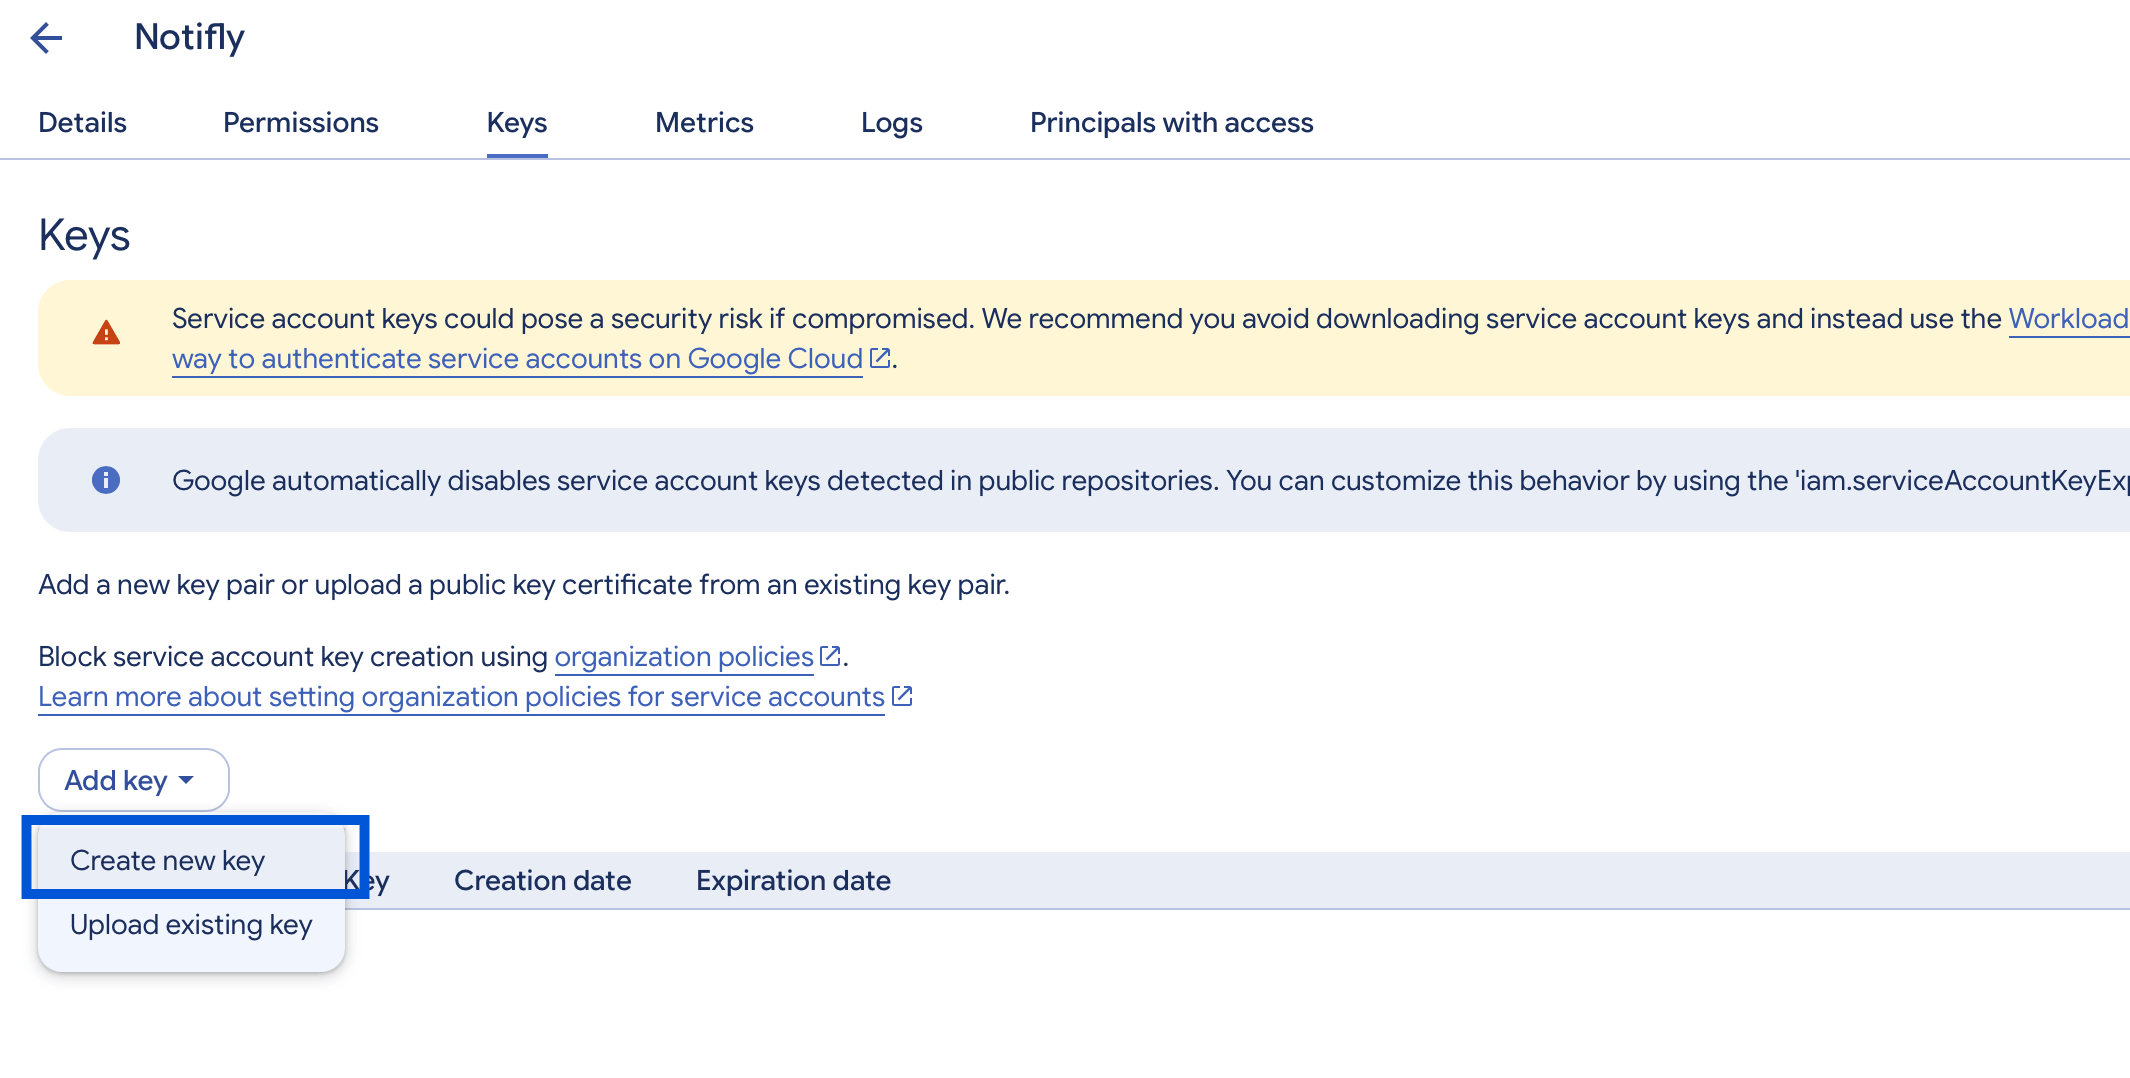
- Select JSON as the key type and click Create.
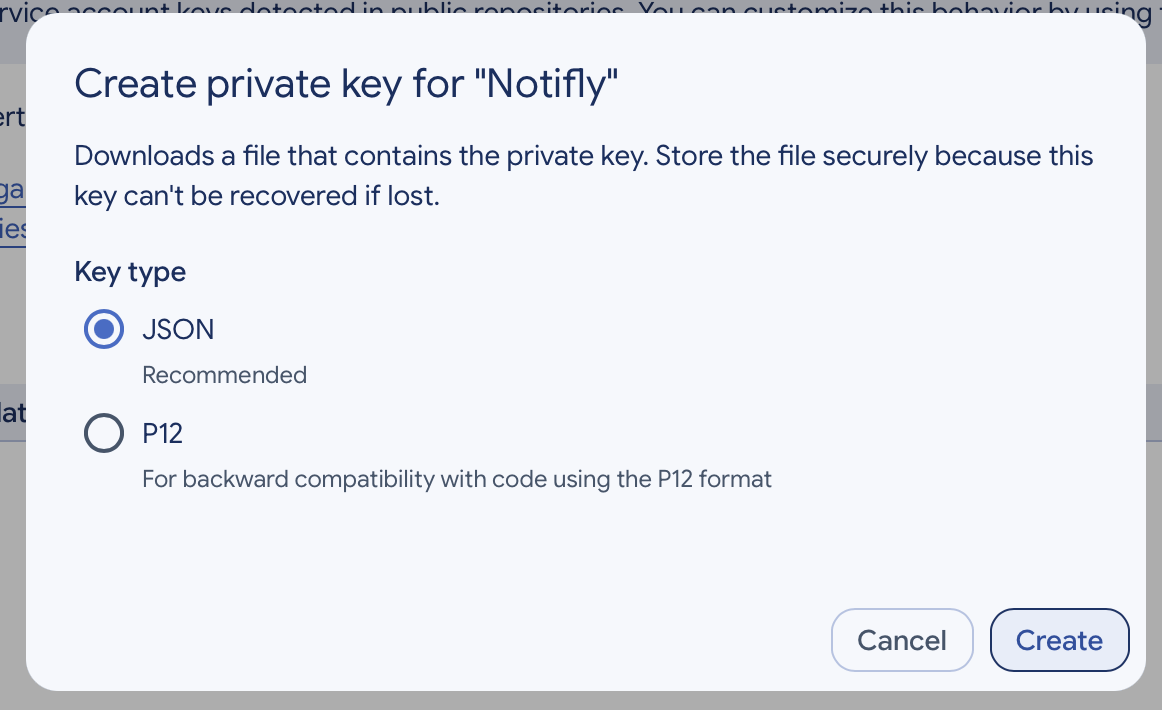
- Store the downloaded JSON key file securely. It contains a private key. Do not put it in a public repository or include it in your app code.
Add the key to the Notifly console
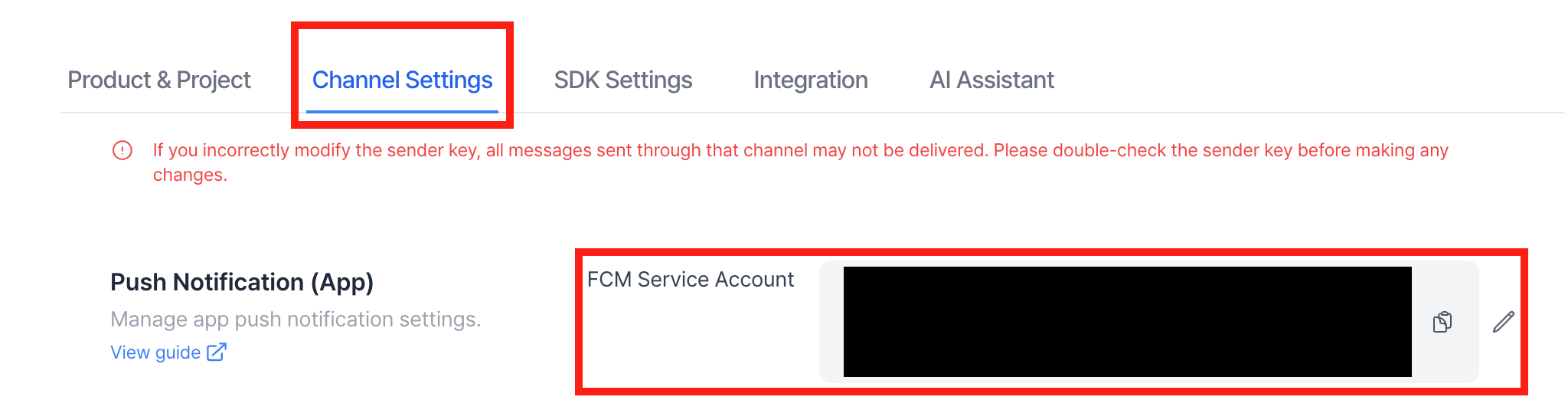
- In the Notifly console, confirm the project and development or production environment that you want to connect. Then open Settings > Channel Settings and look for Push Notification (App).
- Click Register to add an account. To update an existing account, click the pencil icon next to its field. Paste the downloaded JSON into the appropriate field and save.
- For a shared account, use FCM Service Account.
- For separate accounts, use Android FCM Service Account and iOS FCM Service Account. To show both fields during registration, turn on Register Platform-Specific Service Accounts.
- Send a push notification to a test device on the platform you integrated and confirm receipt on the device. Saving the key does not verify sending permissions or device delivery.
When you replace an existing key, verify the new key in the development environment before applying it to production.
Store the existing configuration in a secure location so you can restore it if needed. Before removing the old account or key,
confirm that no other service uses it and that the migration is complete.