1. Install Google Tag Manager on your Cafe24 store
If your Cafe24 store already has Google Tag Manager (GTM), skip this section.
1-1. Create a GTM account
- Open Google Tag Manager. In the upper-right corner, select Create Account and complete the setup.

- Copy the installation code that GTM displays when you create the account.
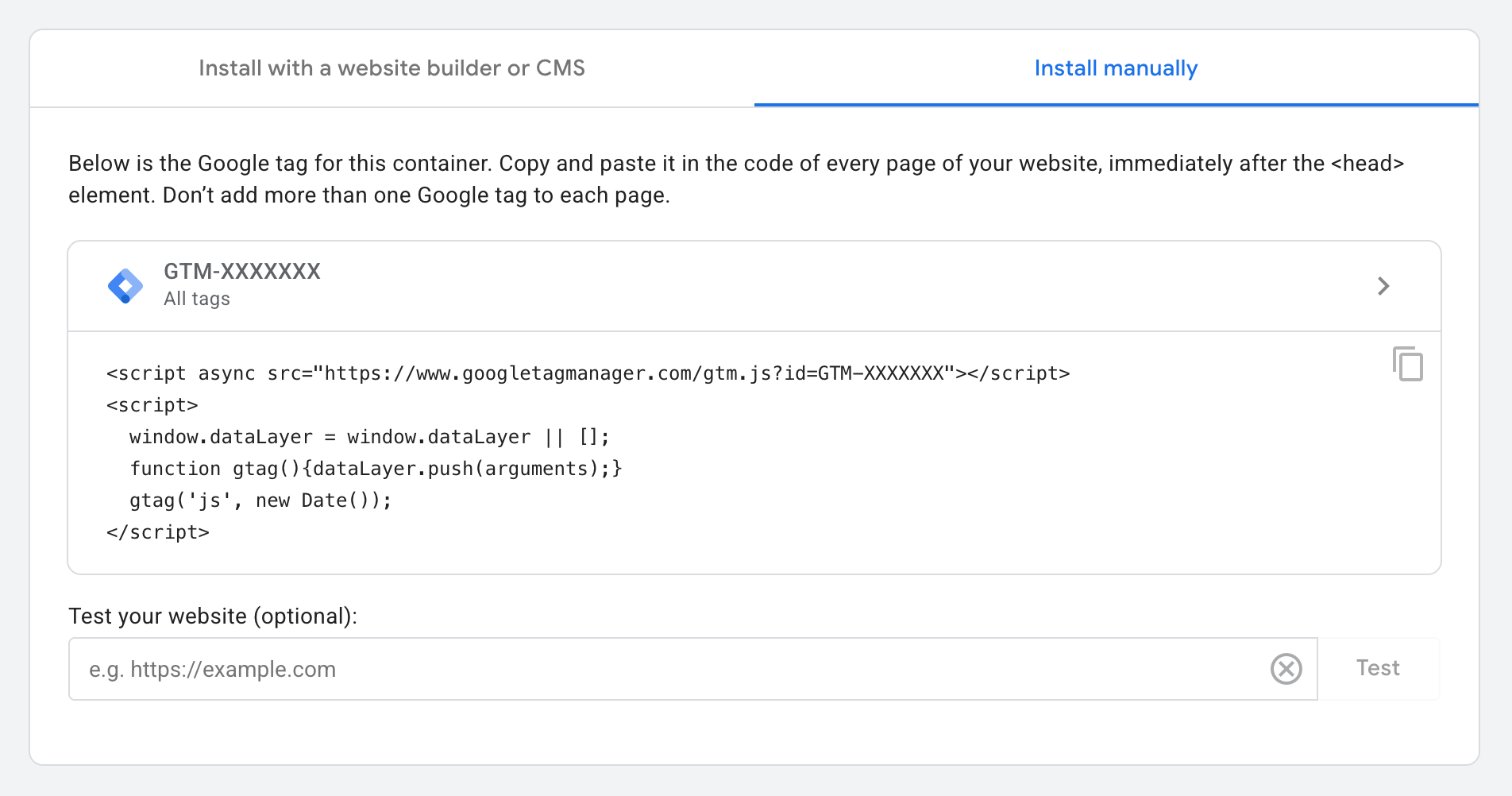
- In Cafe24 EC Admin, go to 쇼핑몰 설정 (Store settings) > 기본 설정 (Basic settings) > 검색 엔진 최적화 (SEO) > 고급 설정 (Advanced settings) > 코드 직접입력 (Enter code directly). Select PC 쇼핑몰 (Desktop store) or 모바일 쇼핑몰 (Mobile store) for the storefront you are setting up. Paste the GTM script into Head 영역 (Head). If GTM also provided a
<noscript>snippet, paste it into Body 영역 (Body).
- Save the changes in Cafe24. Return to the GTM installation dialog. Enter your store URL and click Test.

2. Install the Notifly Cafe24 GTM template
-
Open the Notifly Cafe24 template releases and download the latest
template-cafe24-custom-event.tplfile. -
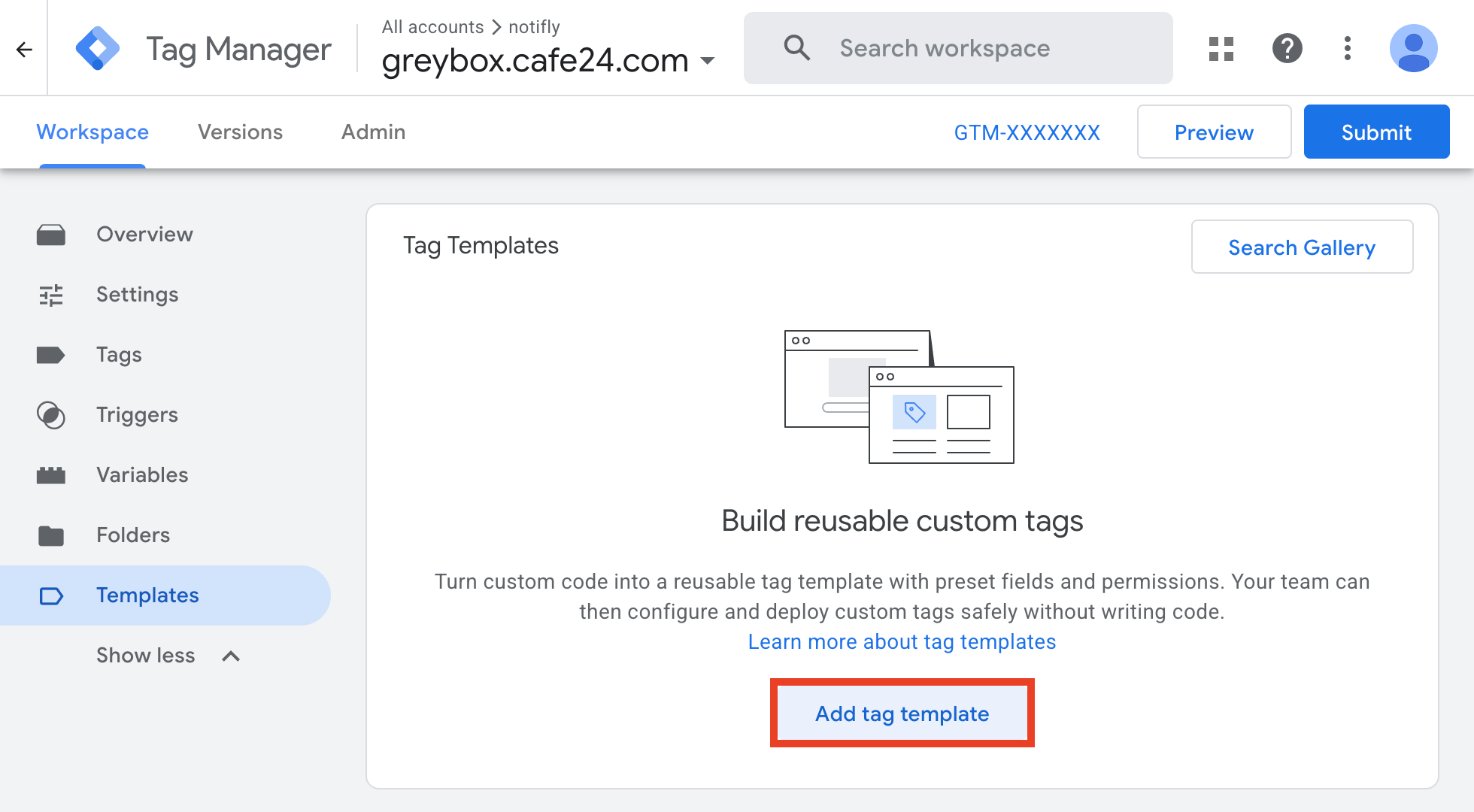
Select Templates in the left menu. Under Tag Templates, click New to open the template editor.
-
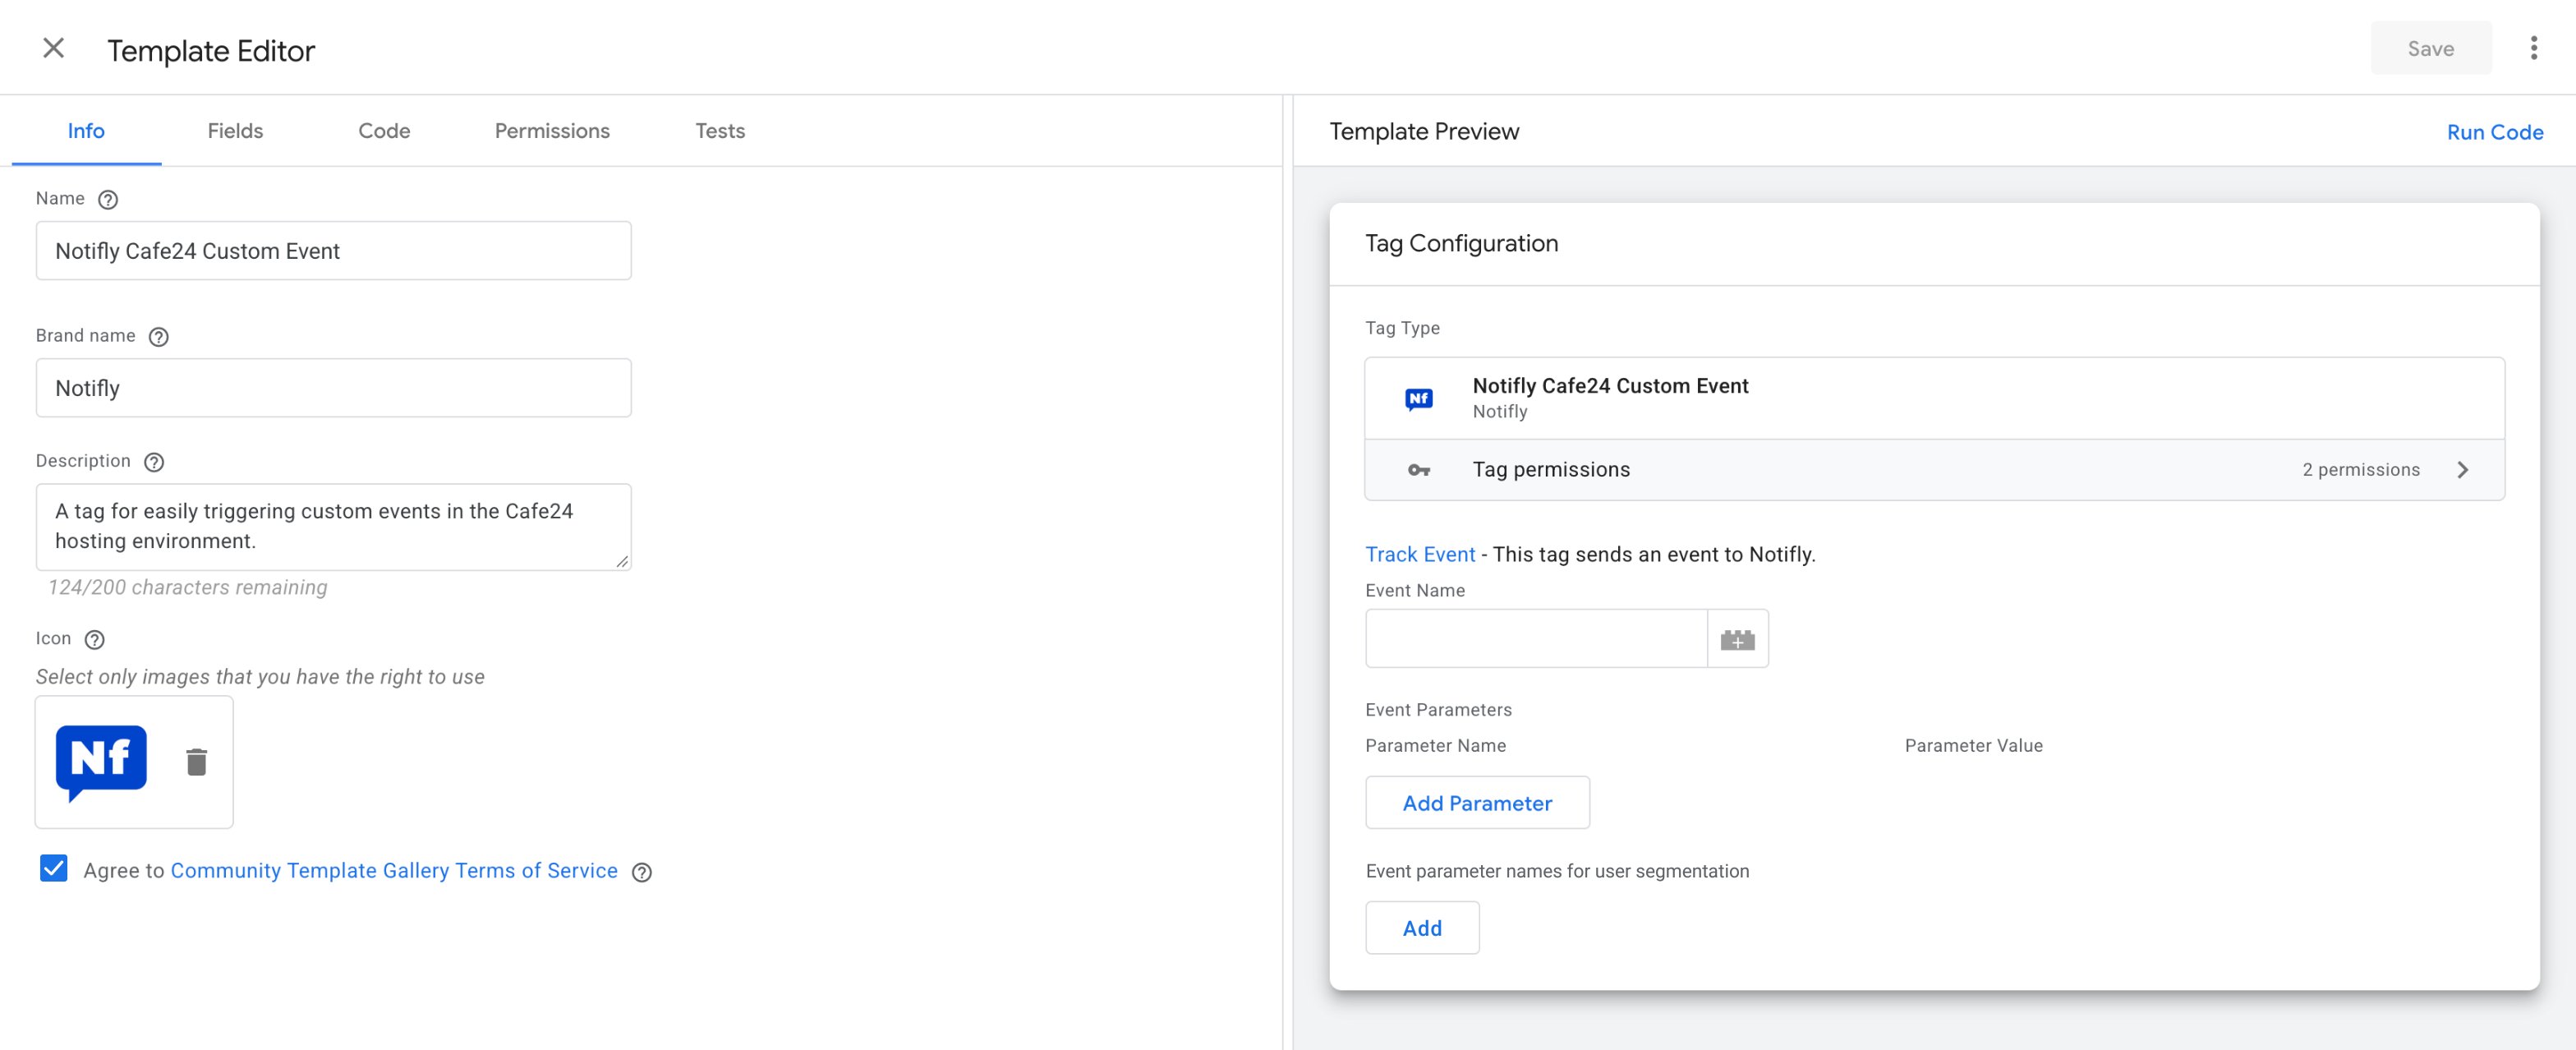
In the template editor, open the
⋮menu next to Save and select Import. Select the template file you downloaded.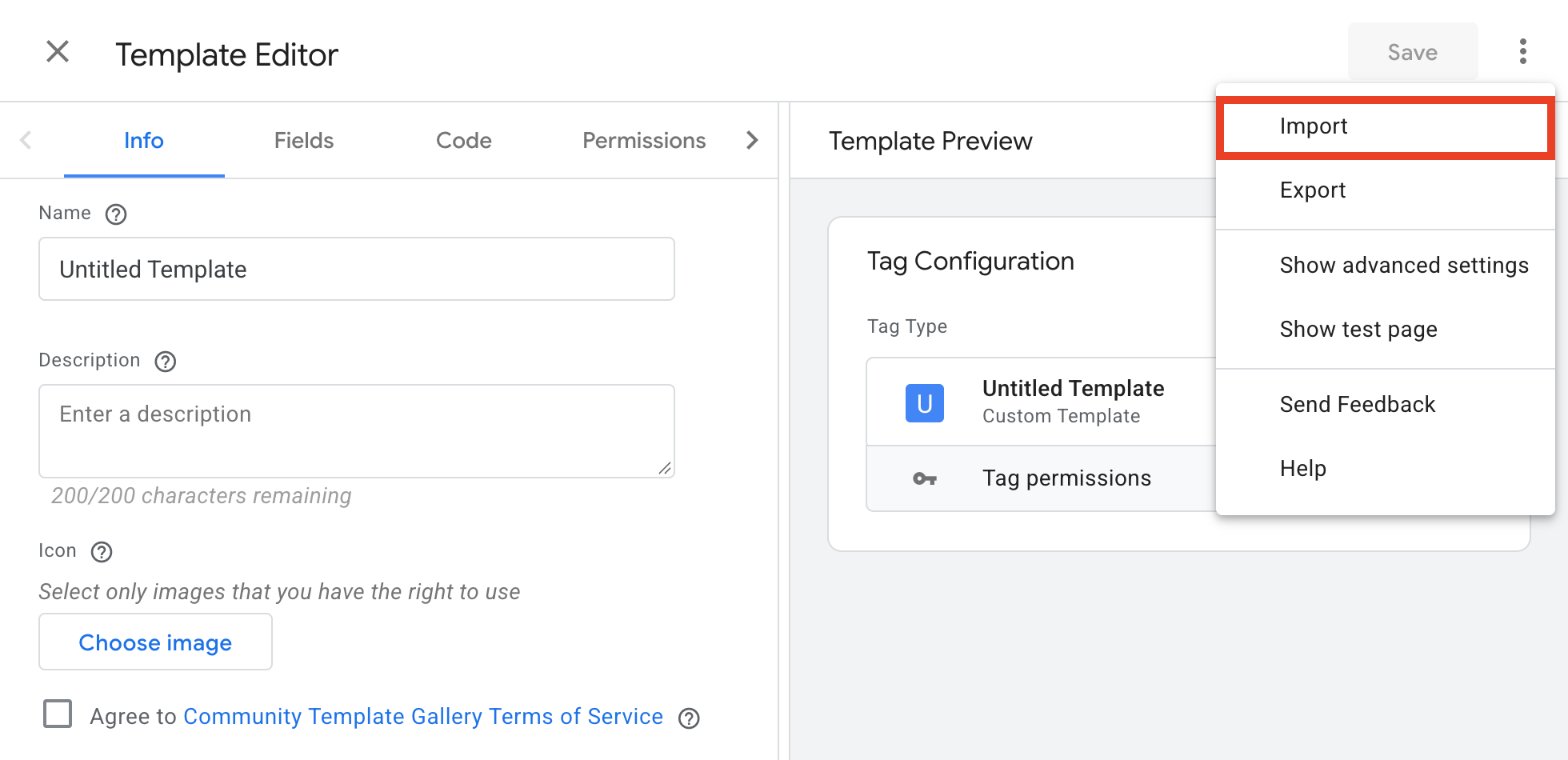
-
Click Save after the template loads. Check the lower-left corner for a confirmation.
3. Use custom events
3-1. Create a custom tag
- In GTM, select Tags in the sidebar.
-
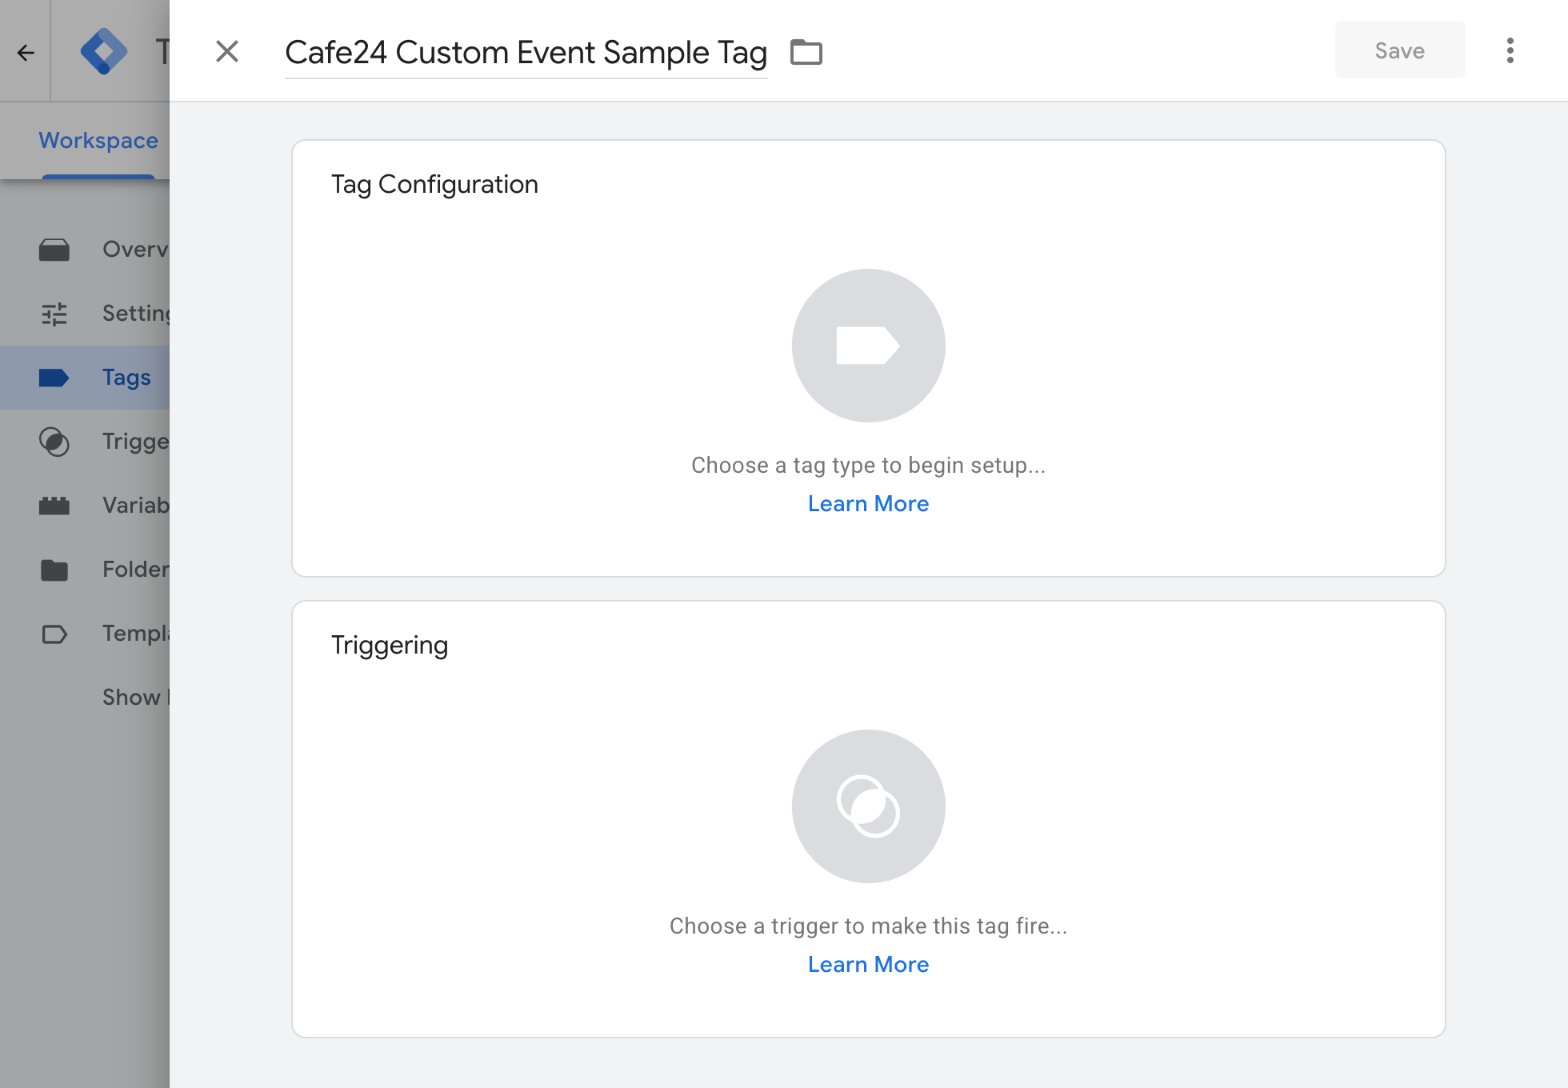
Click New in the upper-right corner.
-
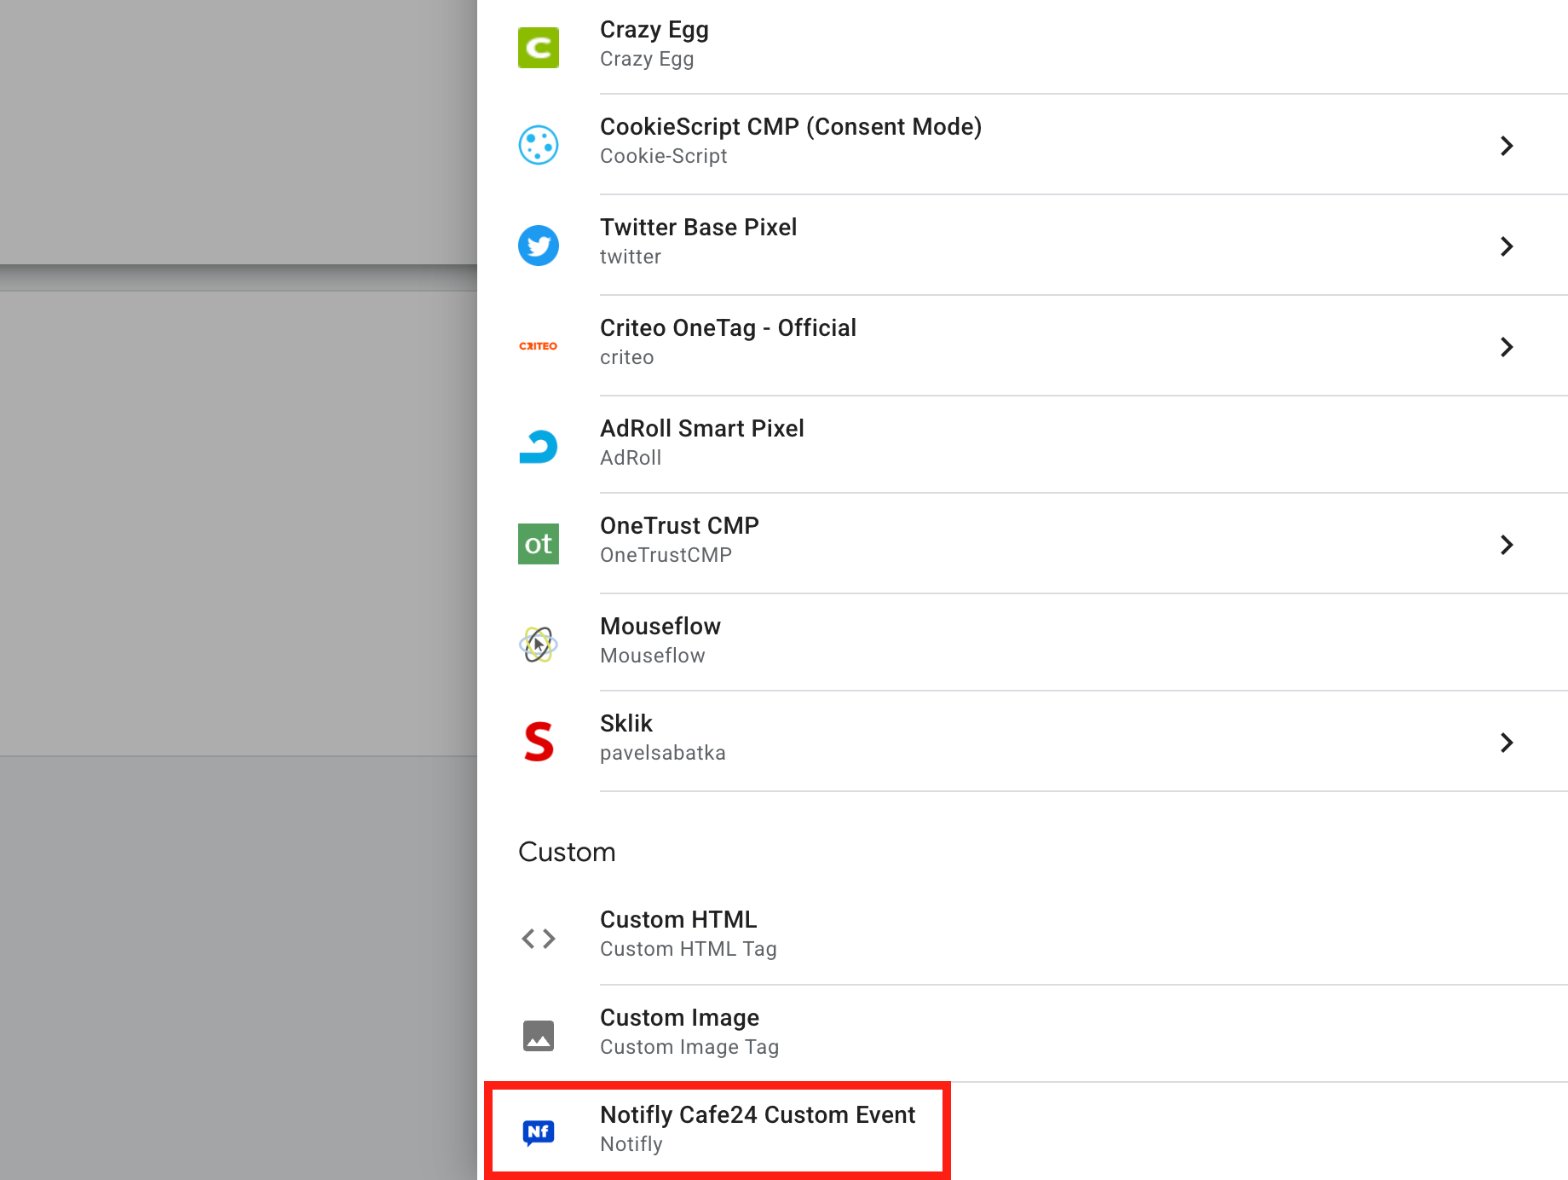
Under Tag Configuration, choose Notifly Cafe24 Custom Event.
3-2. Example custom event
3-2-1. Overview
Send asearch-icon-clicked event to Notifly when someone clicks the search icon on your Cafe24 store.

3-2-2. Identify the search icon
A GTM trigger determines when a tag runs. To run the tag when a user clicks the search icon, first identify the element using a CSS selector.- In your browser, right-click the search icon and choose Inspect. The developer tools highlight the element’s HTML.

- Right-click the highlighted HTML and select Copy > Copy selector. Save the selector for the trigger setup. For example, the selector on the sample store is
#top_nav_box > div.top_mypage > a.eSearch > svg.

3-2-3. Create the trigger
- In the tag from section 3-1, click Triggering below Tag Configuration.
-
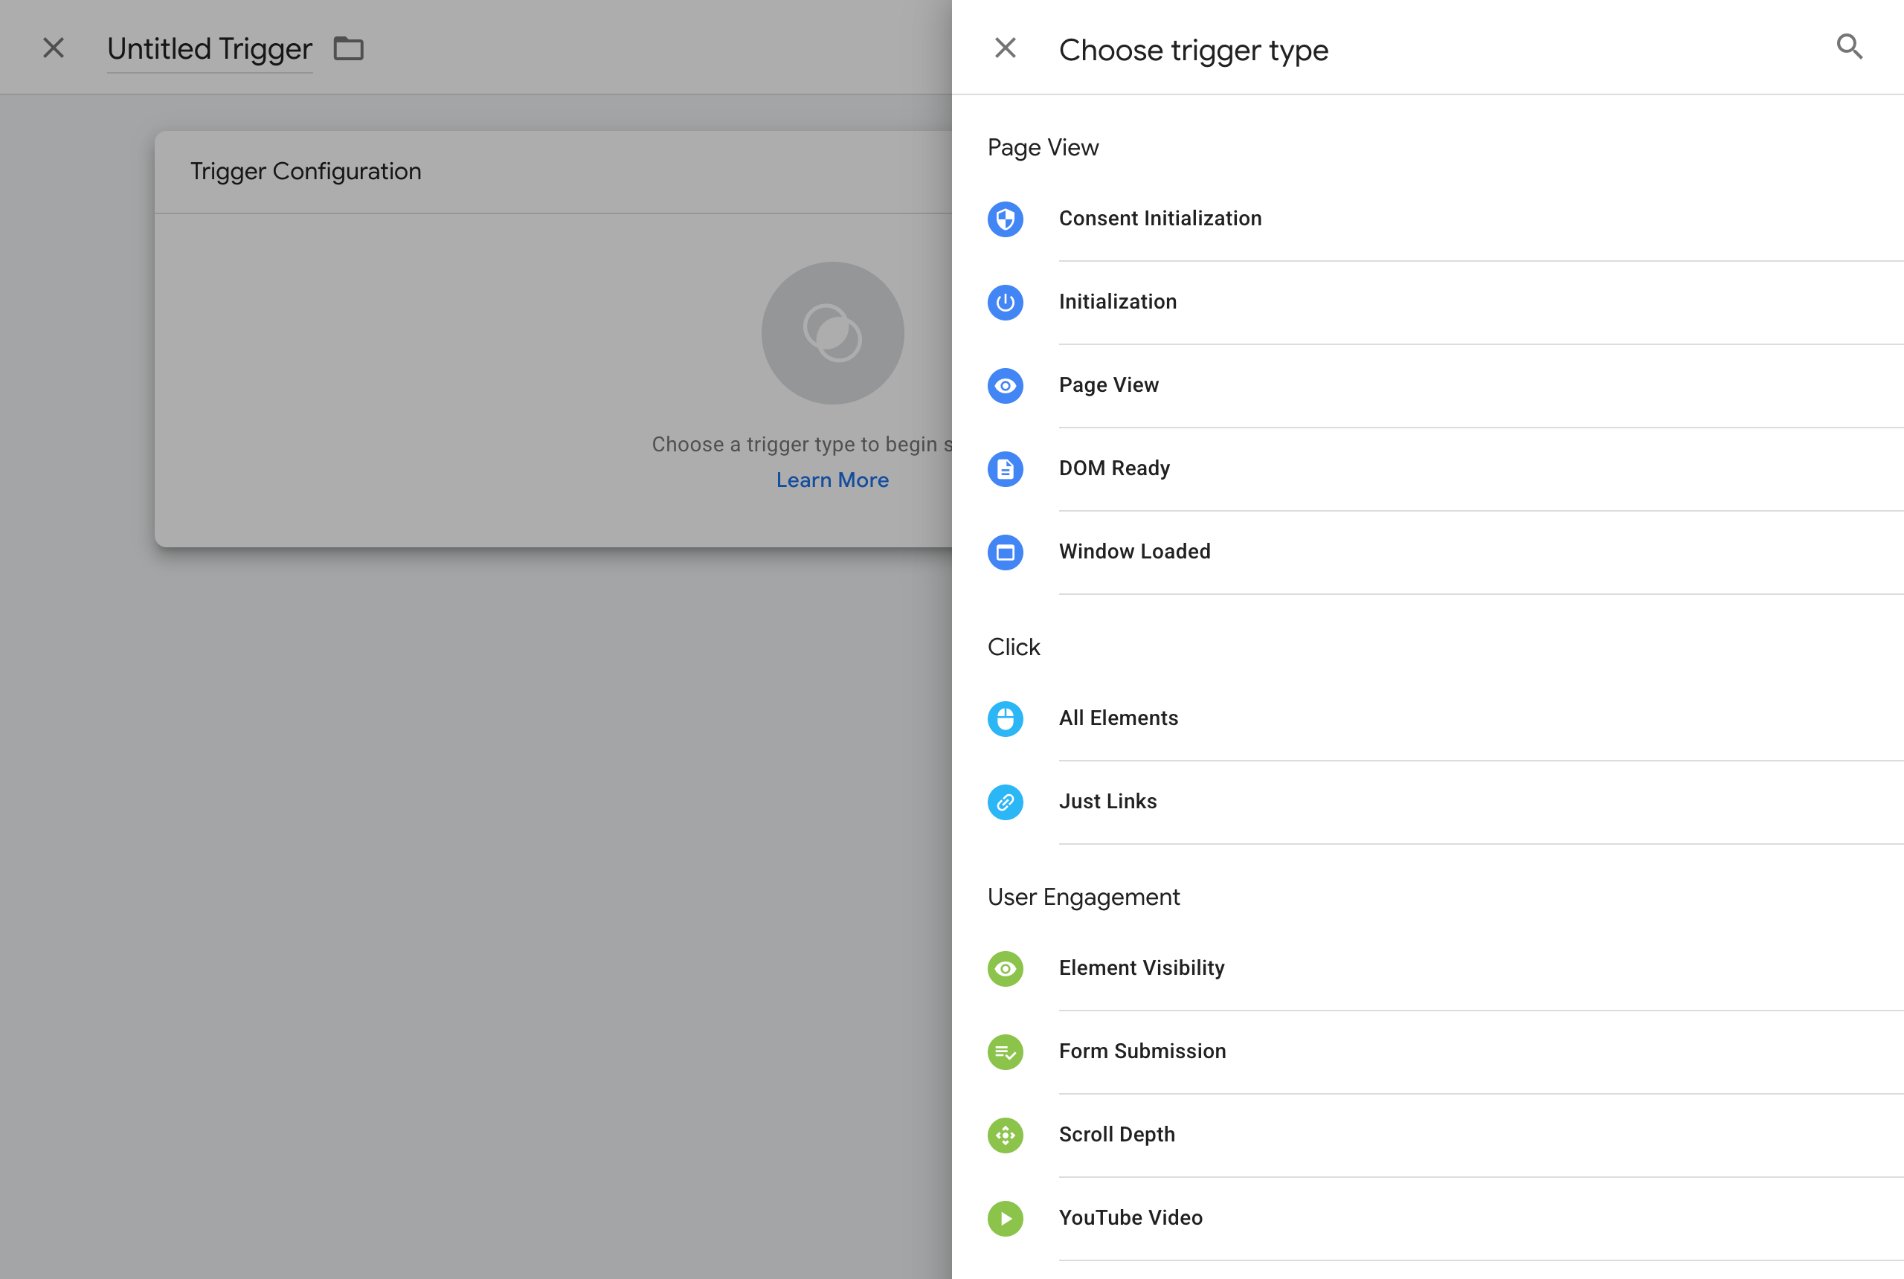
Click + in the upper-right corner of the trigger picker. Click Trigger Configuration.
-
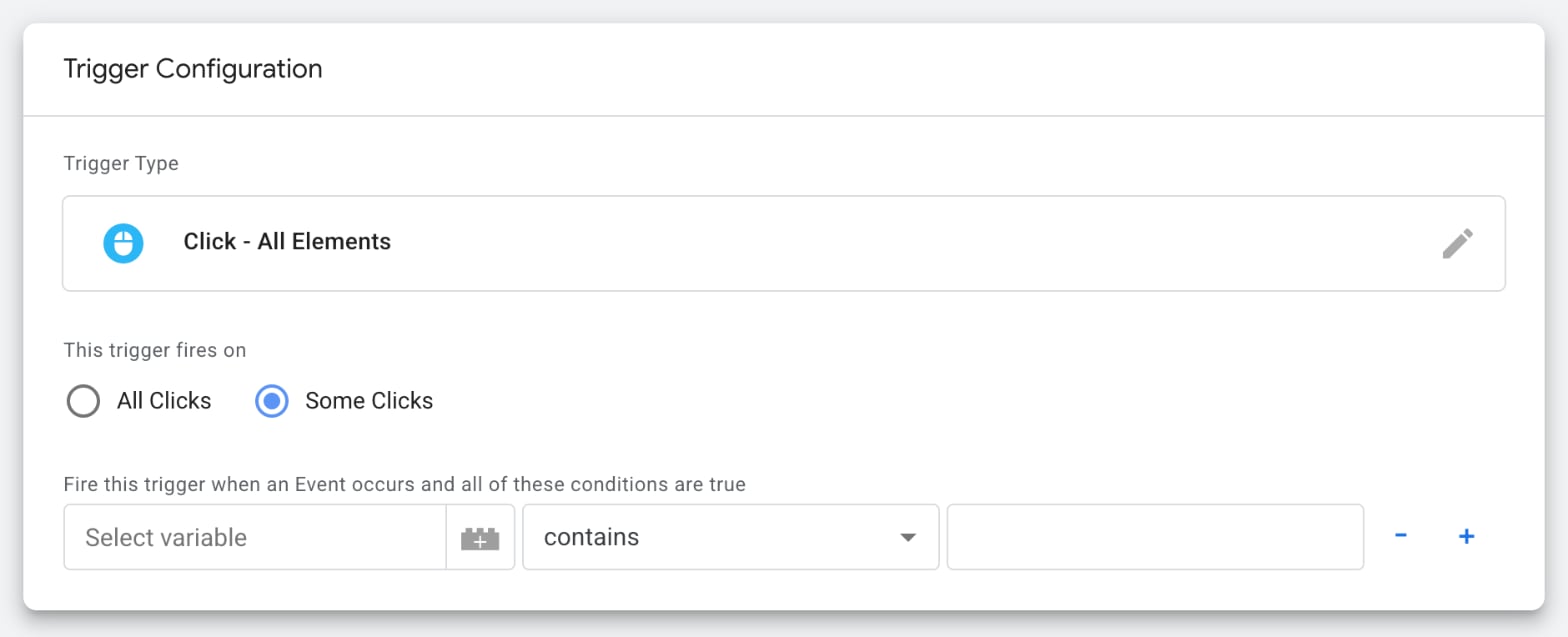
For the trigger type, under Click, select All Elements, then select Some Clicks.
-
Set the variable to Click Element and the operator to matches CSS selector. Paste the selector you copied.
 If Click Element isn’t listed, use the option at the bottom of the dropdown to add it as a built-in variable.
- Click Save.
3-2-4. Finish the tag
-
In the custom tag, enter
search-icon-clickedin 이벤트 이름 (Event name). If you choose another name, look for that name when you test.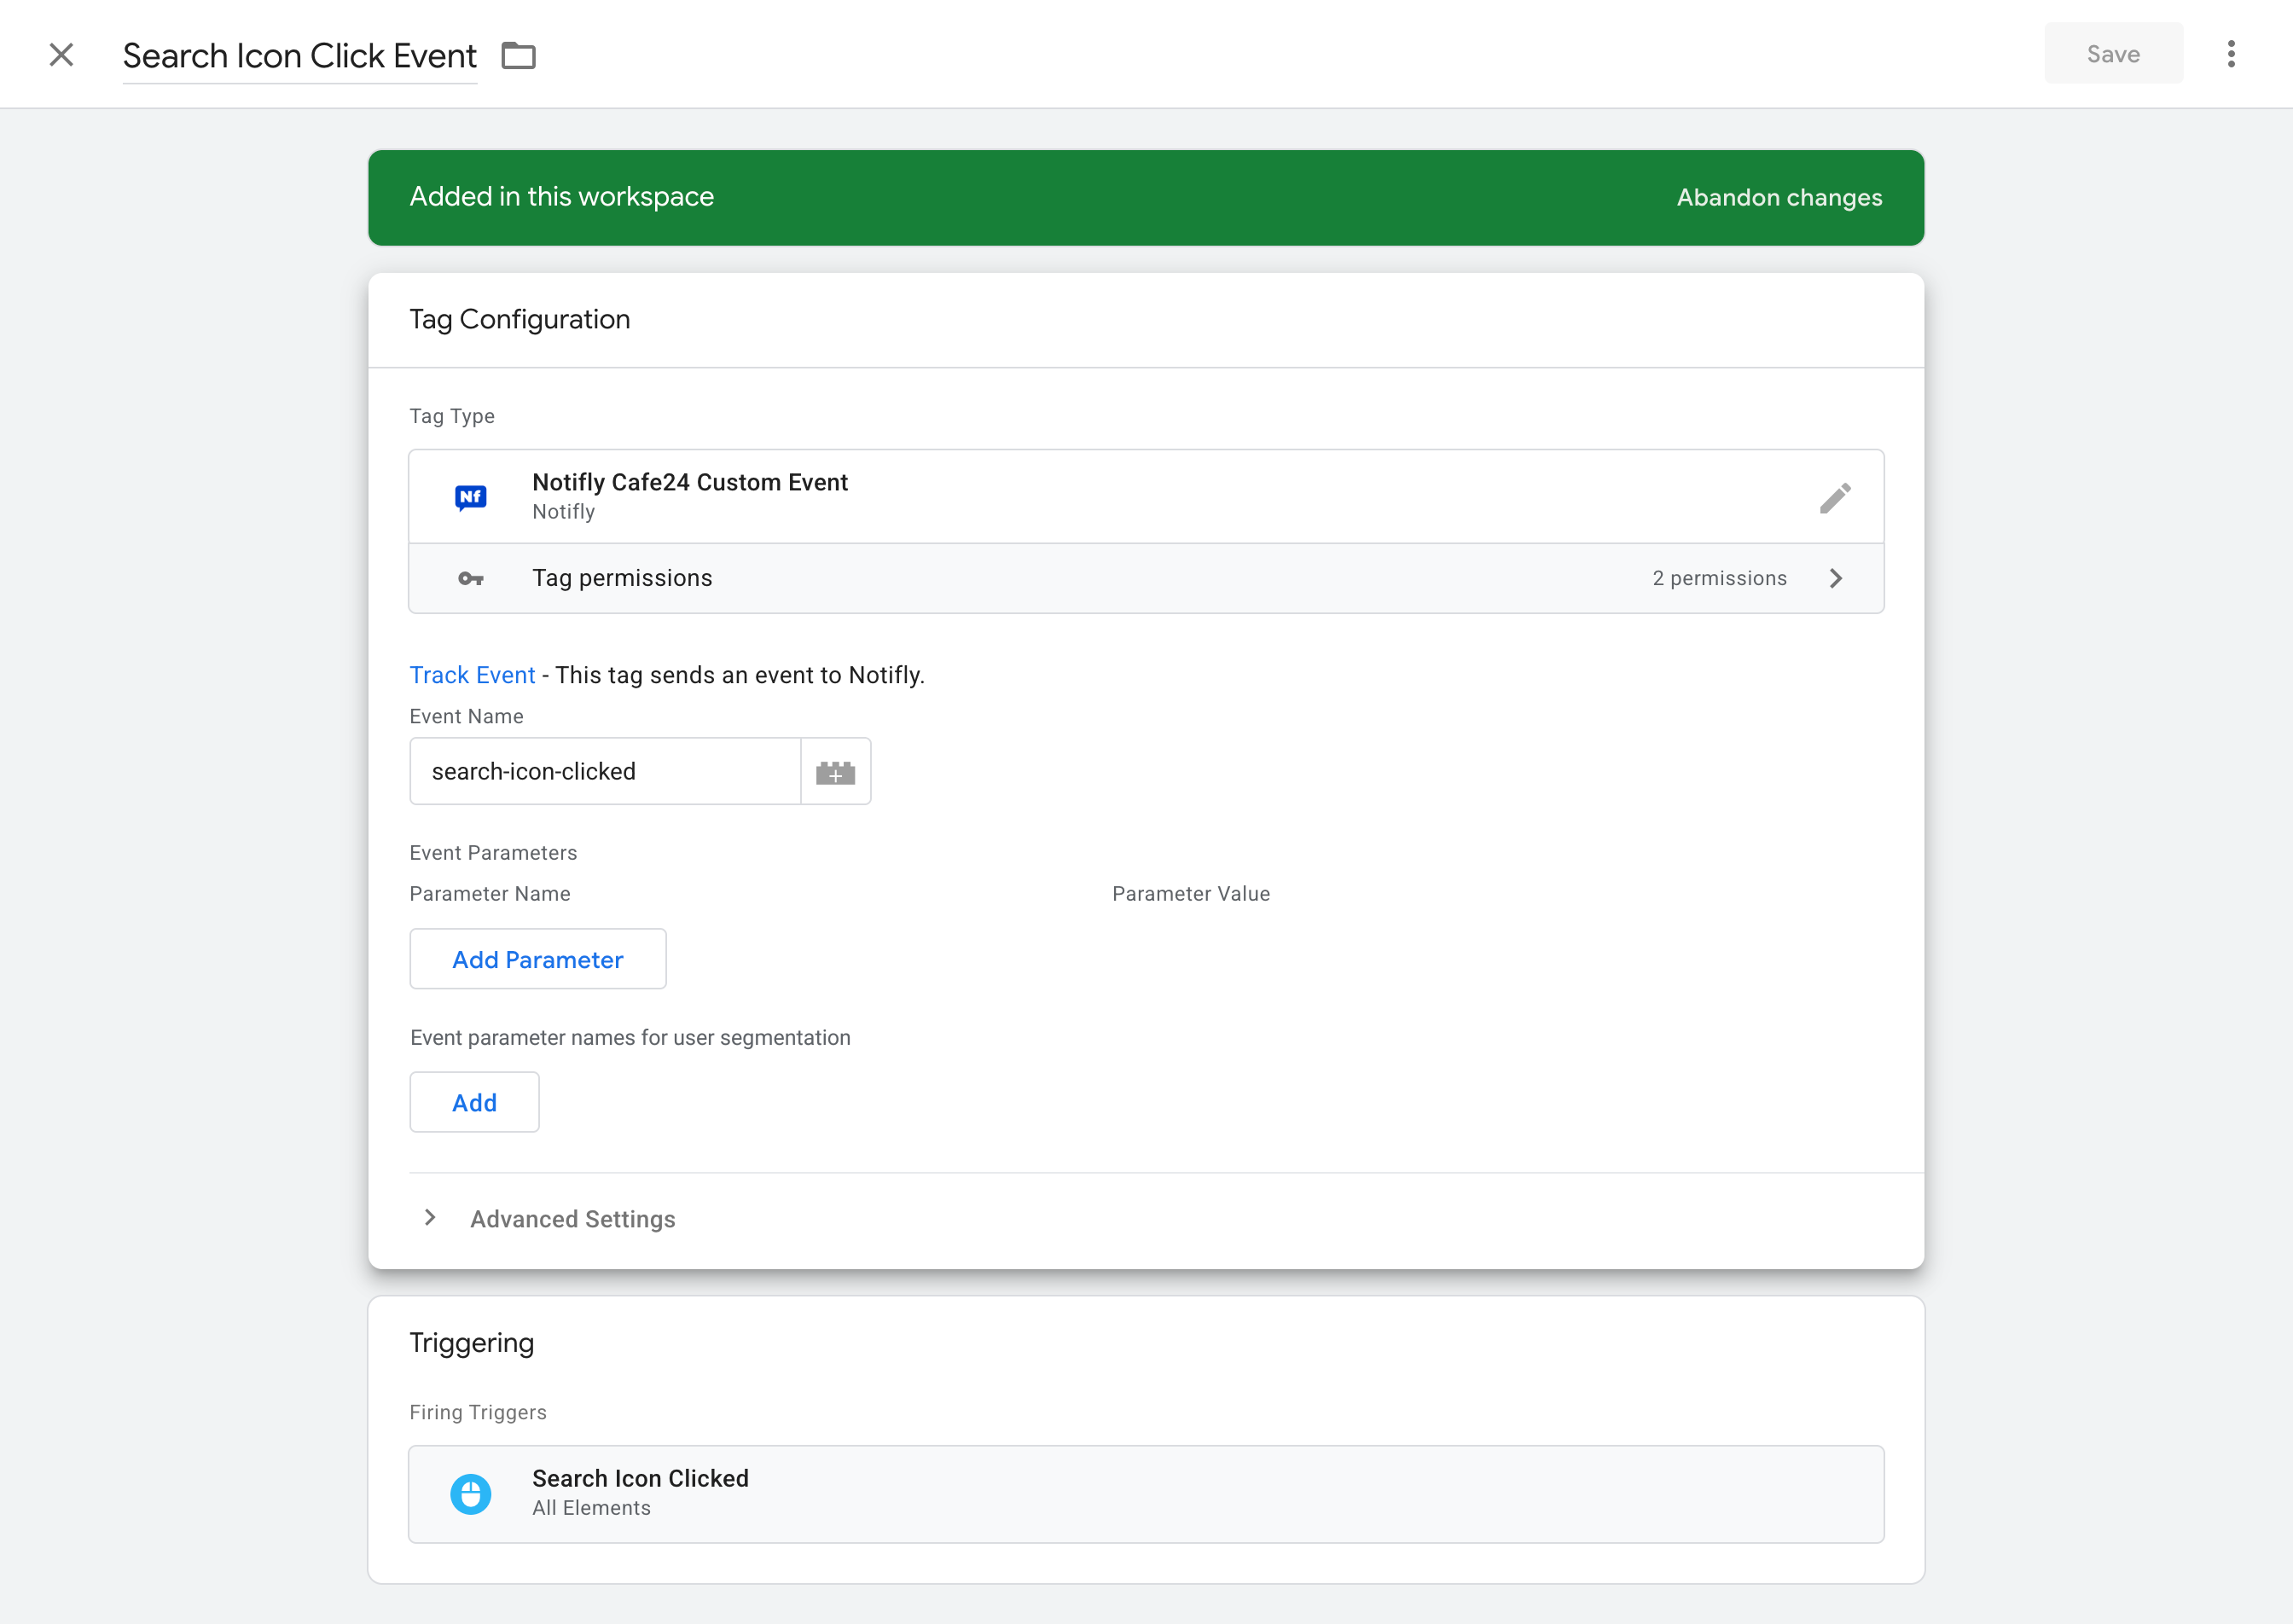
- Click Save in the upper-right corner.
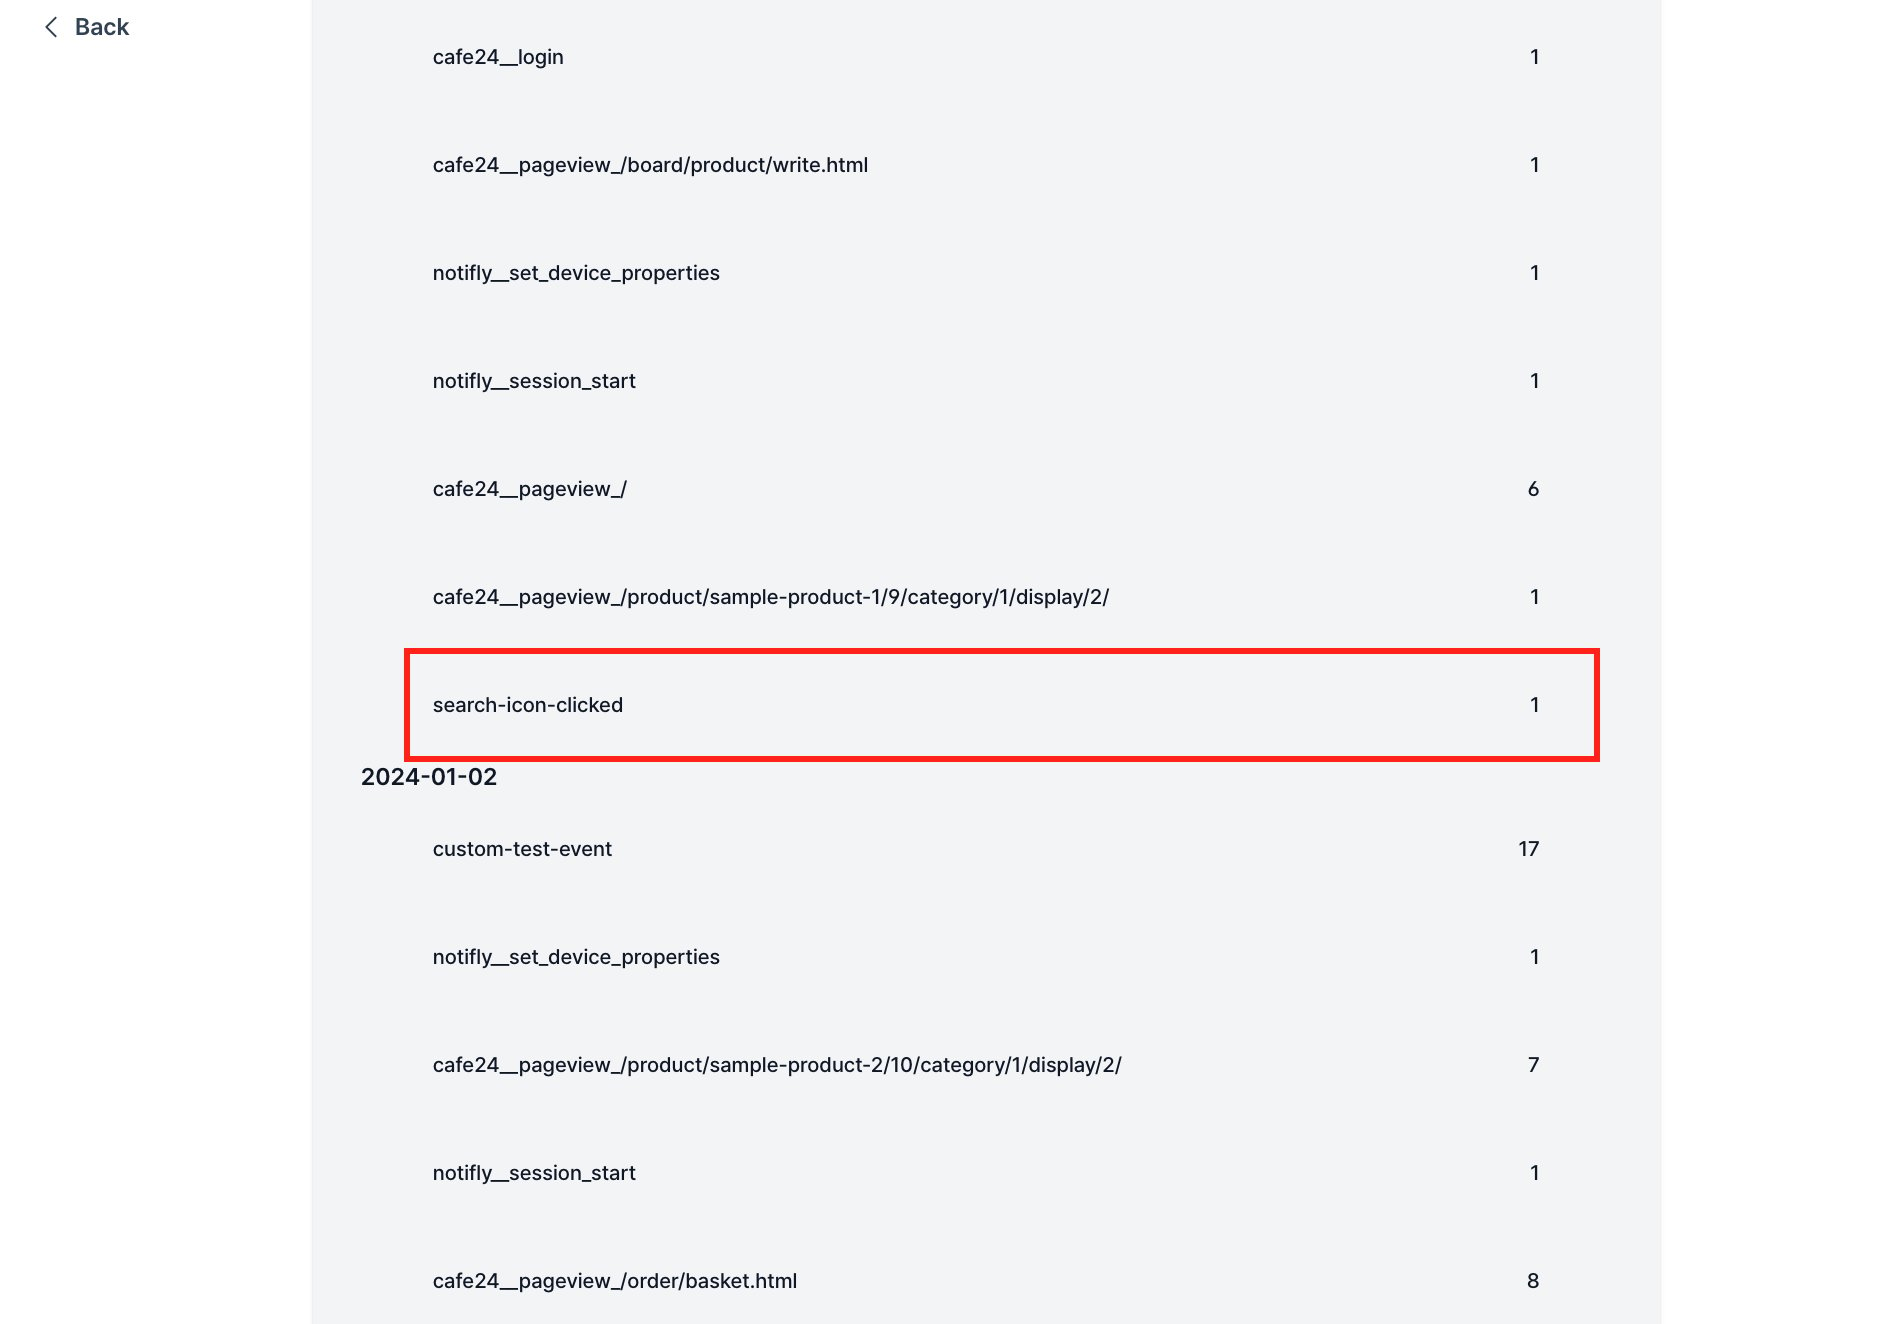
search-icon-clicked event.
To verify the event for your test user, open User Management > User List in the Notifly console. Select 유저 ID (User ID), enter the test user’s ID, and click Search. Open the user’s details and look for the event under 일별 이벤트 발생 빈도 (Daily event counts).