- iOS
Rich Push Notification은 이미지나 비디오를 포함한 푸시 메시지를 표시하고, 푸시 수신 지표를 수집할 수 있도록 하는 기능입니다.
이 기능은 iOS 플랫폼에서만 지원되며, Flutter 및 React Native 앱에서도 iOS 타겟 빌드 시 동일한 설정이 필요합니다.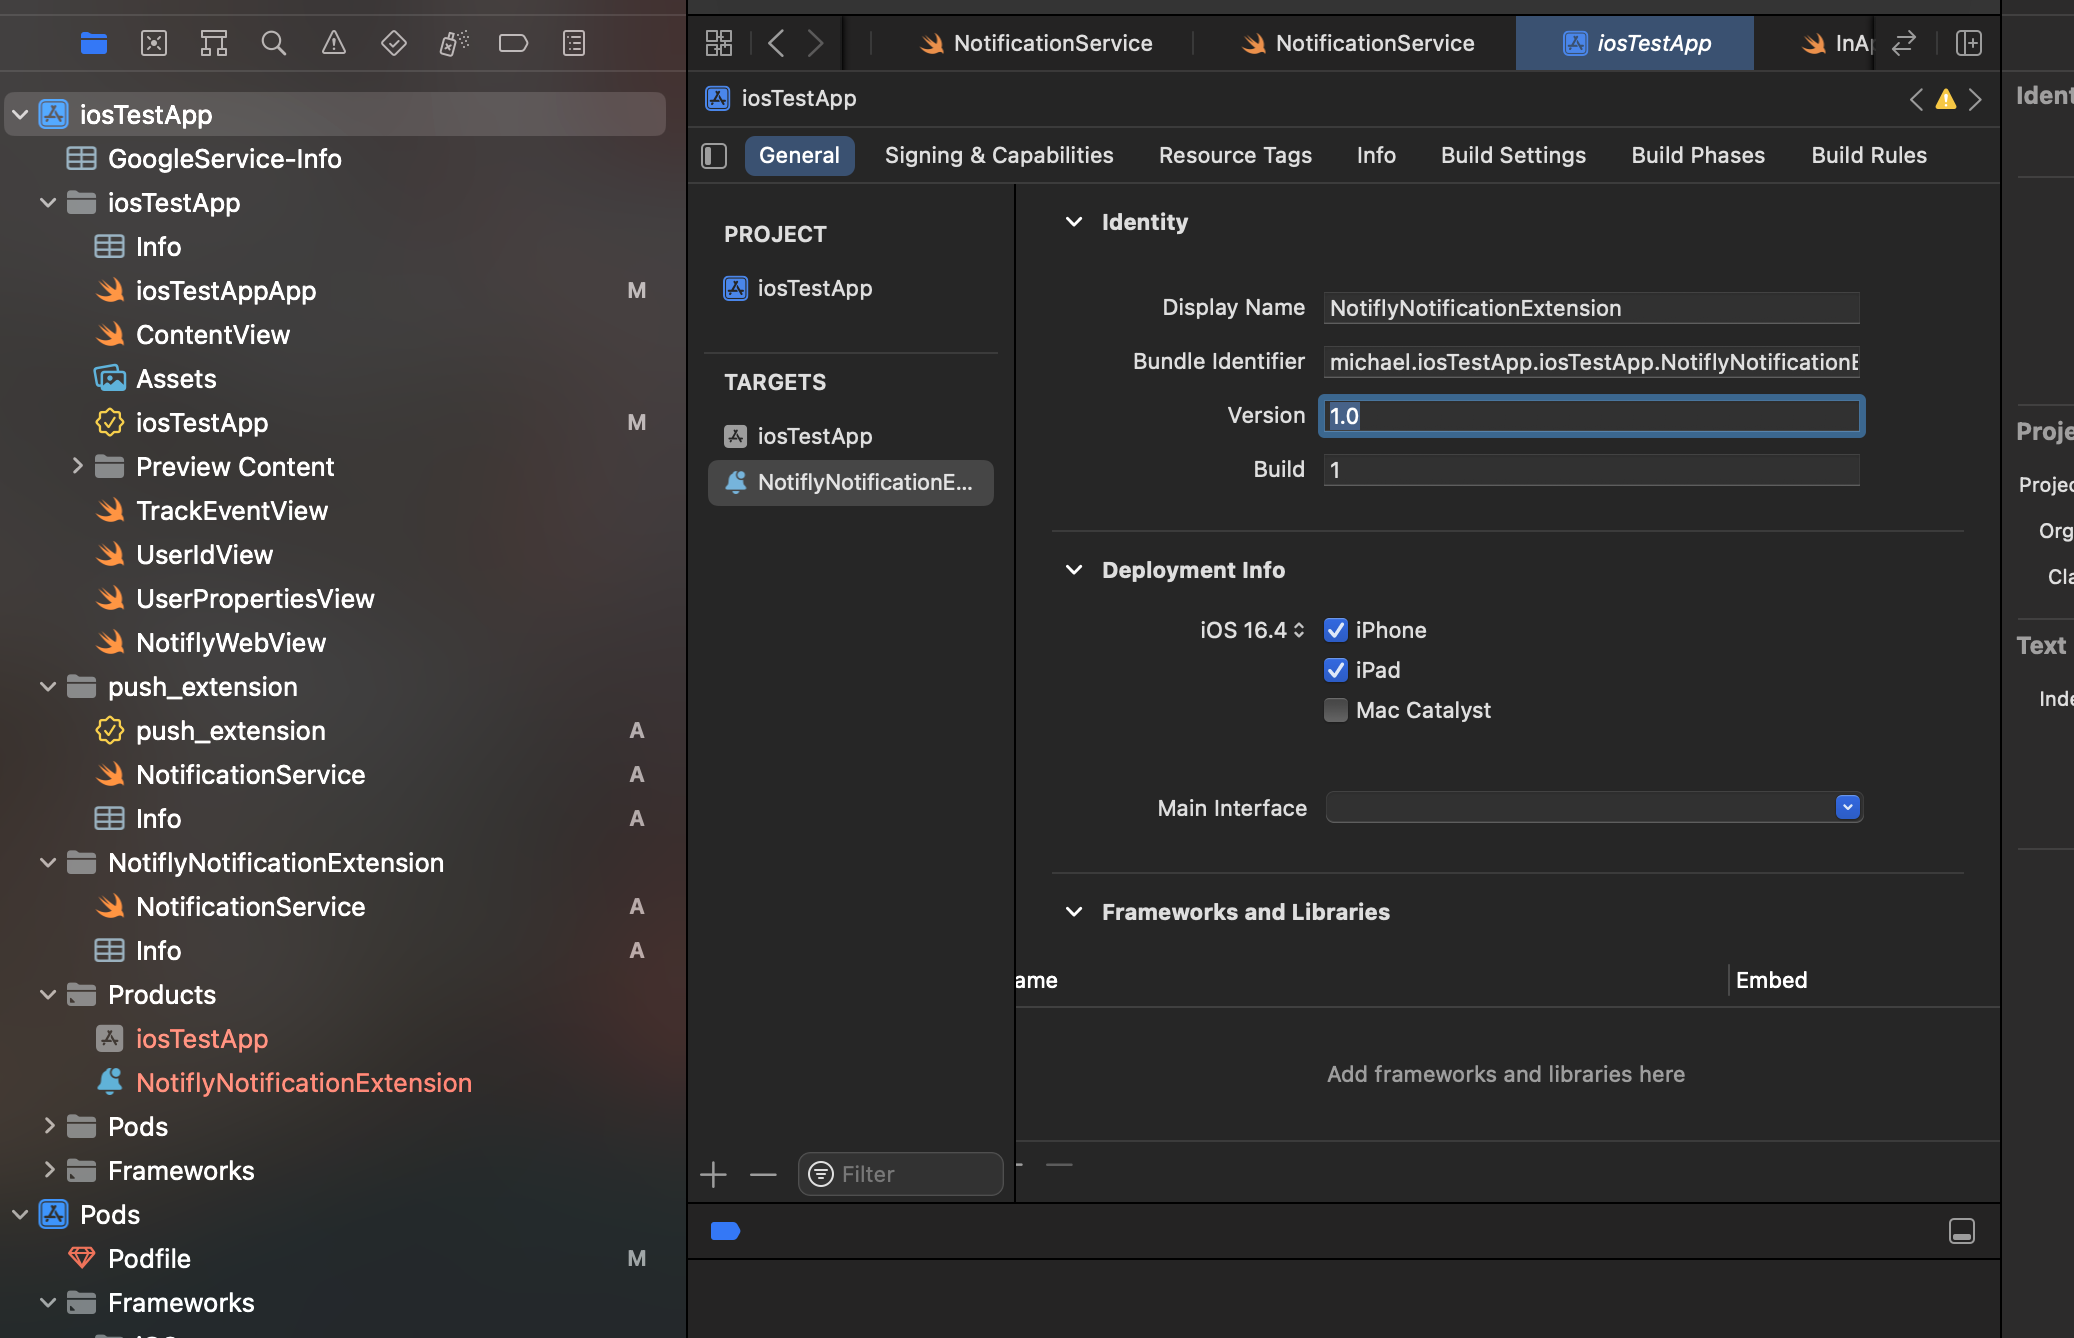
SDK 버전 요구사항
- iOS Native: 1.3.0 이상
- React Native: 3.0.4 이상
- Flutter: 1.2.3 이상
1. Notification Service Extension 설정
-
Xcode에서 프로젝트를 엽니다. (Flutter 또는 React Native 프로젝트의 경우, ios 폴더 내
.xcworkspace파일을 선택)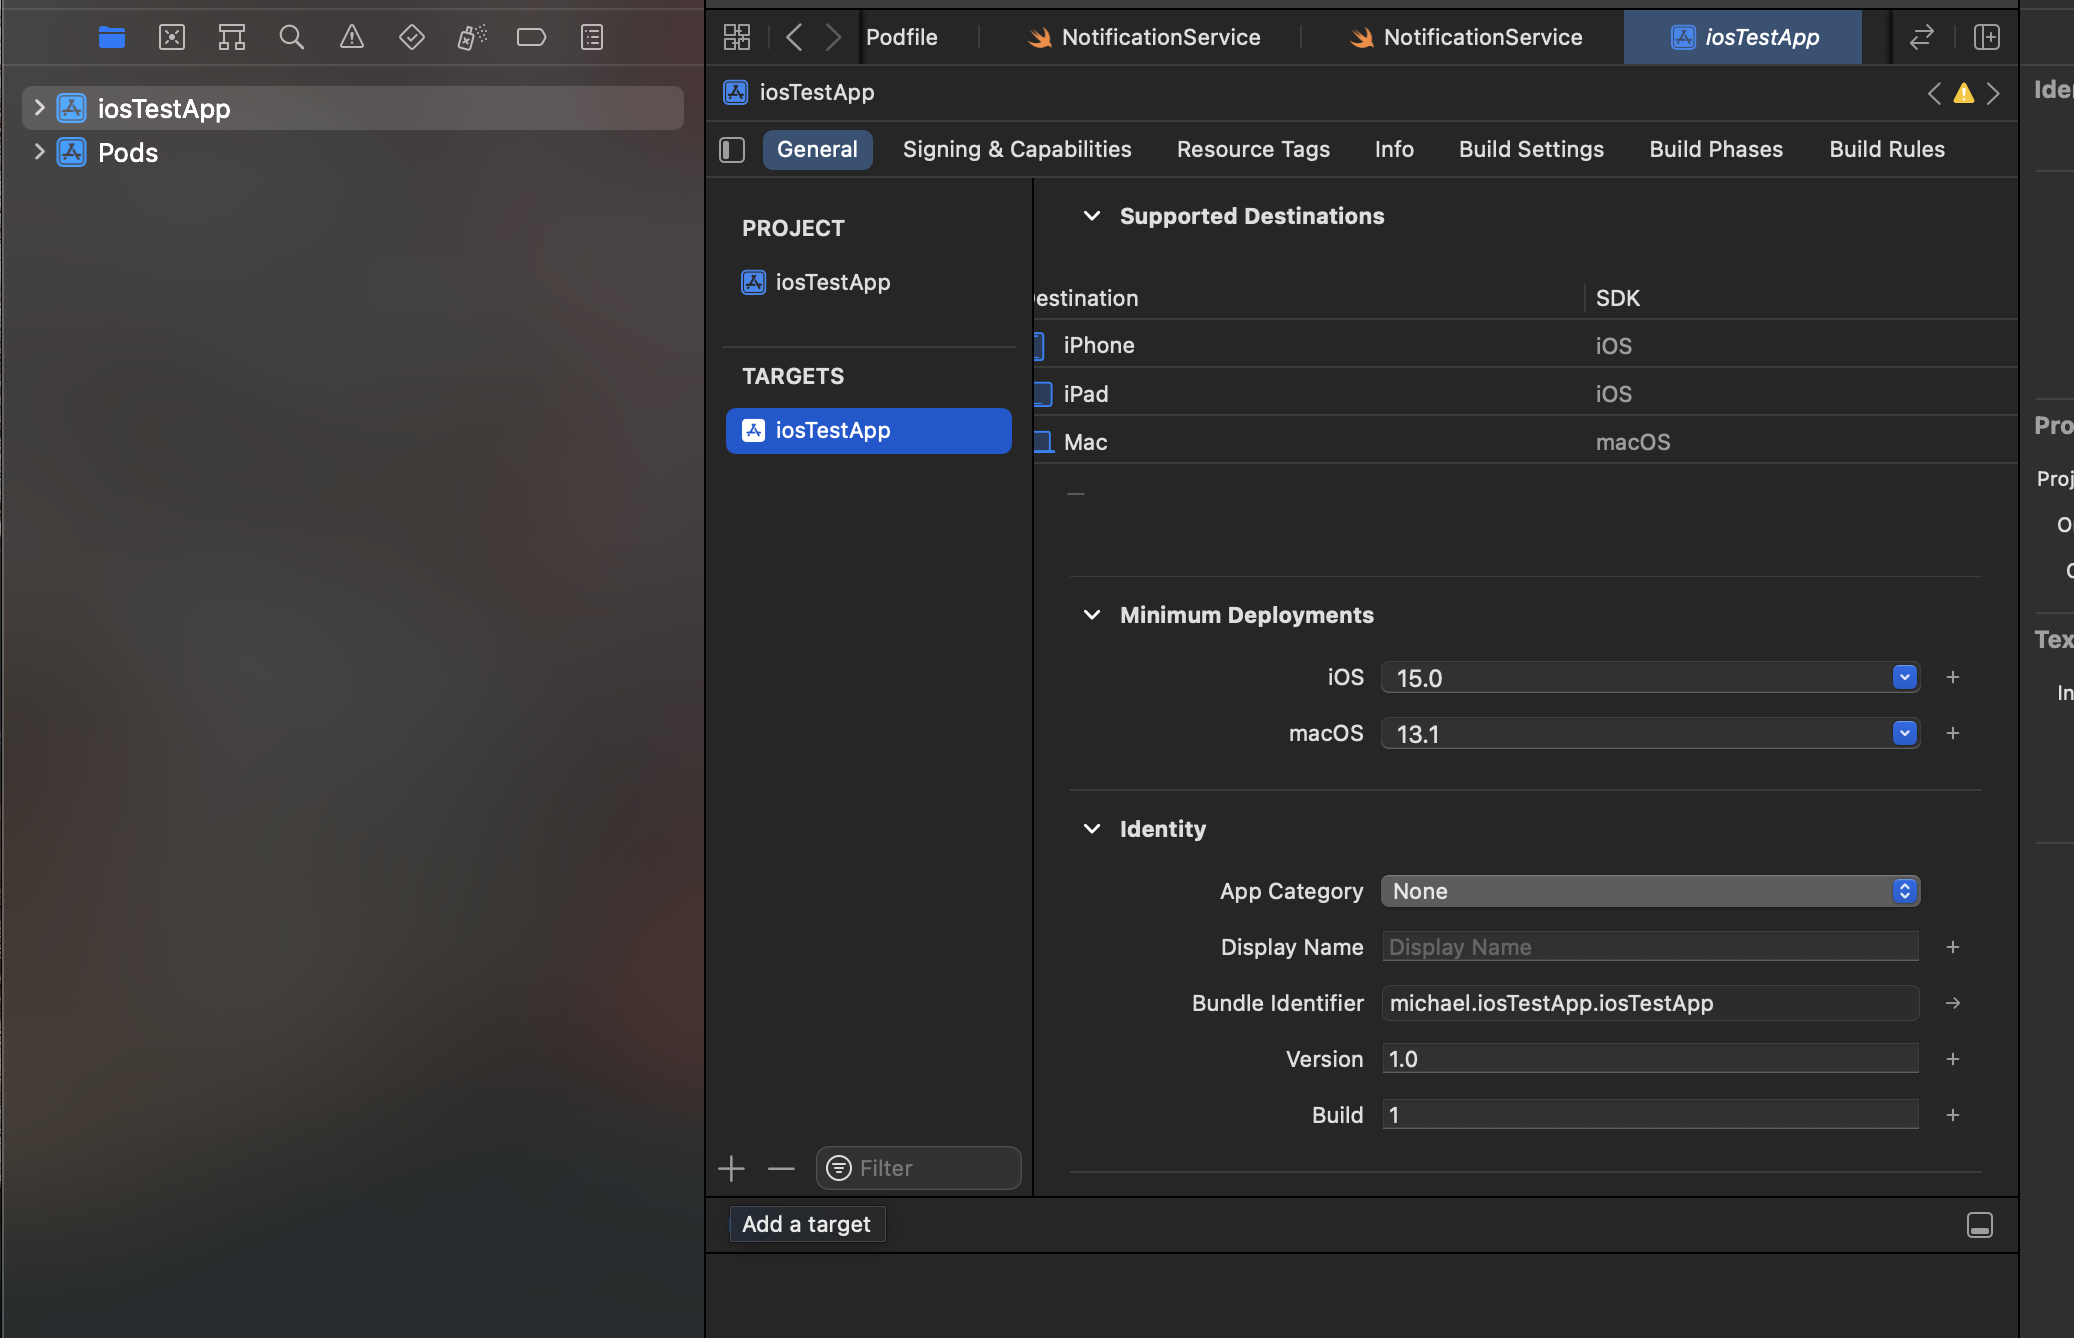
-
Project Navigator에서 프로젝트를 선택한 후 + 버튼을 눌러 Notification Service Extension을 추가합니다.

-
Product Name을
NotiflyNotificationExtension으로 지정하고 Finish를 클릭합니다.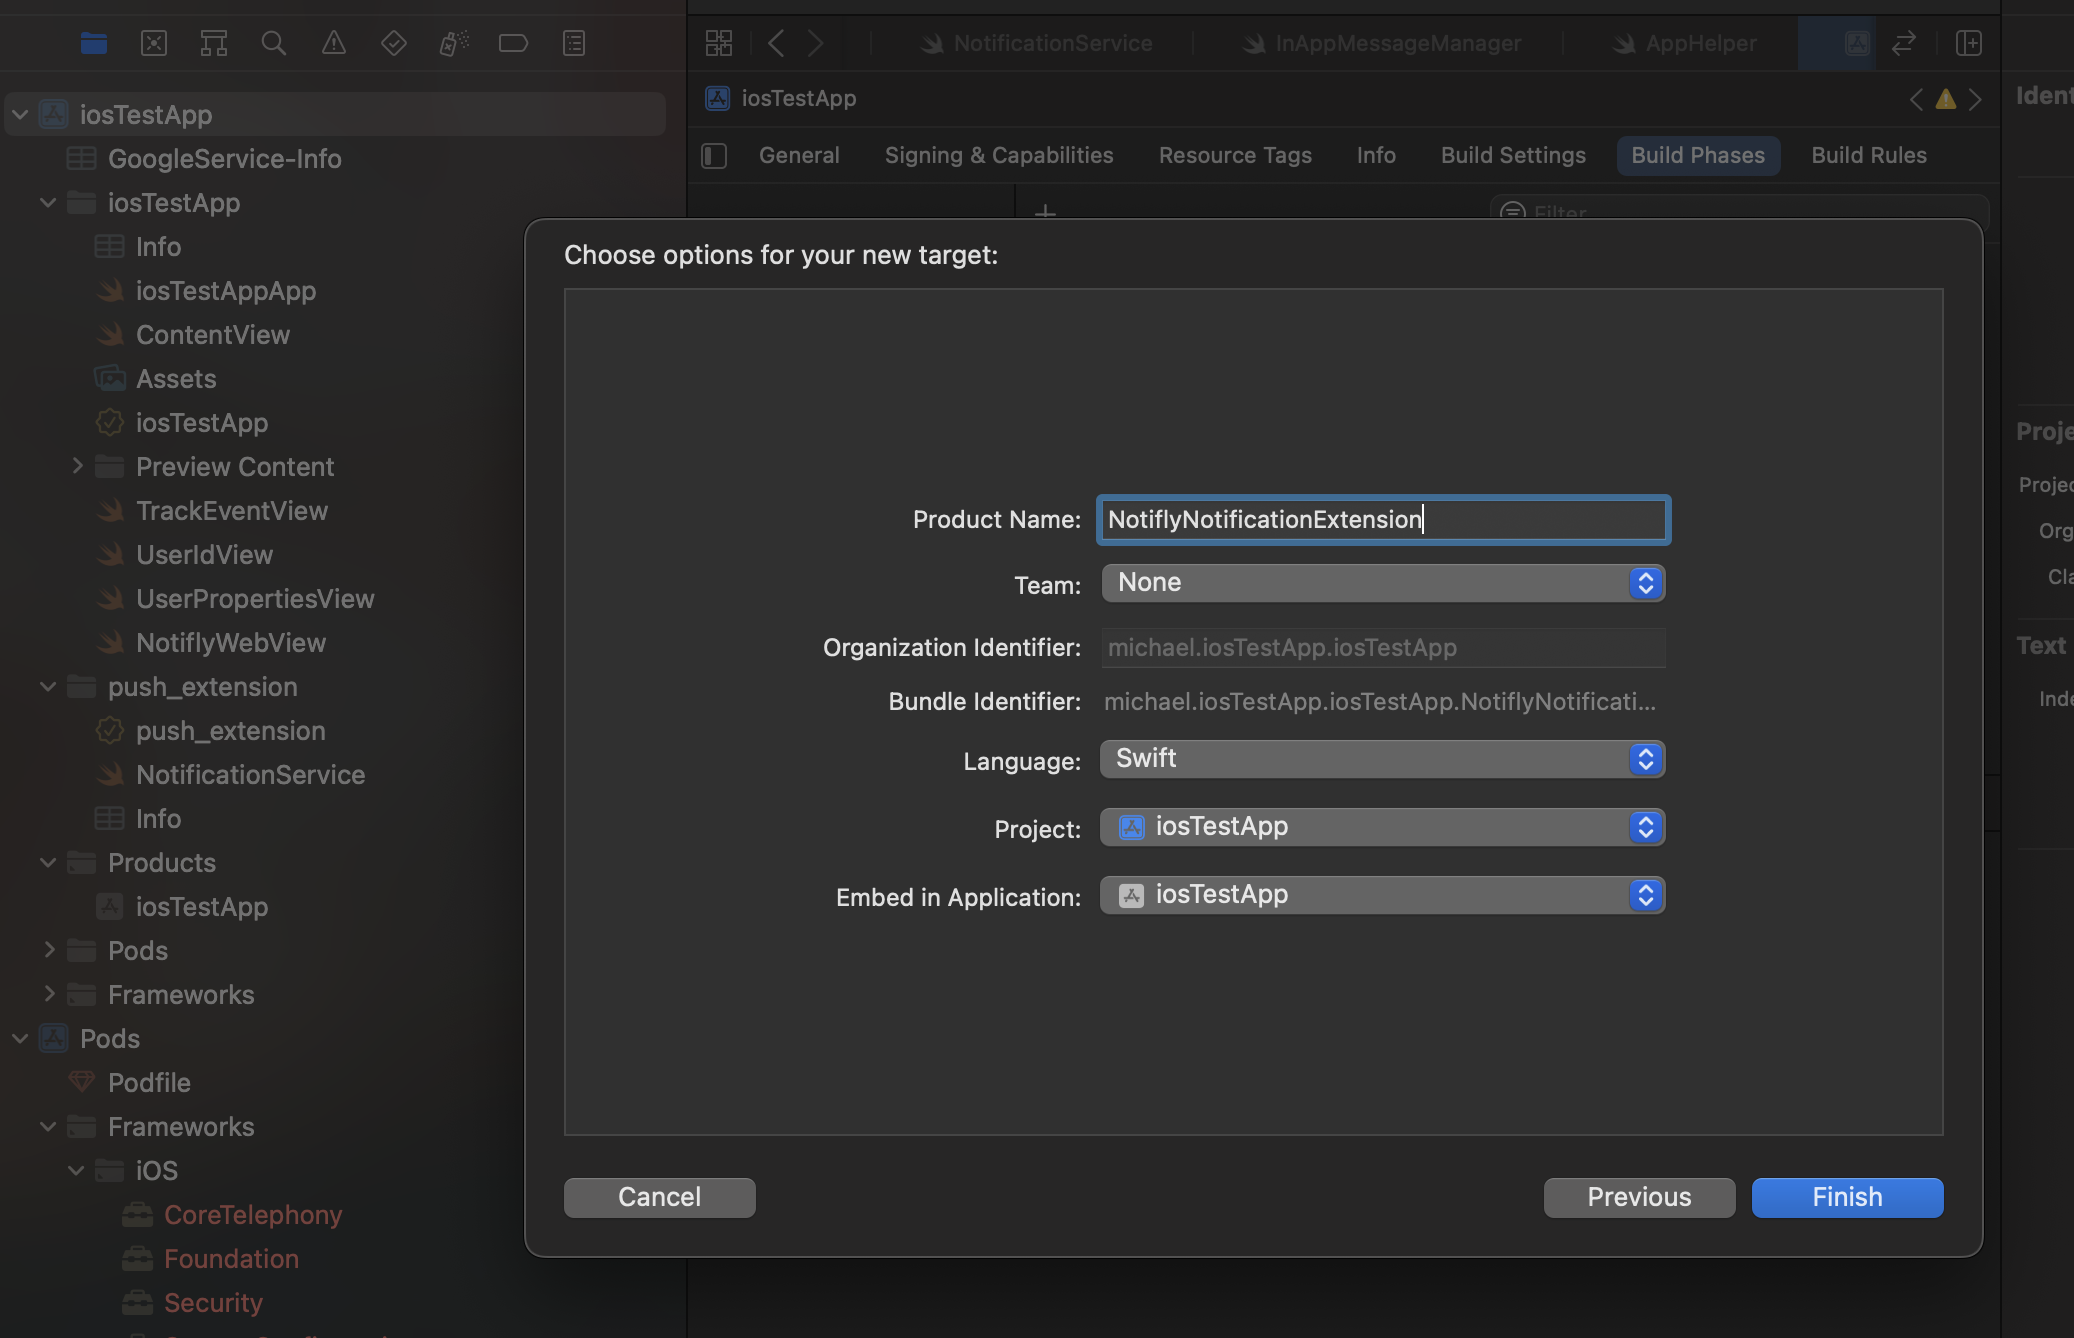
2. App Groups 설정
-
그룹 ID는
group.notifly.{username}형식을 사용합니다. (username은 노티플라이 콘솔의 SDK 인증 정보에서 확인 가능) -
메인 앱(Target)과 새로 생성된 Extension(Target) 각각의 Signing & Capabilities 탭에서 App Groups를 추가하고 동일한 그룹 이름(
group.notifly.{username})을 설정합니다.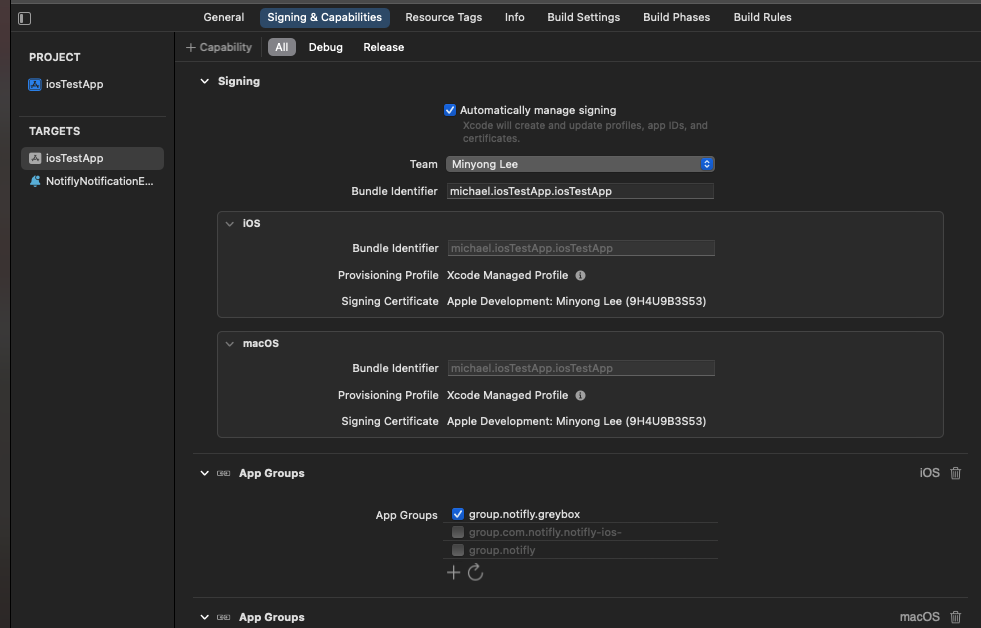
3. SDK 연동 방식
- Cocoapods
- Swift Package Manager
노티플라이 SDK를 Extension Target에 static 라이브러리로 설치해야 합니다.
4. 코드 연동
NotiflyNotificationExtension/NotificationService.swift 파일에 아래 코드를 추가합니다.PROJECT_ID, USERNAME은 Notifly 관리자 페이지 API/SDK 인증 정보 섹션에서 확인할 수 있습니다. - 기존 Extension 없음
- 기존 Extension 있음
5. 테스트
SDK 연동 테스트 참고하여 진행합니다.- 이미지 첨부 푸시 테스트
- 이미지 첨부 푸시 발송 → 기기에서 이미지 정상 표시 여부 확인
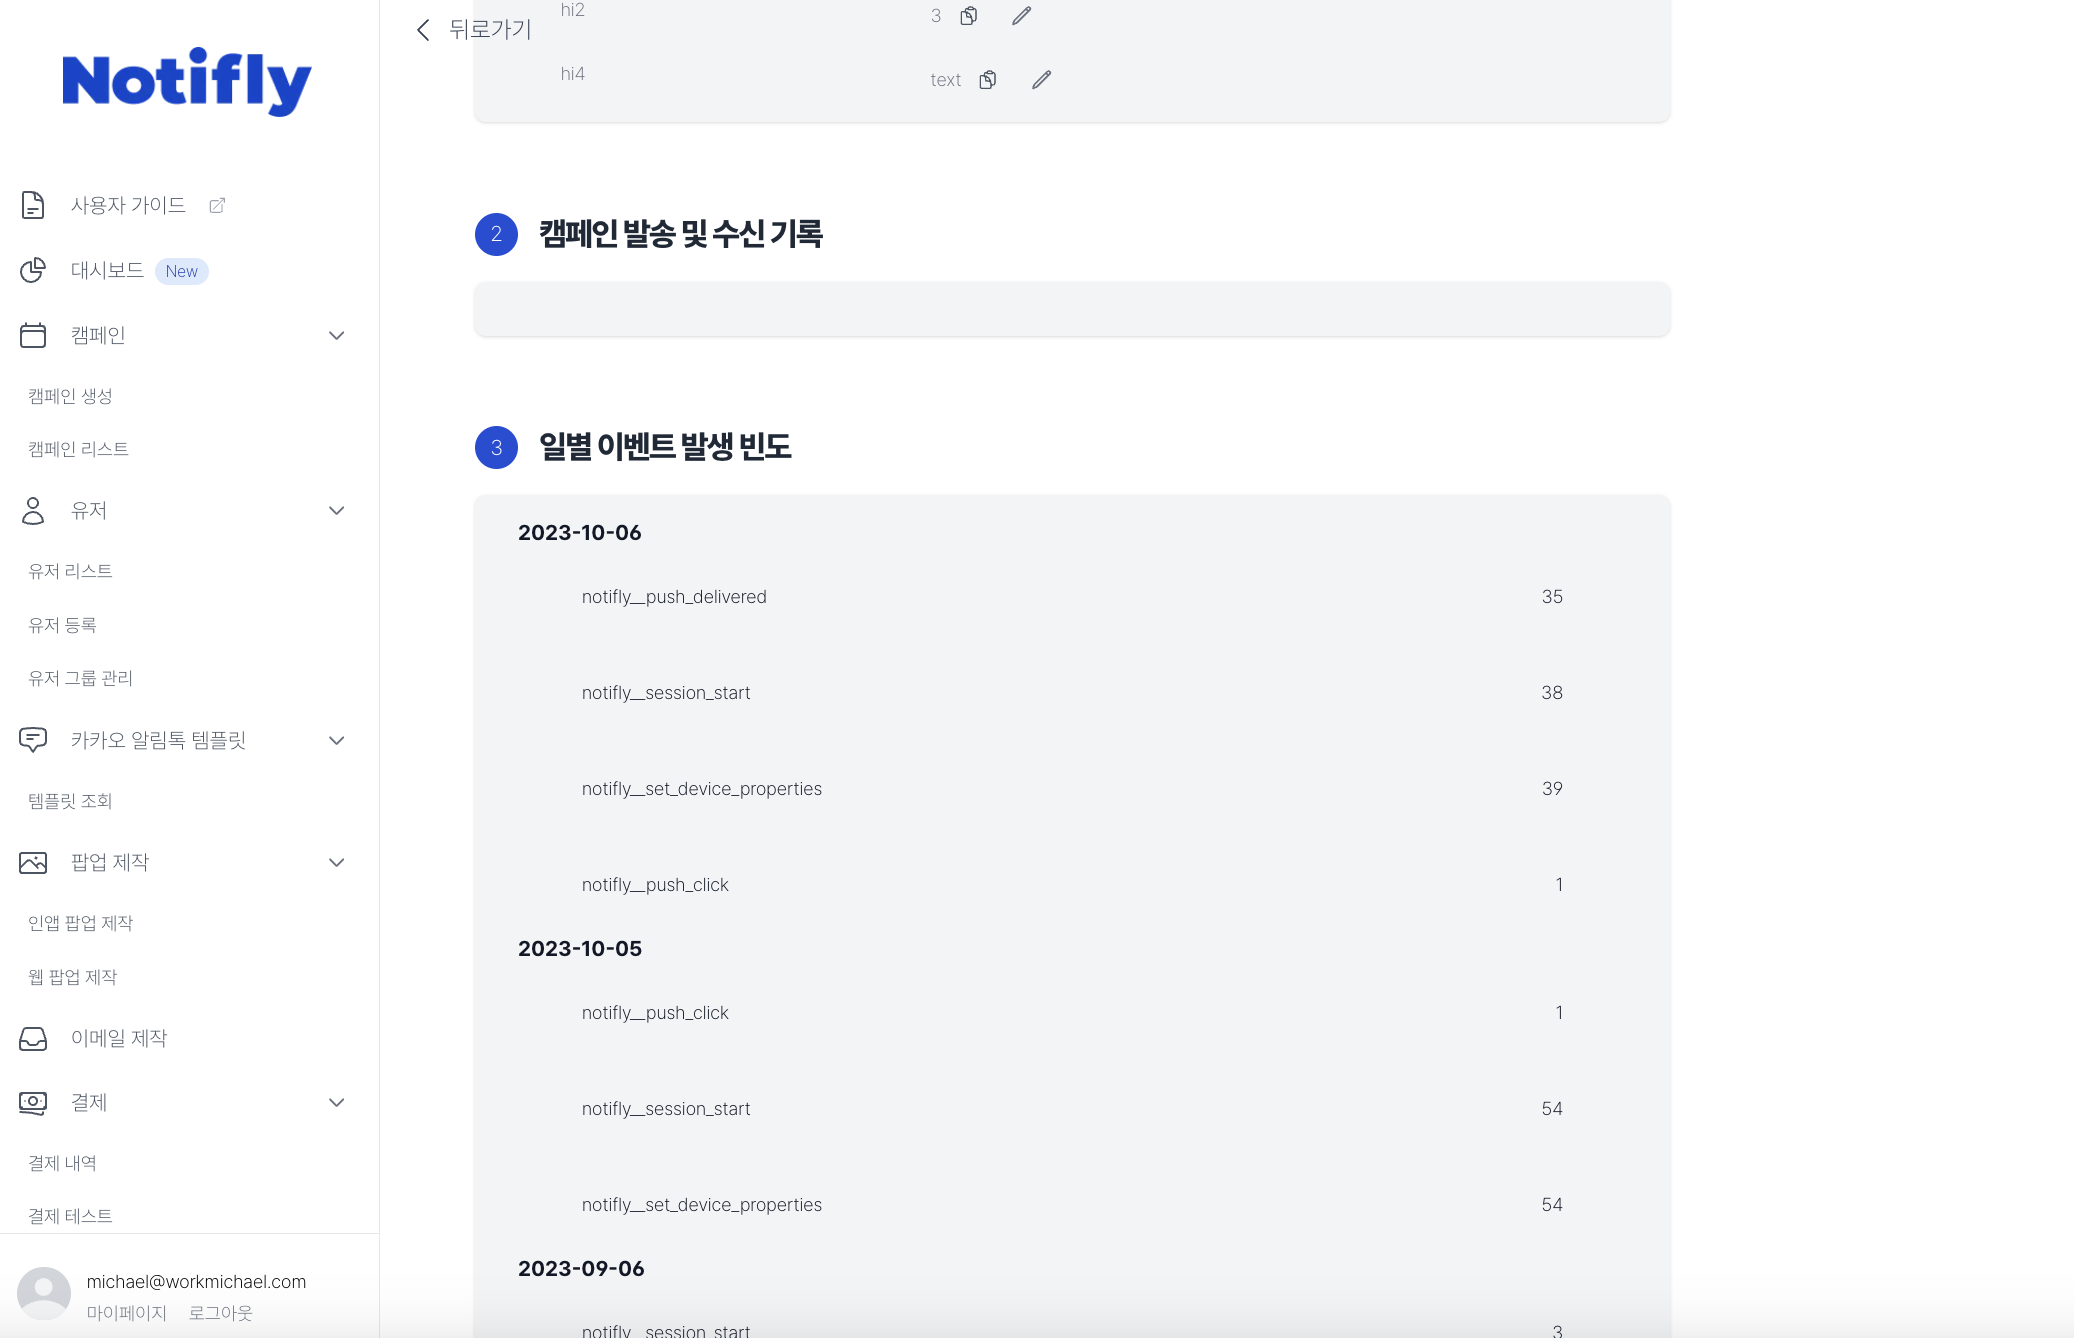
- 푸시 수신 지표 테스트
- 테스트 푸시 발송
- 콘솔에서 해당 유저의 프로필 페이지 확인
-
수신 지표(Delivered)가 정상 기록되었는지 확인